21
en
20
1 ..
2 ..
3 ..
4 . .
. .
1 ..
2 ..
.
.
.
.“ ”
1 ..
2 ..
3 ..
(MAX)
:
(“ ” )
“.
4 ..
.
:
.
5 . “ ” .
.
6 ..(“ ” )
“” / ( 0-60)
.6
(ON)
.7
.8
.9
.10
1 .
2 .
3 .
4 .
5 . 80)
( 200
1. Remove all packaging material.
2. Remove any stickers or labels from the appliance.
3. Thoroughly clean the bowl and the removable grid with hot water, some washing-up
liquid and a non-abrasive sponge.
4. Wipe the inside and outside of the appliance with a damp cloth. Air Fryer works by
producing hot air. Do not fill the bowl with oil or frying fat.
1. Place the appliance on a flat, stable, heat-resistant work surface away from water
splashes.
2. Do not fill the bowl with oil or any other liquid.
Do not put anything on top of the appliance. This disrupts the airflow and aects
the hot air frying result.
BEFORE FIRST USE
PREPARING FOR USE
USING THE APPLIANCE
Air Fryer can cook a large range of recipes. Cooking times for the main foods are given in the
section ‘Cooking Guide’.
1. Connect the power supply cord to an electrical socket.
2. Carefully pull the bowl out of the Air Fryer.
3. Place the food in the bowl.
Note: Never fill the bowl beyond the MAX level mark or exceed the maximum
amount indicated in the table (see into section ‘Cooking Guide’), as this could aect
the quality of the end result.
4. Slide the bowl back into the Air Fryer.
Caution: Do not touch the bowl during use and for some time after use, as it gets
very hot. Only hold the bowl by the handle.
5. Move the temperature control knob to the required temperature. See section ‘Cooking
Guide’ to select the right temperature.
6. Select the required cooking time (see section ‘Cooking Guide’).
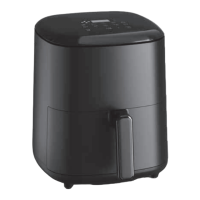
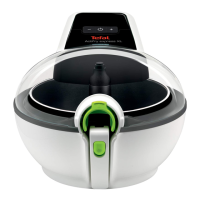
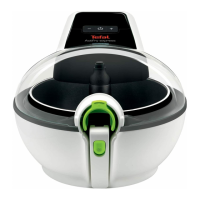
1. Basket
2. Basket handle
3. Heating up light
4. Ready light
5. Temperature control knob
(80 to 200°C)
6. Timer (0-60 min) / ‘On’ knob
7. Removable grid
8. Top cover
9. Air vent
10. Main power cable
DESCRIPTION
 Loading...