6 7
EN
DIRECTION FOR USE
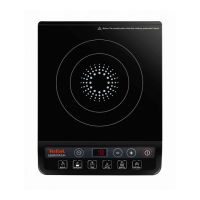
Operation Methods
Note: when using the appliance, please pay attention to the following:
• Temperature presetting function is only available under “Fry” function.
• Under temperature presetting mode, the actual temperature may be
different from the selected temperature due to varying shape and
material of receptacle.
• After 8 minutes >1600W, the power will decrease to 1600W.
• It is recommended to begin a cooking function when the appliance is
cool, otherwise efficiency may be affected.
Operation Steps
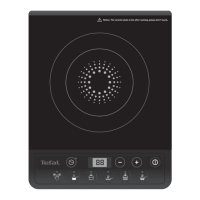
1. Turning on the induction hob. The appliance will beep once, the LED
display and all lights will flash. The appliance will be in standby mode,
and the “on/off” button will flash.
– Press the “on/off” button, the appliance will beep once and the LED
display will show the current voltage.
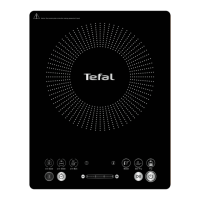
2. Power level, temperature and time adjustment
– Sweep clockwise on the “Max.”/”Min.”/”+”/”-” Button (I) to increase
the power level, temperature or time
– Sweep anti-clockwise on the “Max.”/”Min.”/”+”/”-” Button (I) to
decrease the power level, temperature or time
• Auto cut off protection (2 hours) for “Fry”, “Stir-fry” and “Hotpot”
functions.
Environmental Protection
– Induction does not generate any flames.
– Induction does not need any fuel and reduces the risk of domestic
accidents linked to gas leaks or fire due to its numerous controls.
Microcomputer Control
• Multiple heating functions: Multiple heating modes from low power to
high power to meet various cooking demands.
• Wide range temperature selection: maintains and regulates the
cooking temperature.
• Flexible Timer function: wide range of presetting time.
• Automatic alarm function: if no pot or an unsuitable pot is sensed on
the ceramic plate, the internal detection system will generate an alarm.
Convenient Cleaning
• High-grade ceramic plate is not easily worn out or darkened and is
convenient for cleaning and maintenance.
• In case of spilling, move away the pot and clean with a soft damp cloth.
– Press “Max” key to increase the power level to 2100W and the “Min”
key to decrease the power level to 600W.
– Press “+” or “-” to adjust the power level, temperature or time.
3. Functional Startup
– Select a function within one minute of turning on the appliance,
and it will automatically check if a pot is present. If no function is
selected within one minute, the appliance will turn itself off.
– When there is no pot, an alarm will sound; if the appliance can not
detect a pot present after one minute, the appliance will turn itself off.
If a pot is placed on the cooker within one minute, the cooker will start
heating automatically.
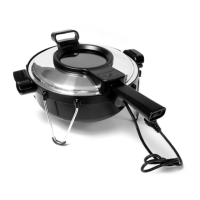
4. Introduction of Detailed Function
BOIL FUNCTION
STEAM FUNCTION
• Turn on the cooker and press
Boil
to start “Boil” function. The cooker will
heat at designated power and the LED display will show “00:10”. The
on/off light and the “Boil” light are on.
• The default cooking time is 10 minutes, press
to adjust the time
(refer to timer function).
• Turn on the cooker and press
Steam
to start “Steam” function. The cooker
will heat at designated power and the LED display will show “00:45”.
The on/off light and the “Steam” light are on.
• The default cooking time is 45 minutes, press
to adjust the time
(refer to timer function).
SOUP FUNCTION
• Turn on the cooker and press
Soup
to start “Soup” function. The cooker
will heat at designated power and the LED display will show “02:00”.
The on/off light and the “Soup” light are on.
• The default cooking time is 120 minutes, press
to adjust the time
(refer to timer function).
 Loading...