- Hang up the garment on a hanger and hold the fabric slightly taut with one hand.
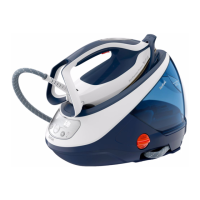
- Set the thermostat control on MAX (I).
- Press the shot of steam button ( ) repeatedly (J), moving the iron from top to bottom (K).
- Hold the iron a few centimetres from the fabric to avoid burning delicate fabrics.
I
J
K
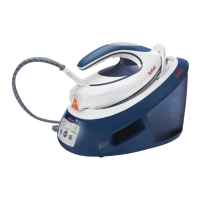
- Press the shot of steam button from time to time (H).
- Wait a few seconds between each shot before pressing
the button again.
H
- The electronic system cuts off the electric power and the Auto-
Stop warning light flashes if the iron is left vertically
on its heel for more than 8 minutes, or in a horizontal
position for more than 30 seconds (L).
- To restart the iron, just move it gently until the warning light
stops flashing.
Note :When the Auto-Stop warning light is on, it is normal
for the thermostat light to be off.
L
2- DRY IRONING
- Set the steam control on DRY (see diagram A).
- Set the temperature.
- You may start ironing when the thermostat light goes out and comes on again.
3- MAINTAINING YOUR IRON
BE CAREFUL !
Unplug your iron and let it cool off before cleaning it.
• CLEANING THE ANTI-CALC VALVE
(Once per month) :
- Unplug your iron and empty the water tank.
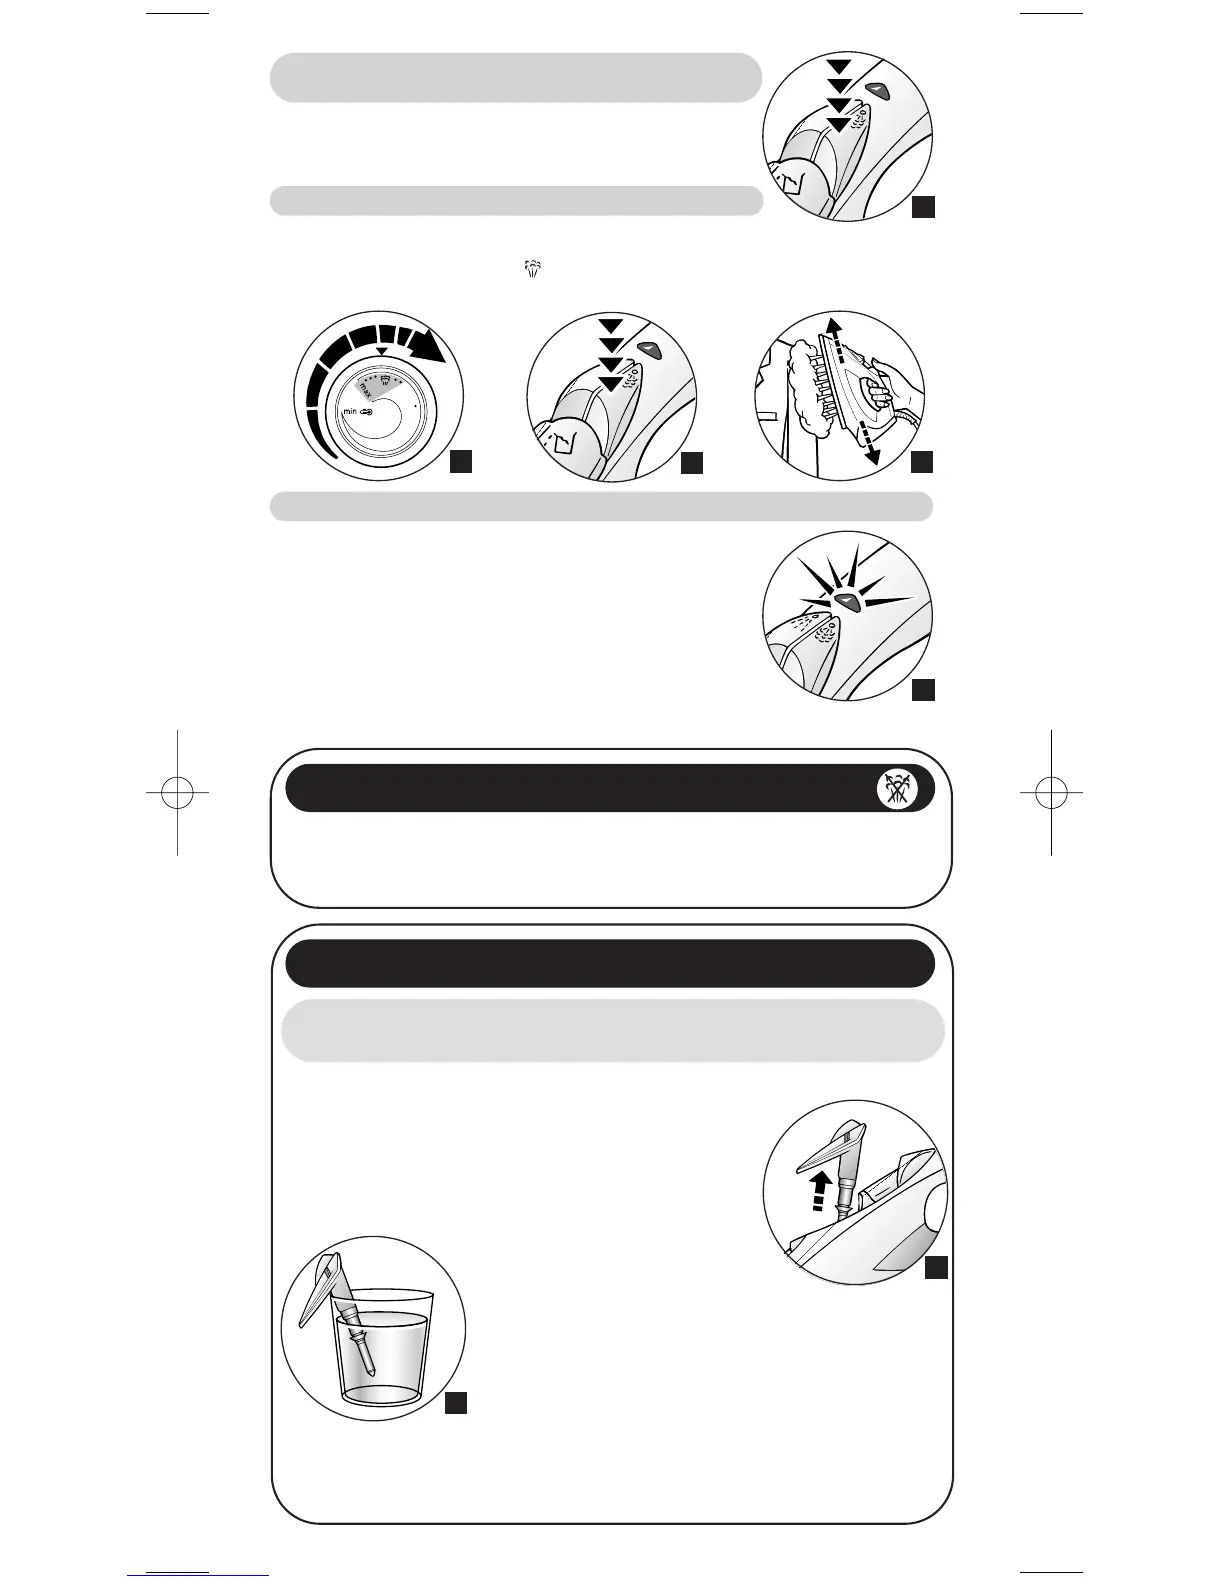
- To remove the anti-calc valve, pull it up using the tabs
located on each side (M).
NEVER TOUCH THE END OF THE VALVE.
- Soak the valve in a cup of white spirit vinegar or plain lemon
juice for 4 hours (N).
- Rinse the valve in tap water.
- Place the steam control on dry.
- Replace the anti-scale valve.
THE IRON WILL NOT FUNCTION WITHOUT THE ANTI-CALC VALVE
M
N
Obtaining more steam for removing wrinkles
(depending on the model)
Auto-Stop safety feature
(depending on the model)
Vertical steam ironing
(depending on the model)