Version 2024 13
16 | Assembling and adjustment of the pillar drill
Attention!
Assemble the NOVA Voyager DVR pillar drill with the help of a second person to prevent
possible injury. Read the operating instructions before assembly. Do not connect the pillar drill
to the power supply until it is fully assembled.
Unpacking and preparing the pillar drill
1. Open the transport packaging, take out the packaging material and all the components, and check the
contents for completeness. Keep all materials until the pillar drill is fully assembled and operational.
2. Arrange all the components on the floor in the correct order for assembly (from bottom to top). Use a
protective layer to prevent scratches and other damage to the pillar drill.
Attaching the column to the base
3. Place the base at the desired installation location. Make
sure the ground is level. To ensure safe operation, it is
recommended that the pillar drill is bolted to the floor
with 4 screws (not included in the scope of delivery). For
this, use the 4 holes in the corners of the base.
NOTE:
Do not use a mobile base with this
machine.
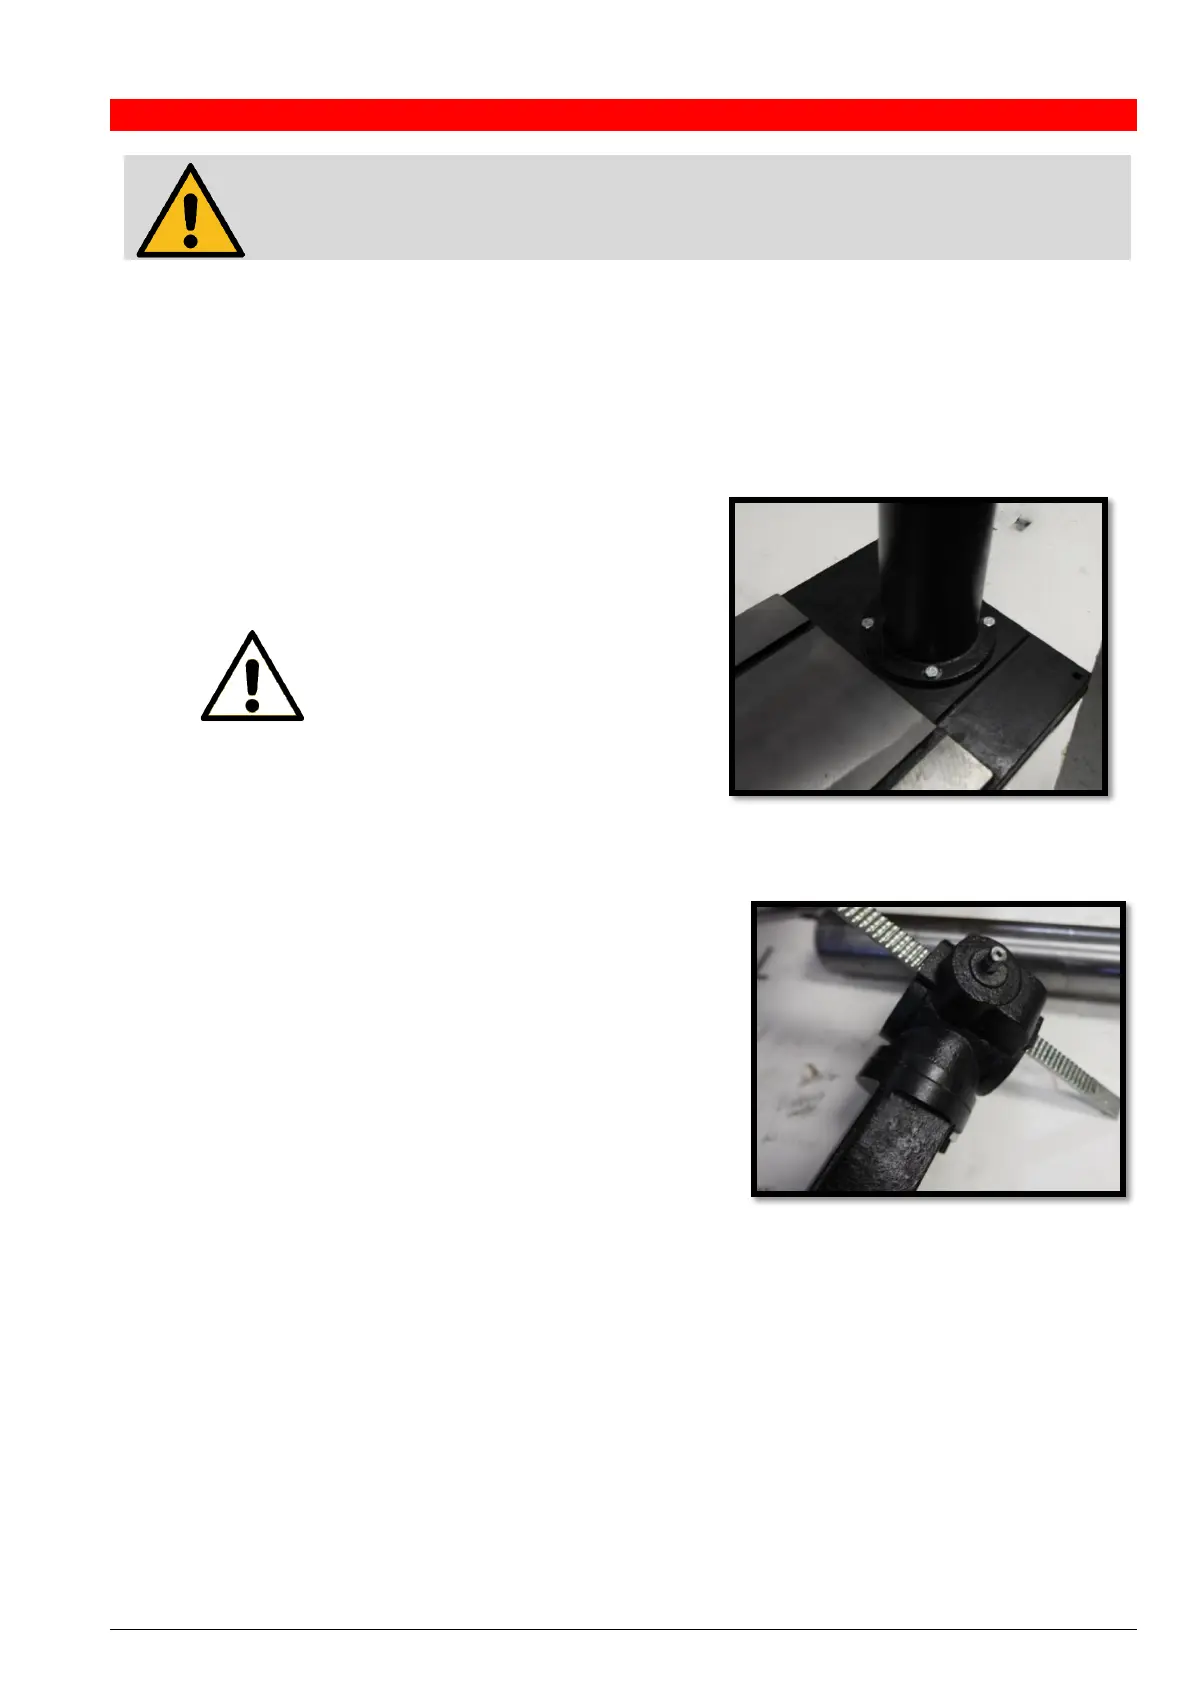
4. Align the holes in the column with those in the base.
Screw the column to the base using the four included
hex head screws and tighten them with a 17 mm
spanner.
Mounting the table arm and the rack
5. Insert the shaft of the worm gear from the inside through
the table arm while mating the worm threads with the
preinstalled gear. Make sure that the shaft is exposed as
much as possible.
6. Insert the rack into the table arm as shown in the adjacent
figure so that the rack teeth are mating with the worm gear.
Pay attention to the teeth angle with respect to the table
arm orientation. Position the table arm partway on the rack.
 Loading...