d. Remove the feet and set aside.
6. Remove the rear plastic case from the instrument:
a. Use a Torx T-10 screwdriver to remove the six (6) screws from the back of the instrument case.
b. Lift the rear plastic case off the back of the instrument, and set it aside.
7. Separate the rear metal chassis from the front chassis (with the instrument still in the bottom-up position):
a. Use a Torx T-10 screwdriver to remove the 25 screws securing the rear chassis to the front chassis. There are 24 screws around
the chassis edges, and one (1) screw beneath the HDMI connector.
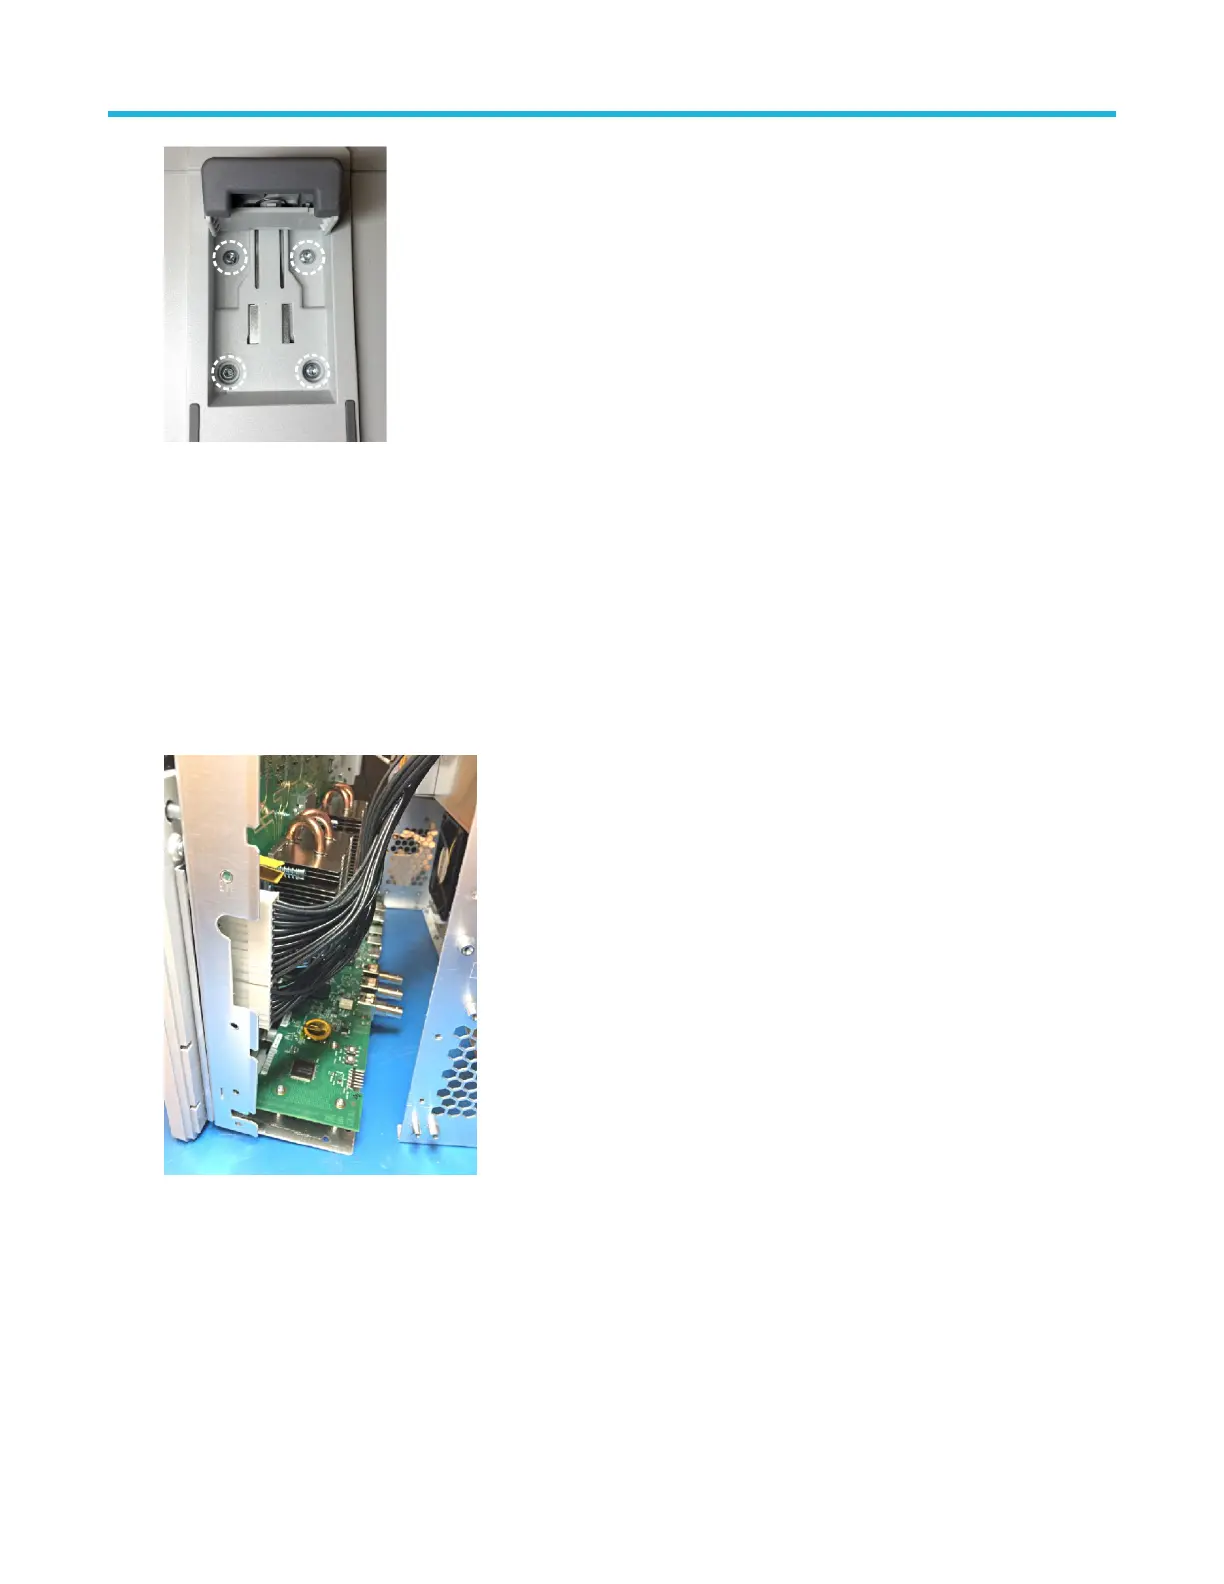
b. Remove the three (3) nuts and washers from the BNC connectors.
c. Gently pry apart the rear chassis assembly. The rear chassis is held in position mostly by the friction of the three BNC connectors.
d. Continue prying the chassis apart until you have the two halves separated and can access the cables.
e. Disconnect the two power cable connectors.
Clear and sanitize procedures
MSO44, MSO46, MSO44B, and MSO46B 4 Series Mixed Signal Oscilloscopes Declassification and Security Instructions 13
 Loading...