Triggering on Waveforms
3–76
TDS 500B, TDS 600B, & TDS 700A User Manual
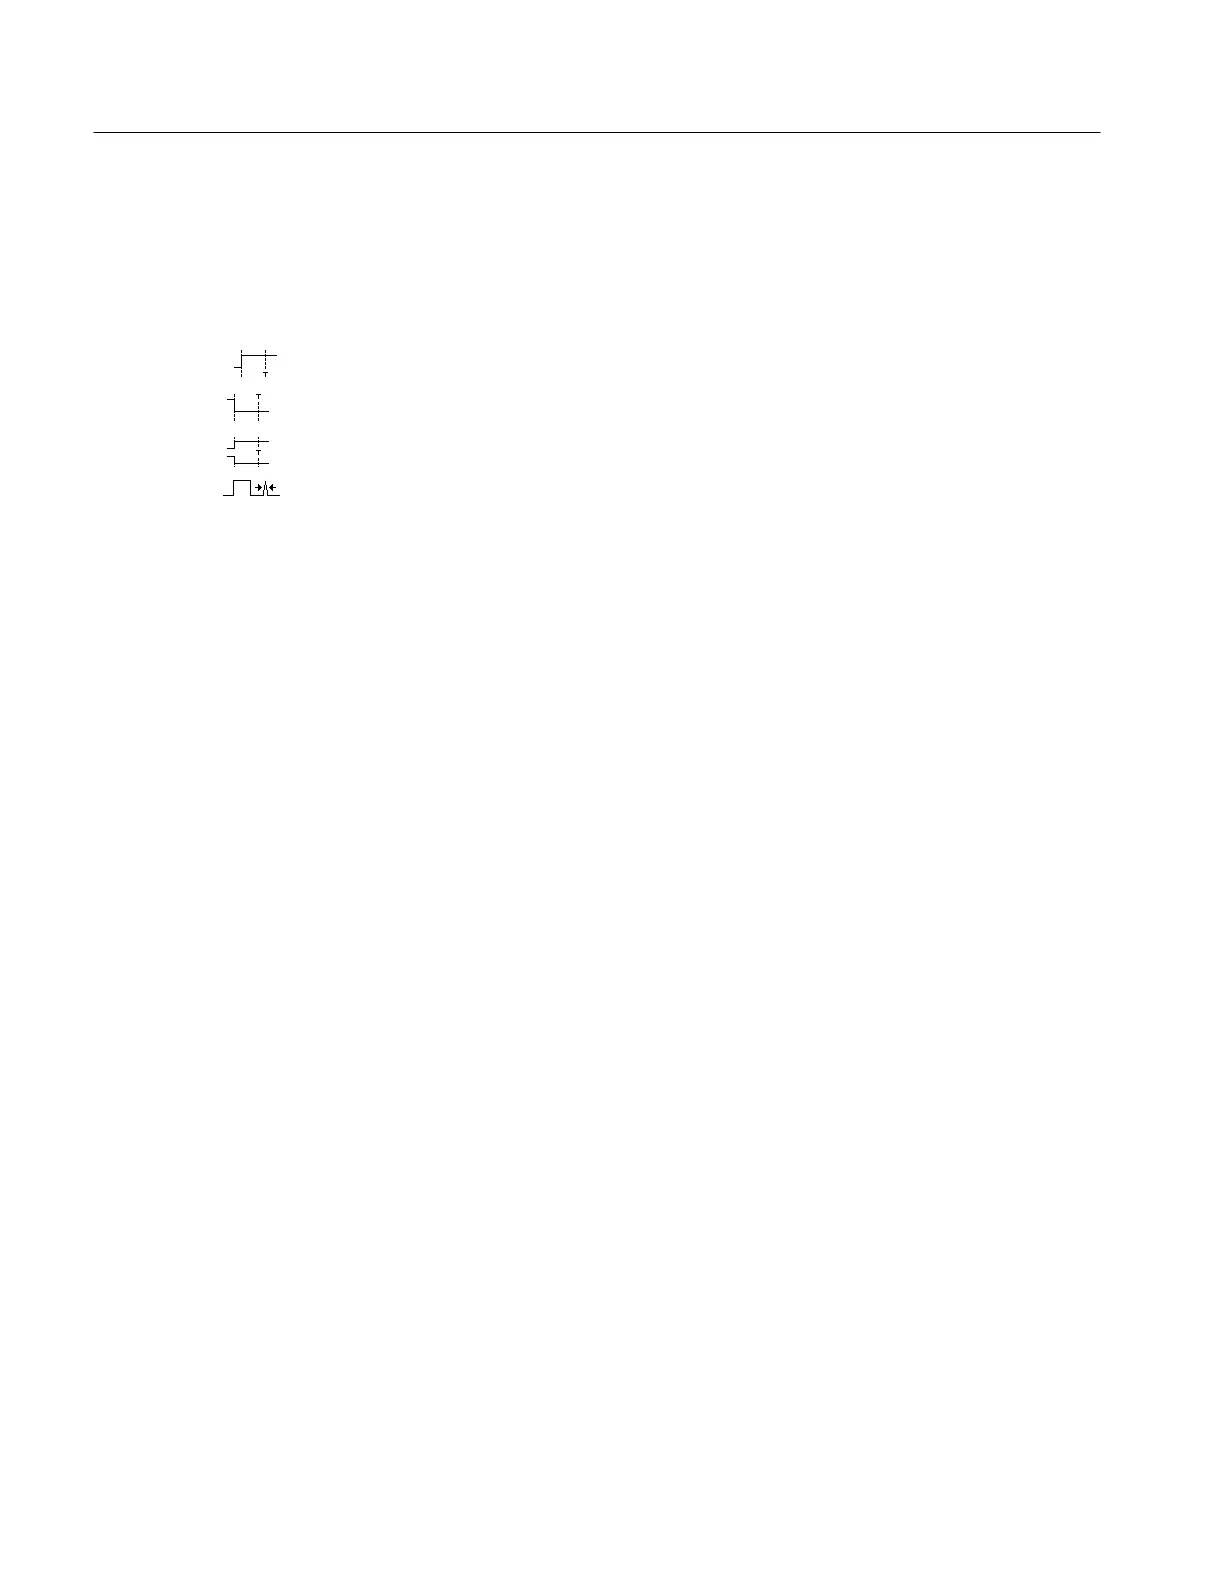
Select the Polarity & Width. To specify polarity (positive, negative, or either) and
width of the glitch, do the following steps:
1. Press TRIGGER MENU ➞ Type (main) ➞ Pulse (pop-up) ➞ Polarity &
Width (main) ➞ Positive, Negative, or Either (side).
Positive looks at positive-going pulses.
Negative looks at negative-going pulses.
Either looks at both positive and negative pulses.
2. Press Width (side), and set the glitch width using the general purpose knob
or keypad.
Set to Accept or Reject Glitch. To specify whether to trigger on glitches or ignore
glitches, press TRIGGER MENU ➞ Type (main) ➞ Pulse (pop-up) ➞
Class (main) ➞ Glitch (pop-up) ➞ Glitch (main) ➞ Accept Glitch or Reject
Glitch (side).
If you choose Accept Glitch, the oscilloscope will trigger only on pulses
narrower than the width you specified. If you select Reject Glitch, it will trigger
only on pulses wider than the specified width.
Set the Level. To set the trigger level with the Level main menu (or the front
panel trigger LEVEL knob), press TRIGGER MENU ➞ Type (main) ➞ Pulse
(pop-up) ➞ Level (main) ➞ Level, Set to TTL, Set to ECL, or Set to 50%
(side).
If you select Level, you set the trigger level by entering a value with the
general purpose knob or the keypad.
If you select Set to TTL, the oscilloscope sets the trigger level to the TTL
switching threshold.
If you select Set to ECL, the oscilloscope sets the trigger level to the ECL
switching threshold.
If you select Set to 50%, the oscilloscope searches for the point halfway
between the peaks of the trigger source signal and sets the trigger level to
that point.
To Set Mode and Holdoff. Mode and holdoff can be set for all standard trigger
types and classes. To set mode and holdoff, refer to To Set Mode & Holdoff on
page 3–61. To learn more about trigger mode and holdoff, see the descriptions
Trigger Modes and Trigger Holdoff on page 3–53.
 Loading...


