For correct, easy programming, it is essential that the following
instructions are followed to the letter.
1. Preliminary operations
- Connect an antenna tuned to 433 MHz to the antenna terminal on
the receiver. Alternatively, diminishing the receiver specifications,
a piece of wire approx. 20 cm long may be connected
- Once the receiver has been connected to the control unit or the
necessary connections onto the terminal board have been com-
pleted, switch on.
- As soon as the receiver is powered, it carries out an internal test,
shown by LED L2 coming on for 3 seconds.
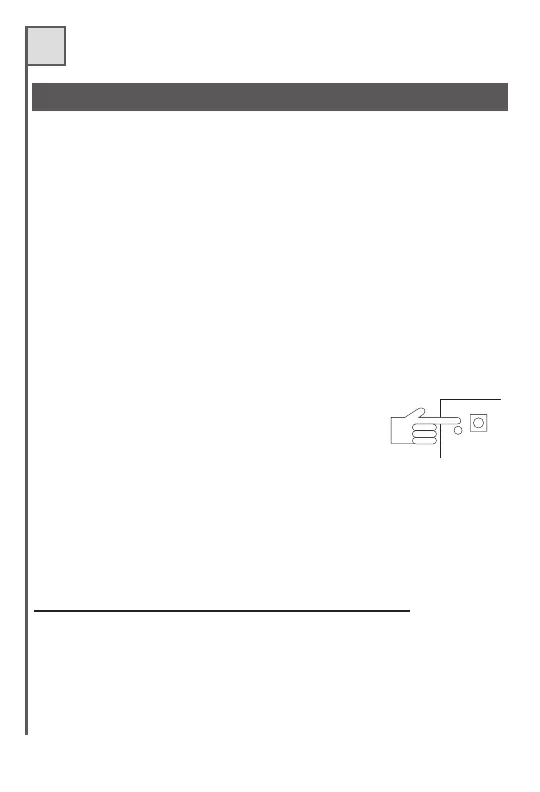
2. Self-memorisation
- Upon pressing key P1 for an instant the relative
led will blink 5 times.
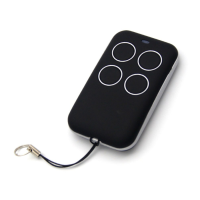
- Within this period of time, transmit with the
radio control required for use.
- Fixed indicator lights lasting about 3 seconds indicate that the
code has been successfully stored.
- Immediately after this the led starts blinking again, waiting for a
new radio control signal to be memorised; if it receives none after
blinking another 5 times, the receiver automatically exits from the
programming stage.
Our transmitter and r
eceiver are already operative!
- Follow the same procedure also for the other P keys.
3. Meaning of the blinking LEDs
- L2 on for 3 seconds: as soon as the receiver is powered.
- Brief flash of one led: when transmitting with a correctly memo-
GB