6 TeleCorder # TCwL-B4, V2.43, Revision 4, USA
Insert the CD into the drive on your PC. If it does not auto run, look at the files on the CD using file
manager and
open “AUTO.BAT” (Win-2000 through Win-7) and follow on screen instructions.
When complete, the TeleCorder program will be installed on your computer. It will be listed in
Programs, and be listed in Control Panel add/remove programs. There should be an icon on your desktop
for TeleCorder software (image at left). If the PC will be used for configuring the recorder for LAN
access, copy the
Reflash Utility file “TCwL_Reflash” from the software CD to your PC
desktop (you can also run it from the CD). Follow the instructions in Section 4 for LAN
setup using the
Reflash Utility (image at right).
NOTE: If you run the TeleCorder program without a TeleCorder
connected to your PC, or if the TeleCorder power is off, you will
see “ERROR: No TeleCorder device connected!”. If it does not
find a recorder on the LAN, use the
Reflash Utility (See Section 4)
to configure the recorder for LAN access from your PC.
The TeleCorder is normally left powered ON at all times, there
is no power On/Off switch. To turn it OFF, unplug the power cord.
If your TeleCorder is not already powered ON, connect it to AC
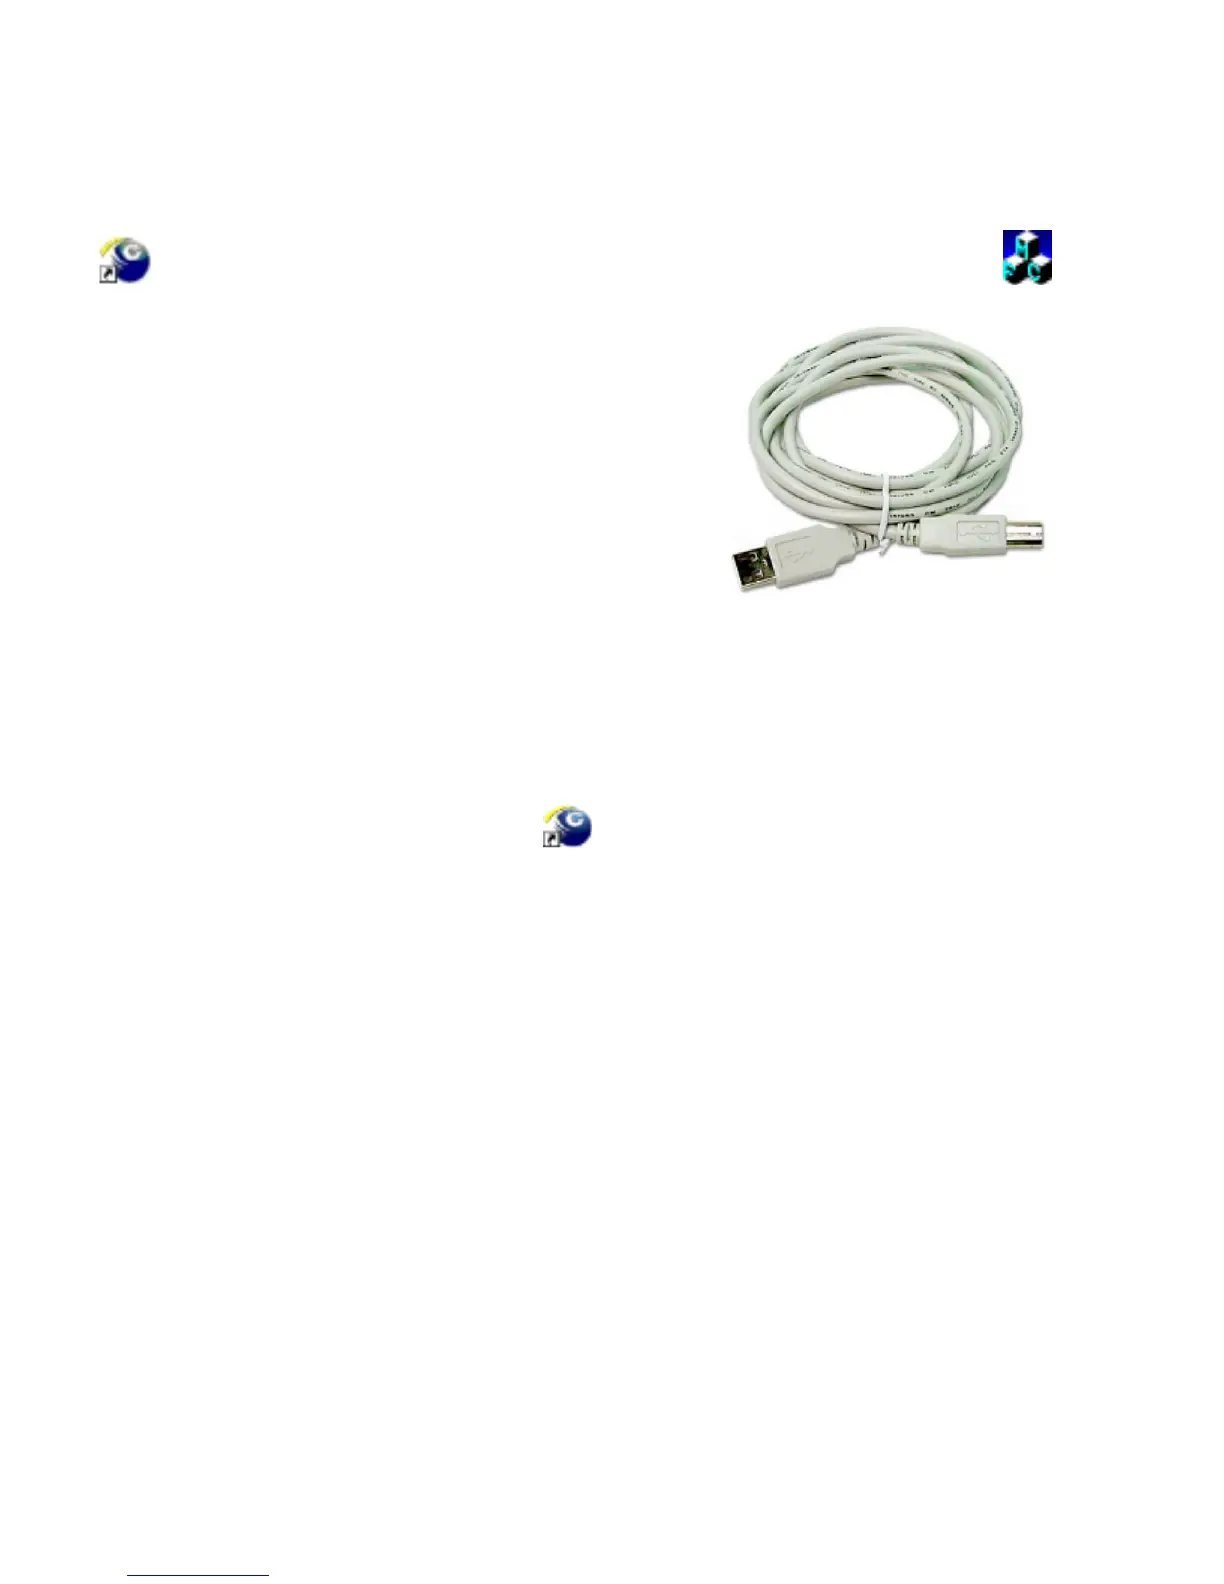
power using the supplied AC adapter. Connect the supplied USB
cable (photo at right) from the USB port on the back of the
TeleCorder to a USB port on your computer. The first time you
connect the TeleCorder to your computer, your PC should display
“New Hardware Found” “serial converter” message, and automatically install the proper driver (may
take 15-30 seconds).
Run the program by clicking on the TeleCorder icon on your PC desktop, or from the Start/Programs
list. Refer to manual Section 3 (below) for detailed information.
3. Setup via USB Connection to PC
3.1 Open Software and run the TeleCorder icon on your PC desktop or from the programs list
if the icon is not on your desktop. See manual Section 5.1.2 for screen image when connected to the
recorder via USB.
3.2 Recording Process
When connected to standard telephone lines, the TeleCorder will automatically record the telephone
number, or the number dialed with the duration of the recording and the voices of the conversation.
You
don’t need to change your procedure for making or receiving your calls. Nevertheless, the following points
should be considered.
When connected to phone lines, channels should be set to start/stop recording using
the voltage sensing mode, not the VAR mode (this is set using Info & Settings screen from a PC using
either the USB or LAN connection).
a) If Caller ID numbers are not displayed, confirm with your telephone company that your phone
lines have the caller ID feature enabled. Otherwise, there will not be caller phone numbers recorded and
displayed when managing the recordings. If you are connected to telephone handset audio, the recorder will
not show caller numbers and will only show dialed out numbers if the handset has standard DTMF tones
when dialing. Also check to be sure phone line channels are set for voltage sensing, not for VAR start/stop.
b) Always wait to answer a call until after the second ring so that the phone number from the calling
party can be received and stored with the recording.
c) When channels are set to start and stop recording using Voice Activated Recording (VAR),
outgoing calls will not be saved unless they are longer than 8 seconds and contain a minimum of 3 dialed
digits (DTMF tones) if this feature is selected in the settings menu. This function can be used to minimize
false recordings and does not apply when using voltage sensing.


 To Next Page