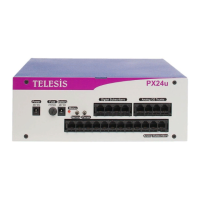
MOUNTING THE SYSTEM ON THE WALL
Telesis PX24U/PX24M Hybrid IP PBX systems can be mounted on the wall. At the
bottom of both systems, there are holes to hang them on the screws fixed on the wall.
See below these holes for hanging the system.
Holes at the bottom to hang the system on the wall
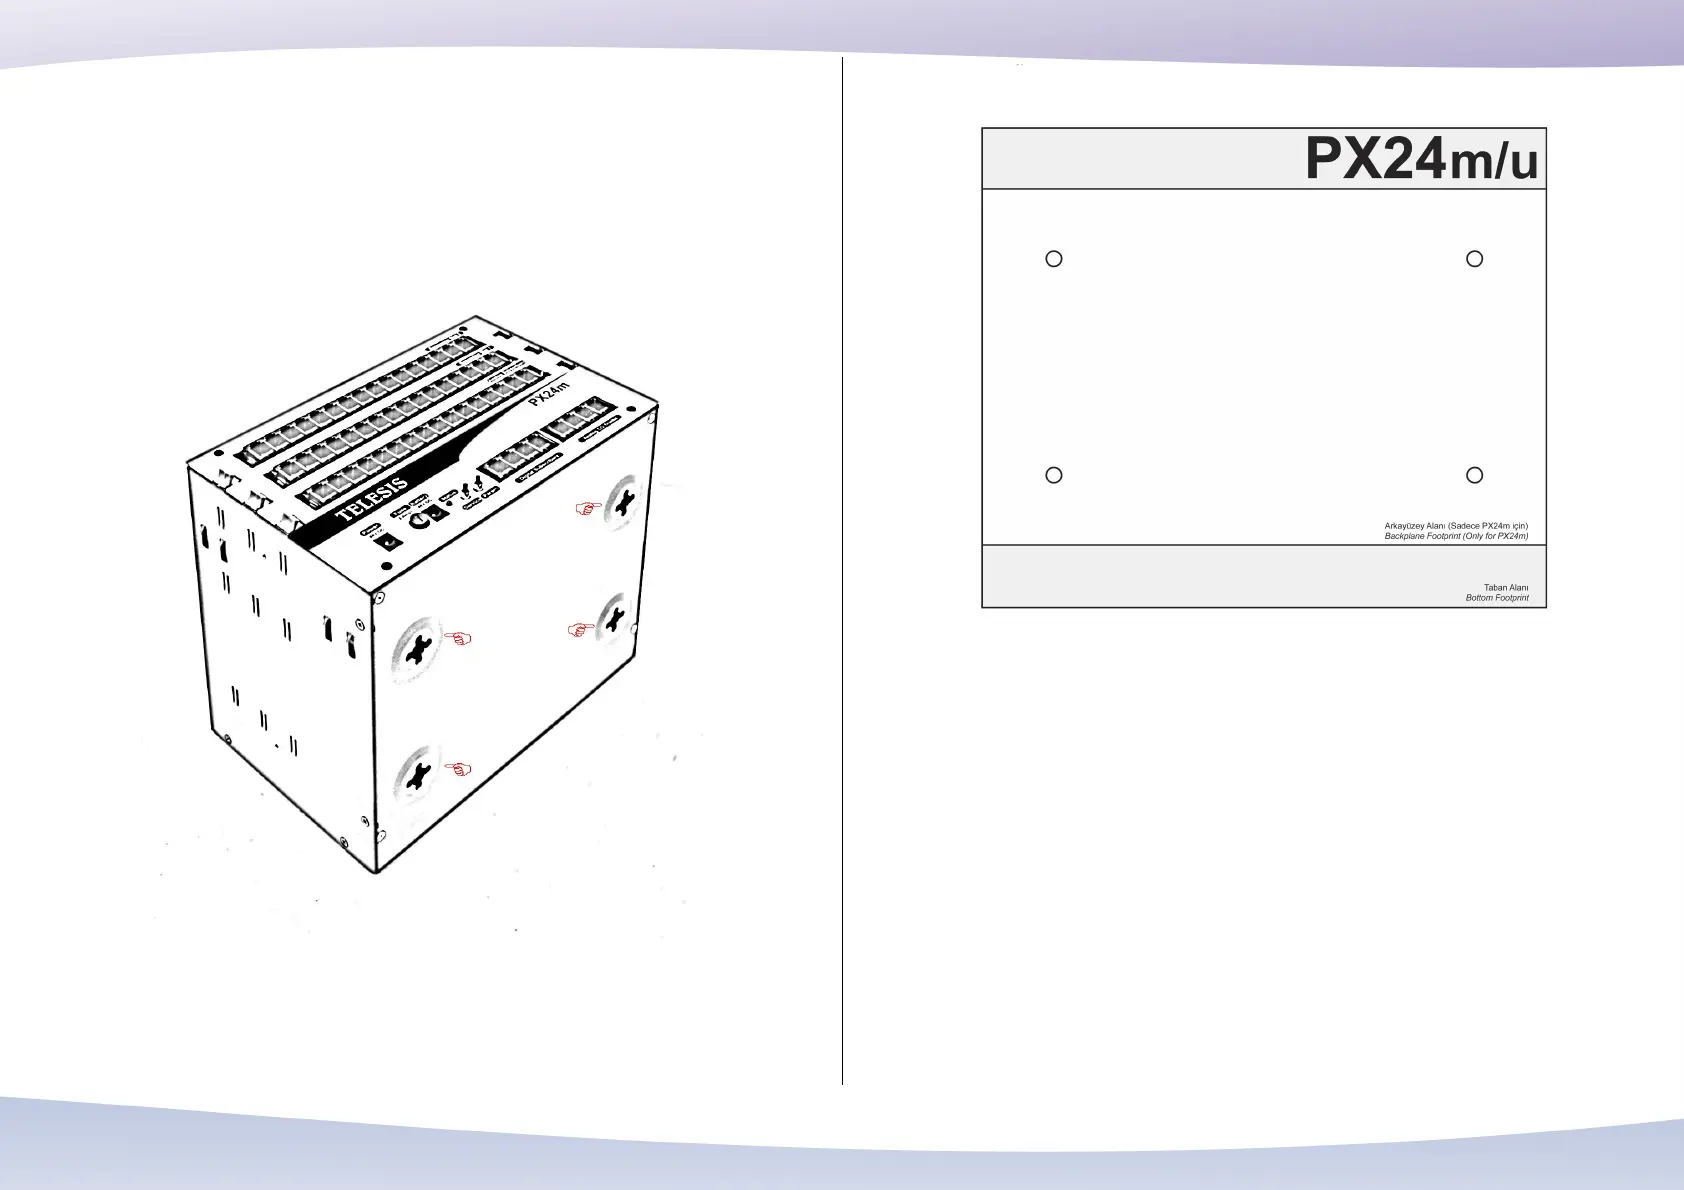
Telesis PX24U/PX24M Hybrid IP PBX systems are shipped with a footprint sheet to
guide the installer while placing screws on the wall.
Footprint sheet
Using this sheet, drill the wall and place the screws firmly on the wall. Then hang the
system over these screws.
Telesis PX24M Hybrid IP PBX systems have additional holes in the backside too. So
that the PX24M may also be hanged on the wall perpendicularly.
Depending on the installation site, PX24U/PX24M systems may be hanged on the wall
in various orientations.
34