57
O
EN
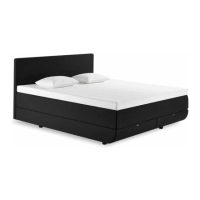
Micro-Tech/Aspire headboard bracket installation guide
O
KR 머리판 브라켓 설치
O
JP スタンディングヘッドボード取り付け方
O
CN 头枕支架安装
O
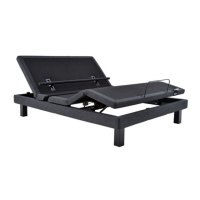
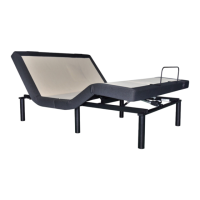
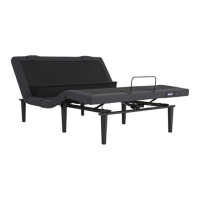
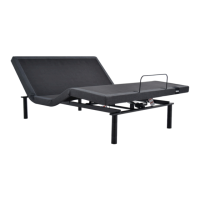
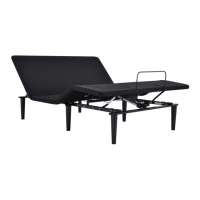
EN Flip base upside down to access the underside of the frame. Lay the headboard bracket flush to the frame. Remove legs on
head end of bed if necessary. Line the rear large tab (B.) up with the leg inserts on the frame. Line the smaller front tab (A.) up
with hole in the base frame. Screw leg into frame; hand tight only. Secure front tab (A) with short bolt and nut.
O
KR 받침대를 거꾸로 뒤집습니다.헤드 보드 브래킷을 프레임과 평평하게 놓습니다.필요한 경우,침대 머리 끝의 다리를
제거하십시오.뒤쪽 큰 탭(B.)을 프레임의 다리 인서트에 맞추십시오.더 작은 앞쪽 탭(A.)을 기본 프레임의 구멍에
맞추십시오.다리를 손으로 단단히 프레임에 끼웁니다.짧은 볼트 및 너트가있는 안전 전면 탭(a)
O
JP ベッドを裏返しに置きます。ブラケットをベッドフレームに対し水平に置き、ヘッド側のレッグを取り外します。ブラケットにある四角いタブ(B)
をベッドフレームのレッグ用ネジ穴に合わせ、細長いタブ(A)をベッドフレームの穴に合わせます。最後にレッグを差し込み手で回して締め、タ
ブ(A)をショートボルトとナットで固定します。
O
CN 将底座倒置,以便嵌入框架下侧。将床头立板支架水平放置在框架上。如果有必要,可将床头位置的床腿拆除。将较大的
后标(B.)与支架平行插入框架。较小的前标(A.)向上,与底座框架上的孔齐平将椅腿拧入框中;请务必只用手拧紧。用短
螺栓和螺母固定前部卡舌(a).
O
CN 將床架翻轉接觸框架的底側。將床頭板支架放在與框架平齊的位置。如有必要,拆卸床頭的床腿。將較大的後標(B.)與插
入框架的床腿對齊。較小的前標(A.)與床架框架上的孔對齊。將床腿擰入框架;僅手動擰緊。用短螺栓和螺母固定前部
卡舌(a).
1
A.
B.
2
O
EN
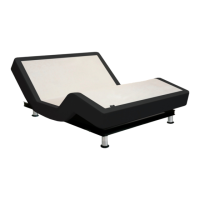
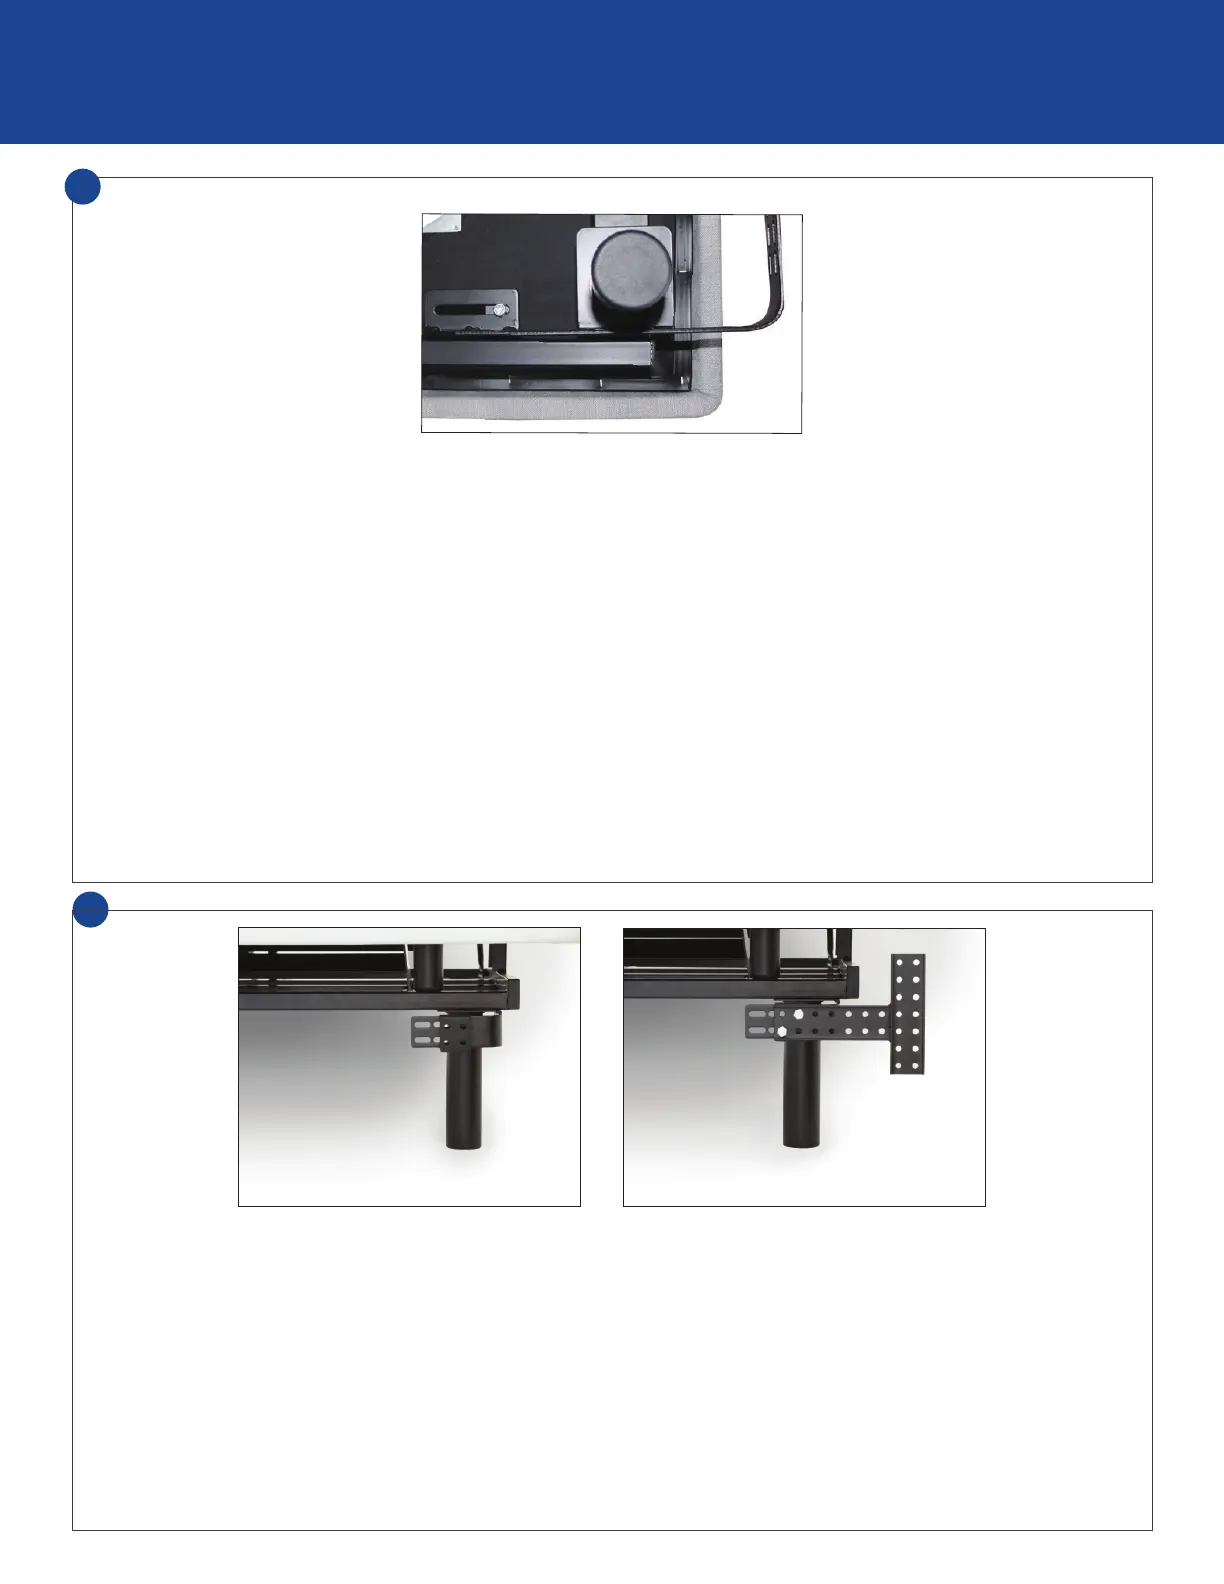
Position base so the headboard brackets line up with the mounting holes on headboard. Make sure bracket is flush with the
mounting plate and secure with 4 long bolts. Repeat this step on other side of base.
O
KR 헤드 보드 브래킷이 헤드 보드의 장착 구멍과 일직선이되도록베이스를 배치하십시오.브래킷이 마운팅 플레이트와
나란히 있는지 확인하고4개의 긴 볼트로 고정하십시오.베이스의 다른면에서이 단계를 반복하십시오.
O
JP ブラケットとヘッドボードの取り付け穴が一列になるようにベッドベースを配置します。ブラケットと同じ高さに取付プレートを
合わせ、ロングボルト4本で固定します。反対側もこの手順を繰り返します。
O
CN 调整底座,使床头立板支架与床头立板上的安装孔对齐。确保支架与安装板齐平并用4个长螺栓固定。在底座的另一边重复
盖操作.
O
CN 放好床架以便床頭板支架與床頭板上的安裝孔對齊。確保支架與安裝板平齊,並用4個長螺栓固定。在床架另一側重複此
步驟。
 Loading...