72
O
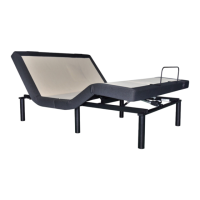
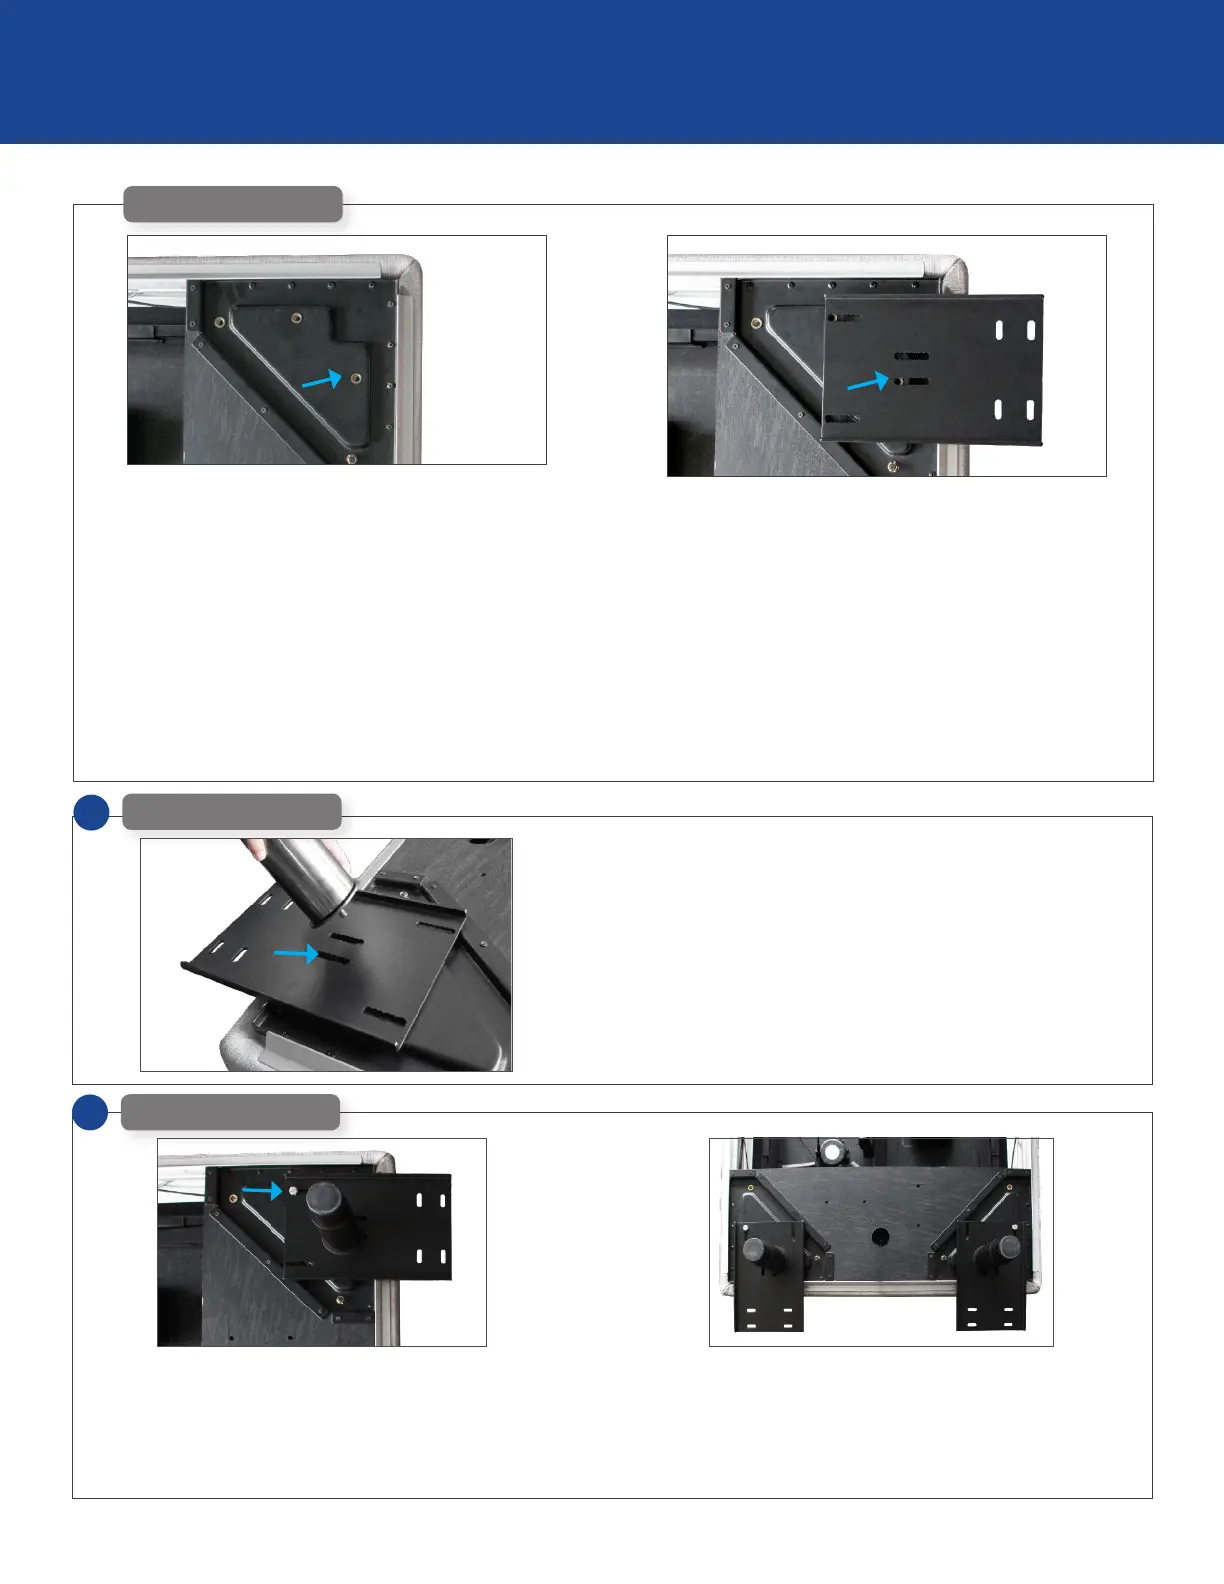
EN With the bottom of the base facing up, position the bracket
with the flat side of the bracket against the base. Align
the oval cutouts in the bracket with the two threaded leg
inserts on the base. Make sure the 4 holes in the end of
the bracket extend beyond the edge of the base by 1 inch.
O
KR 바닥면이 위로 향하도록하여 브래킷의 평평한면이
바닥에 닿도록 브래킷을 놓습니다.브래킷에있는 타원형
컷아웃을 밑면에있는 두 개의 스레드 레그인서트에
맞춥니 다.브래킷의끝에있는4개의 구멍이 밑면의
가장자리를1인치 연장해야합니다.
O
JP ベッドを裏 返しに置き、ブラケットの平らな 面 を下 にして
ベッドフレームの上に置きます。ブラケットにある楕円形
の穴をベッドフレームにあるレッグ用のネジ穴に合わ
せ、ブラケットの端にある4つの穴がベッドフレーム上面
の端から2.5cm程度外側に出るように置きます。
O
CN 将底座的底部朝上,将支架的平面放在底座上。将支
架中的椭圆形切口与基座上的两个螺纹脚插入
对齐。确保支架末端的4个孔超出基座边缘1英寸。
O
CN 床架底部朝上,將支架平坦側靠在床架上。將支架上的
橢圓形切割處與插入床架的兩個螺紋床腿對齊。確保支
架端部的4個孔超過床架邊緣1英寸。
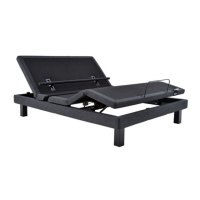
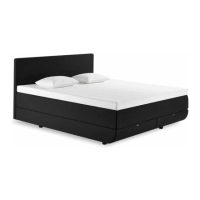
Zero G Curve
O
EN
Zero G Curve floating headboard installation
O
KR 머리판 브라켓 설치
O
JP フローティング ヘッドボード取り付け方
O
CN 头枕支架安装
O
EN Insert leg into one of the leg threads at the center of the
bracket and hand tighten only.
O
KR 다리 끈 중 하나에 다리를 넣고 손으로 조입니다.
O
JP ブラケット中央にあるネジ穴にレッグを差し込み、手で回
して締 めます。
O
CN 将床腿固定入支架中心的螺孔,然后用手拧紧。
O
CN 將床腿固定入支架中心的螺孔,然後用手擰緊。
1
Zero G Curve
O
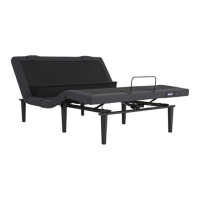
EN Secure the outside edge of the bracket using one short
bolt.
O
KR 짧은 볼트1개와 너트1개를 사용하여 브래킷의 바깥 쪽
가장자리를 프레임에 고정하십시오.
O
JP 写真の通りブラケットとベッドフレームをショートボルト
で固定します。
O
CN 用一个短螺栓将支架的外侧边缘固定。
O
CN 用一個短螺栓固定支架外緣。
2
Zero G Curve