Part 1:Connect the devices together
Part 2:Log into the web-based setup page
Part 3:Change the wireless channel
Part 4:Change the security mode
Connect the devices together
Step 1:
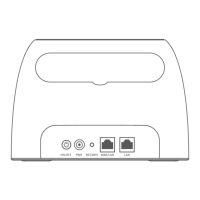
Take an Ethernet cable to connect your computer with one of the yellow LAN ports of the Tenda
device.
Step 2:
Ensure that the light corresponding to the LAN port where the Ethernet cable is connected to is
lit. If it is lit, you may proceed with the next procedure. Otherwise, try to connect your computer
to another yellow LAN port or change another Ethernet cable.
Note: There is only one LAN or LAN/WAN port on some devices like
A5/A6/A3/A30/N3/3G150B/PW201A, etc. You can only log into the setup page wirelessly for
A5 and 3G186R.
Log into the web-based setup page
Find out the login IP address on the label located on the back of the Tenda device, and then enter
it in the address bar of a web browser. Enter the login username and password if prompted,
generally admin both for username and password. If you have ever changed the login IP address
or password, you should login with the new IP address and password.
You may need to refer to the User Guide for help about logging into the setup page. For
troubleshooting on logging into the setup page, click here.
Note: For A5 and 3G186R, you can only log into the setup page wirelessly.
 Loading...