3
OPERATION
• To achieve more accurate measurement, use an extension cable to separate the
microphone from the main body so that the effect of unexpected sound reection
can be eliminated.
• Calibrate the instrument before operation if the instrument was not in use for a long
time or operated in an extreme environment.
• Turn on power and select the desired response time and weighting. If the sound
source consists of short bursts or only catching sound peak, set response to FAST.
To measure average sound, use the slow setting.
• Select A-weighting for general noise sound level and C-weighting for measuring
sound level of acoustic material.
• Select the desired level.
• Hold the instrument comfortably in hand or x on tripod and point the microphone at
the suspected noise source, the sound pressure level will be displayed.
• When MAX (maximum hold) mode is chosen. The instrument captures and holds
the maximum noise level for a long period using any of the time weightings and
ranges.
• When HOLD (data hold) mode is chosen. The hold function freezes the reading
in the display. Press the HOLD button momentarily to activate or to exit the HOLD
function.
7. Level Range Select Button.
Lo: 30 - 100dB.
Hi:
60 - 130dB.
Note: When “OVER” is indicated, the ranges witch to another range for measurement.
8. MAX/HOLD Button.
The “Max/Hold” position is used to measure the maximum level of sounds. The
maximum measured level is up dated continuously. Pressing the button again will
release the hold and allow a further measurement.
Data Hold button: Press and hold the Button for over 2 second to turn on or off data
hold function.
The hold function freezes the reading in the display.
9. Microphone.
½ inch Electret Condenser microphone.
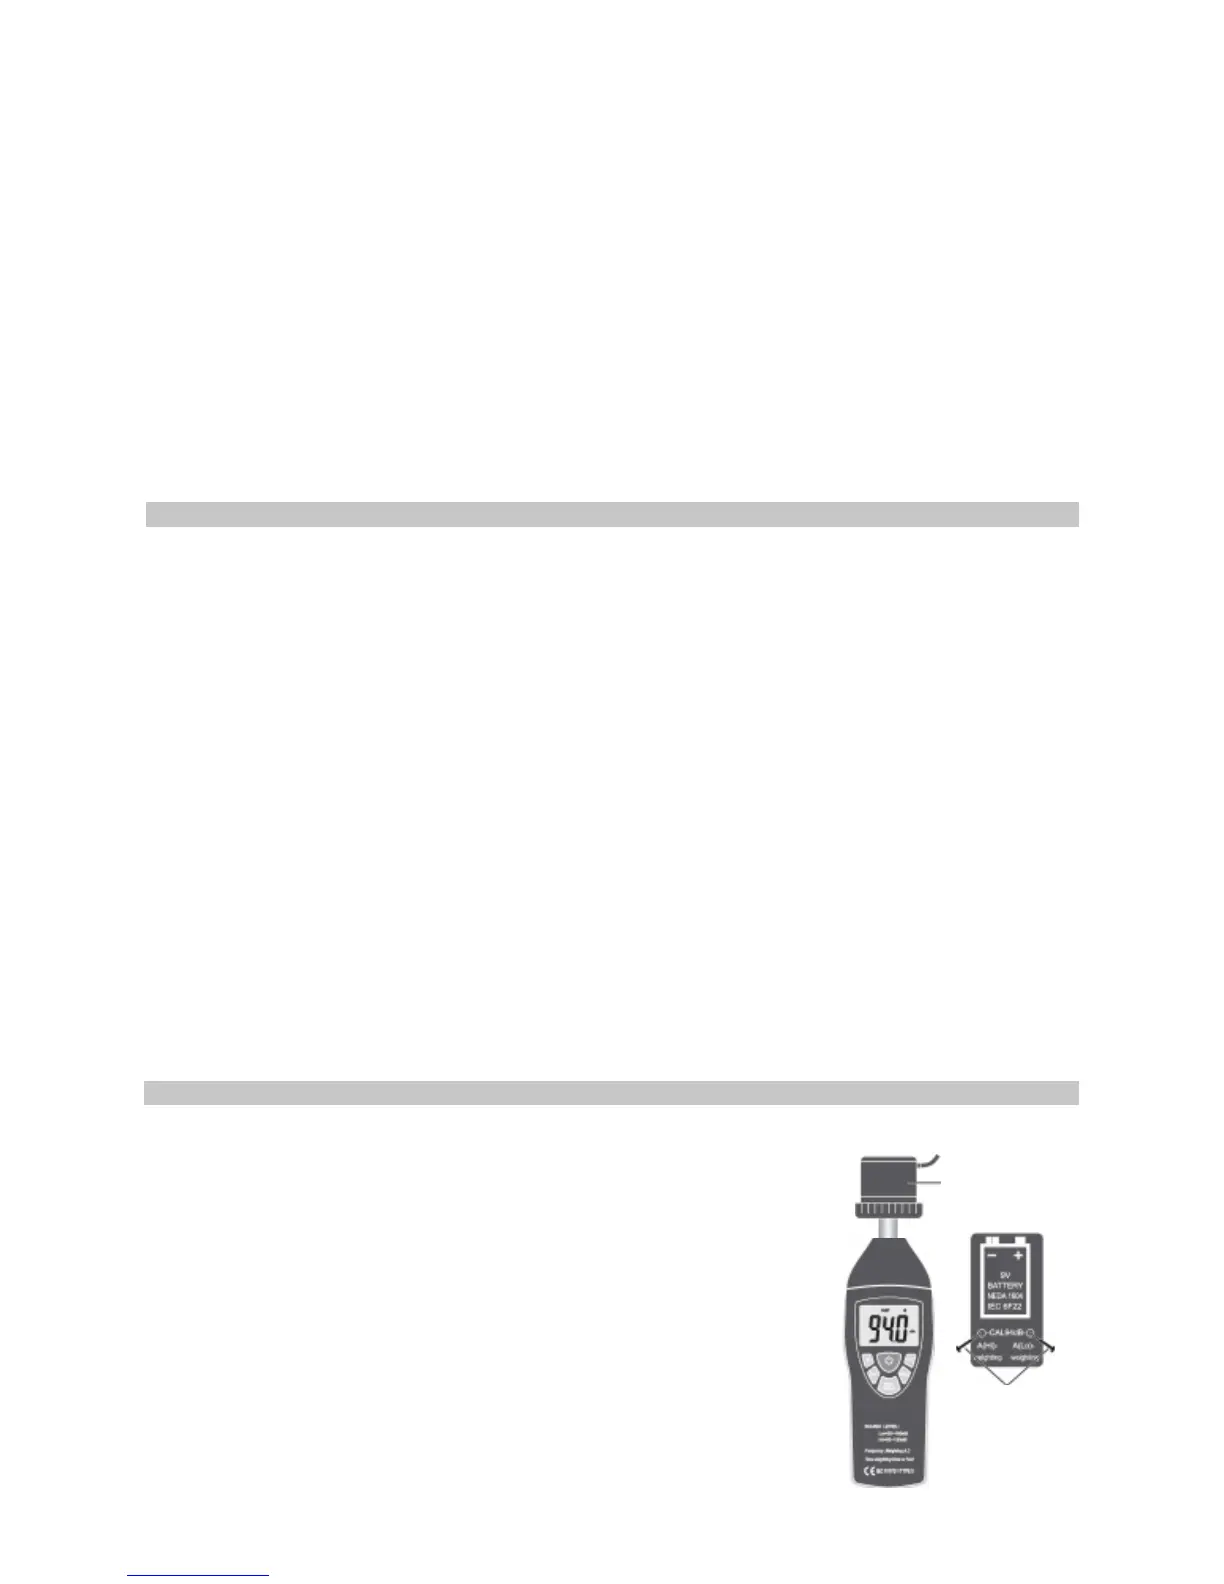
10. Battery Cover.
CALIBRATION FUNCTION
• Using a standard Acoustic Calibrator (94dB, 1 kHz Sine wave) make the following
buttons and function switch settings.
1. Display: dB, A, Hi or Lo, F.
2. Function: A-Weighting.
3. Response Time: FAST.
4. Level range: 30-100dB (Lo) or 60-130dB (Hi).
5. Measurement mode: MAX Hold and Data Hold Mode function
disable.
• Insert the microphone housing carefully into the insertion
hole of the calibrator.
• Open battery cover and remove the battery to adjust the
CAL94dB potentiometer of the unit.
• The level display will indicate the level being detected.
Acoustic
Calibrator
Adjust with
screwdriver
 Loading...