8
SM 1988 Rev 1 11-00
Chassis - Articulation and Oscillation Pivot
Section 100-0020
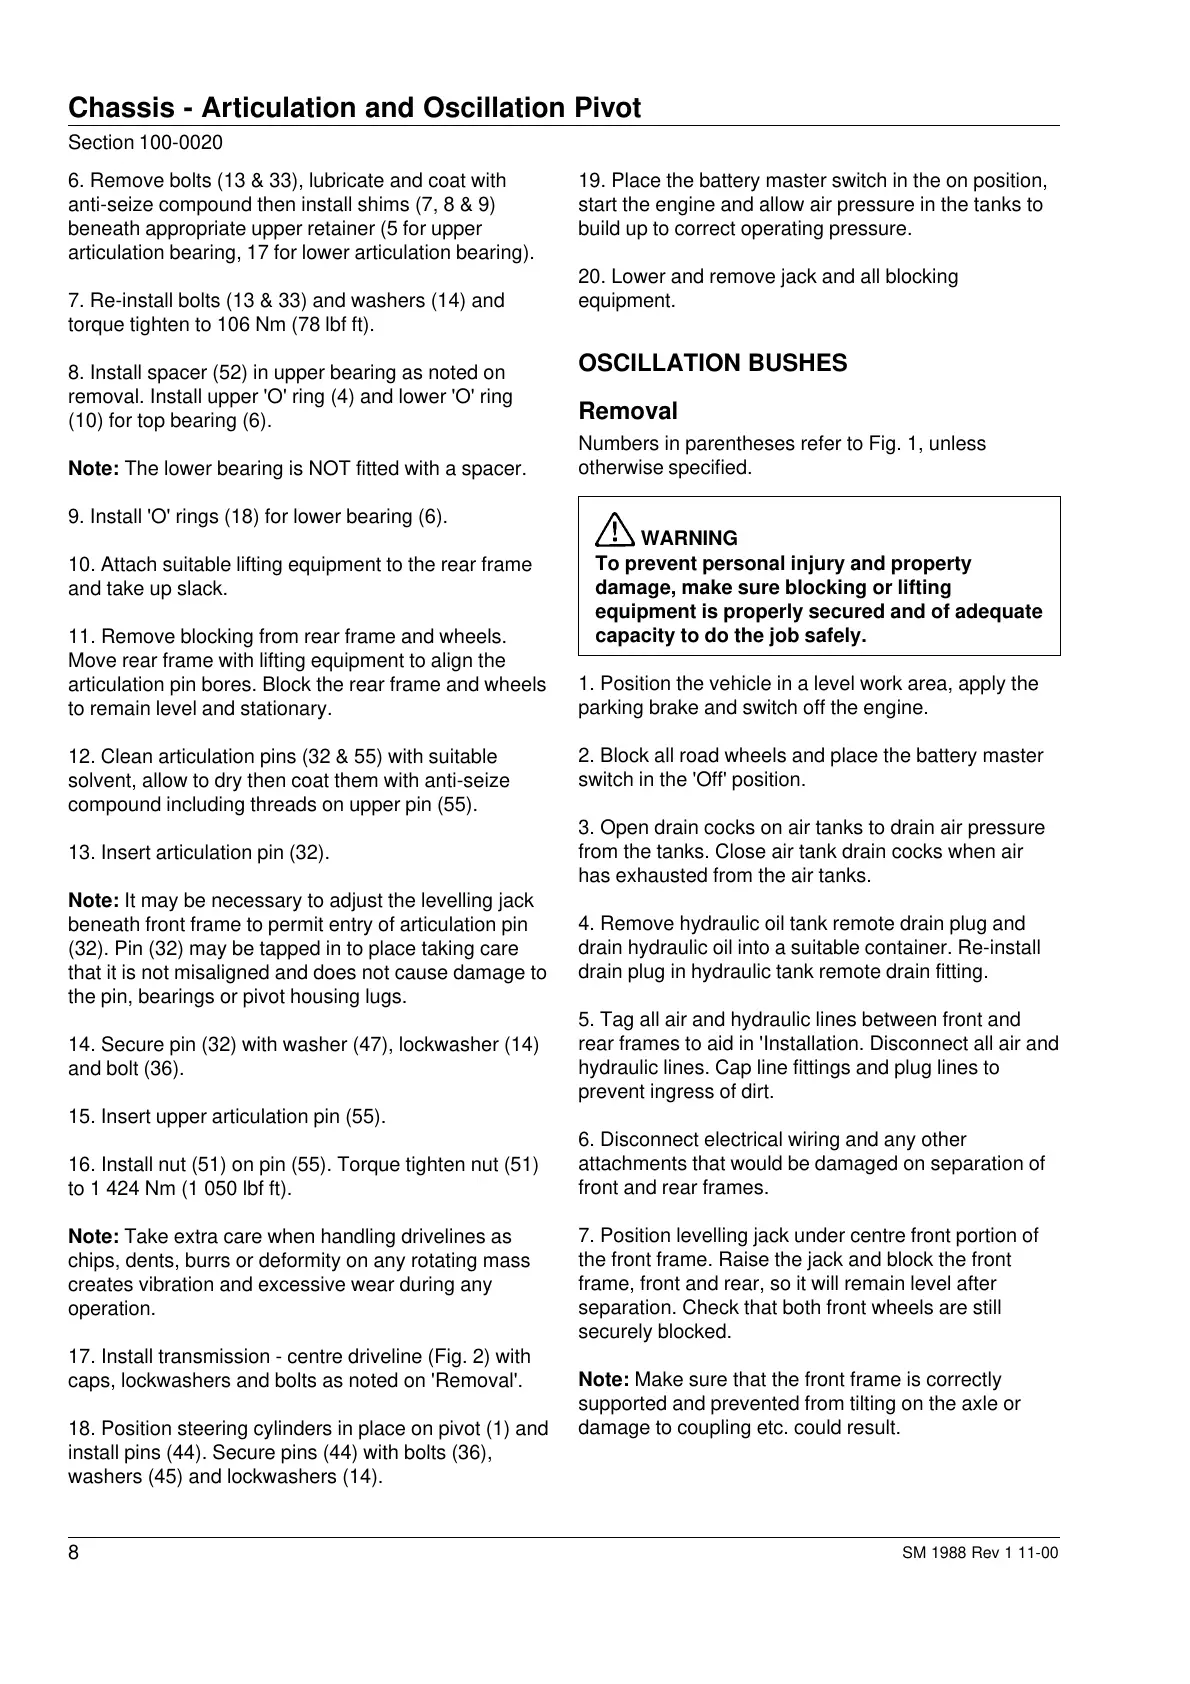
19. Place the battery master switch in the on position,
start the engine and allow air pressure in the tanks to
build up to correct operating pressure.
20. Lower and remove jack and all blocking
equipment.
OSCILLATION BUSHES
Removal
Numbers in parentheses refer to Fig. 1, unless
otherwise specified.
WARNING
To prevent personal injury and property
damage, make sure blocking or lifting
equipment is properly secured and of adequate
capacity to do the job safely.
1. Position the vehicle in a level work area, apply the
parking brake and switch off the engine.
2. Block all road wheels and place the battery master
switch in the 'Off' position.
3. Open drain cocks on air tanks to drain air pressure
from the tanks. Close air tank drain cocks when air
has exhausted from the air tanks.
4. Remove hydraulic oil tank remote drain plug and
drain hydraulic oil into a suitable container. Re-install
drain plug in hydraulic tank remote drain fitting.
5. Tag all air and hydraulic lines between front and
rear frames to aid in 'Installation. Disconnect all air and
hydraulic lines. Cap line fittings and plug lines to
prevent ingress of dirt.
6. Disconnect electrical wiring and any other
attachments that would be damaged on separation of
front and rear frames.
7. Position levelling jack under centre front portion of
the front frame. Raise the jack and block the front
frame, front and rear, so it will remain level after
separation. Check that both front wheels are still
securely blocked.
Note: Make sure that the front frame is correctly
supported and prevented from tilting on the axle or
damage to coupling etc. could result.
6. Remove bolts (13 & 33), lubricate and coat with
anti-seize compound then install shims (7, 8 & 9)
beneath appropriate upper retainer (5 for upper
articulation bearing, 17 for lower articulation bearing).
7. Re-install bolts (13 & 33) and washers (14) and
torque tighten to 106 Nm (78 lbf ft).
8. Install spacer (52) in upper bearing as noted on
removal. Install upper 'O' ring (4) and lower 'O' ring
(10) for top bearing (6).
Note: The lower bearing is NOT fitted with a spacer.
9. Install 'O' rings (18) for lower bearing (6).
10. Attach suitable lifting equipment to the rear frame
and take up slack.
11. Remove blocking from rear frame and wheels.
Move rear frame with lifting equipment to align the
articulation pin bores. Block the rear frame and wheels
to remain level and stationary.
12. Clean articulation pins (32 & 55) with suitable
solvent, allow to dry then coat them with anti-seize
compound including threads on upper pin (55).
13. Insert articulation pin (32).
Note: It may be necessary to adjust the levelling jack
beneath front frame to permit entry of articulation pin
(32). Pin (32) may be tapped in to place taking care
that it is not misaligned and does not cause damage to
the pin, bearings or pivot housing lugs.
14. Secure pin (32) with washer (47), lockwasher (14)
and bolt (36).
15. Insert upper articulation pin (55).
16. Install nut (51) on pin (55). Torque tighten nut (51)
to 1 424 Nm (1 050 lbf ft).
Note: Take extra care when handling drivelines as
chips, dents, burrs or deformity on any rotating mass
creates vibration and excessive wear during any
operation.
17. Install transmission - centre driveline (Fig. 2) with
caps, lockwashers and bolts as noted on 'Removal'.
18. Position steering cylinders in place on pivot (1) and
install pins (44). Secure pins (44) with bolts (36),
washers (45) and lockwashers (14).
Courtesy of Machine.Market


 To Next Page
 Loading...