- 7 -
direction error will be introduced when the outdoor sensor is not installed in right
direction.
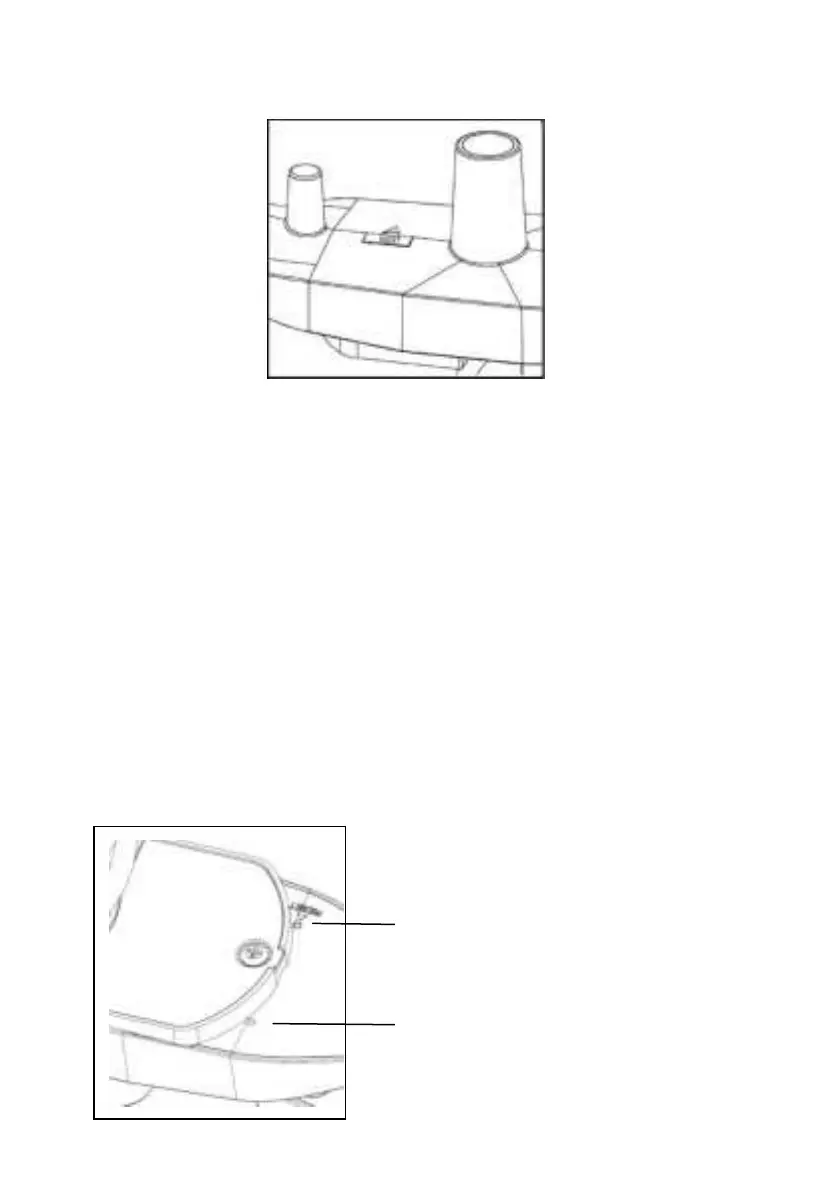
Figure 9
Now look at the bubble level. The bubble should be fully inside the red
circle. If it is not, wind direction, speed, and rain readings may not operate
correctly or accurately. Adjust the mounting pipe as necessary. If the
bubble is close, but not quite inside the circle, and you cannot adjust the
mounting pipe, you may have to experiment with small wooden or heavy
cardboard shims between the sensor package and the top of the mounting
pole to achieve the desired result (this will require loosening the bolts and
some experimentation).
Make sure you check, and correct if necessary, the westly orientation as
the final installation step, and now tighten the bolts with a wrench.
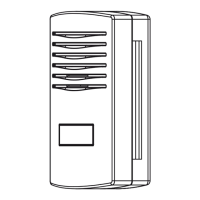
3.6 Reset Button and Transmitter LED
Using a bent-open paperclip, press and hold the RESET BUTTON (see
Figure 10) to affect a reset: the LED turns on while the RESET button is
depressed, and you can now let go. The LED should then resume as
normal, flashing approximately once every 48 seconds.