ASSEMBLY
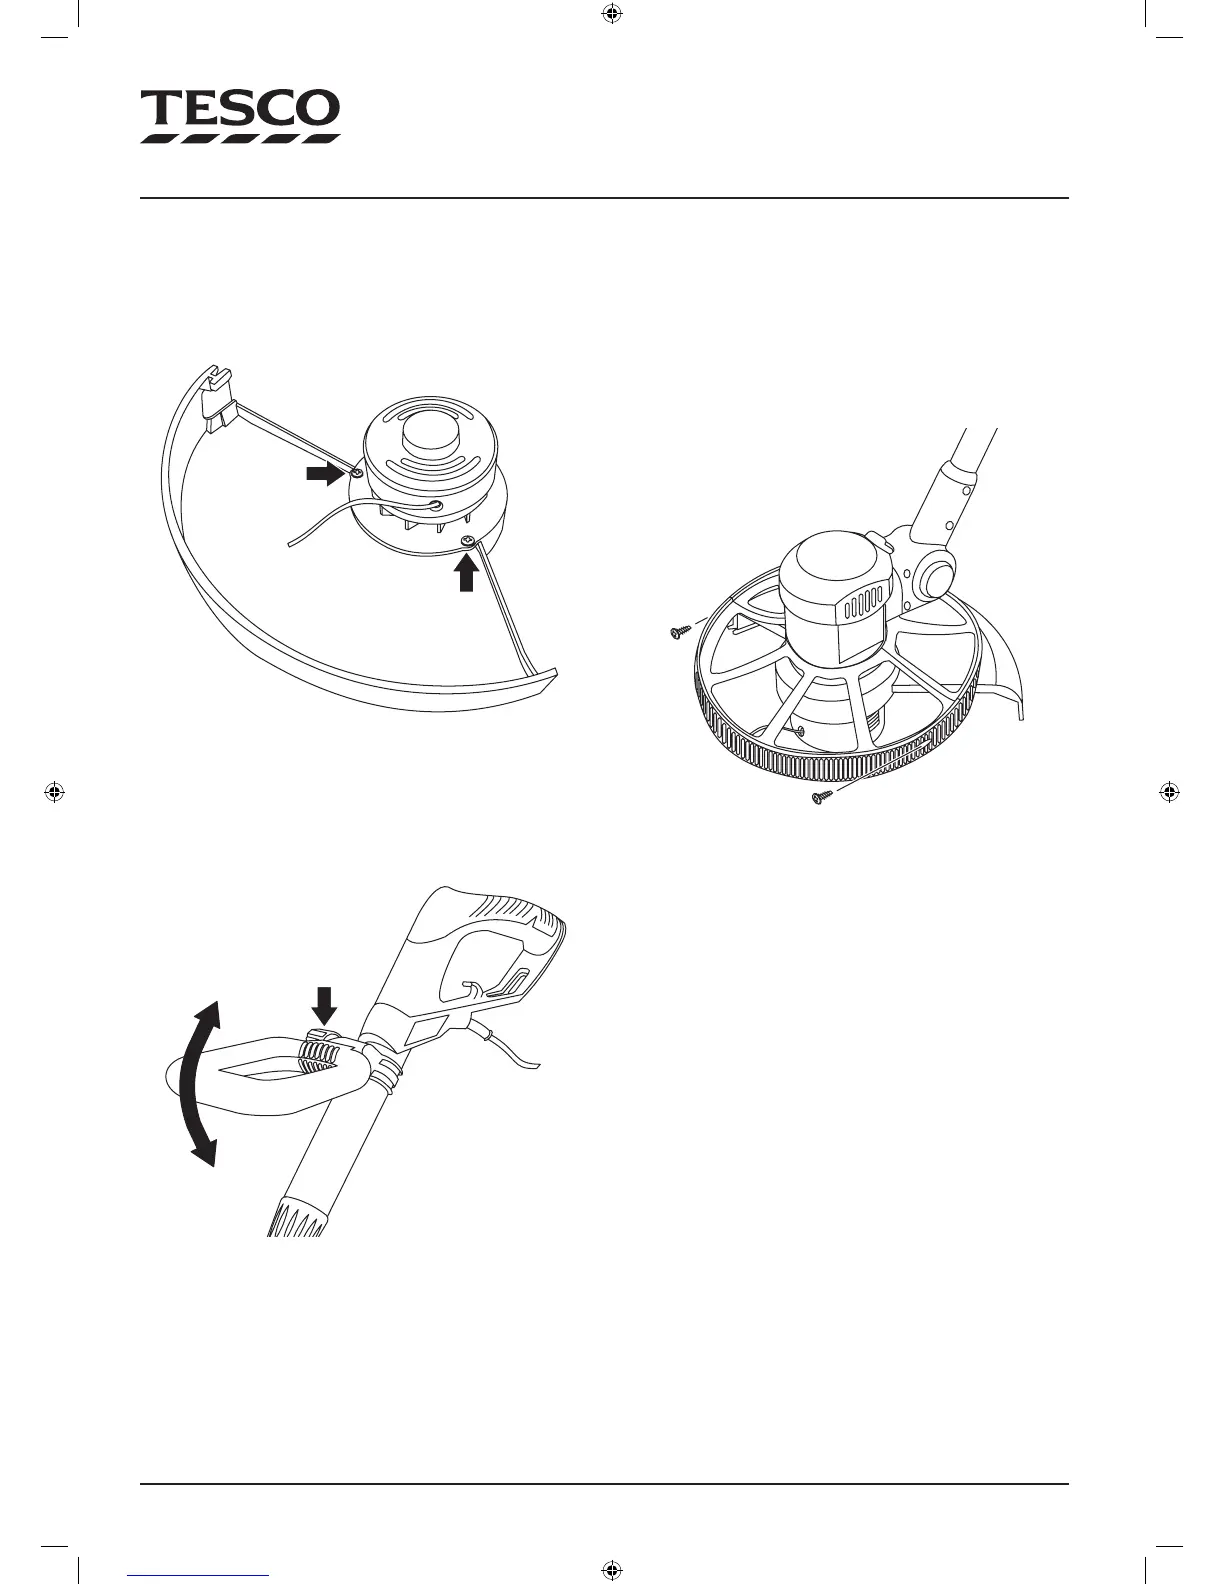
Fitting Protective Guard
Remove the guard securing screws (x 2, arrowed). •
Fit the guard onto the motor housing as shown
and re-t the screws to secure the guard.
Carefully peel o the protective tape over the •
cutting blade tted into the guard.
Assembling the Front Handle.
Remove the Lock Knob and bolt, then re-assemble •
these with the front handle tted to the bracket
as shown.
Adjust the handle to a comfortable position.•
Lock the handle in place by tightening the Handle •
Lock Knob (arrowed).
Adjust
Lock
Assembling the edging wheel
The edging wheel is provided to enable trimming
for lawn edges etc. It can be tted as an option if you
need to use the edging feature.
The wheel is supplied in two halves which are xed
together with screws.
Assemble the two halves of the wheel to the •
trimmer head as shown.
Fix the two halves of the wheel together with the •
two screws provided.
Once tted, the wheel can remain in place whether
trimming horizontally or edging.