INS181-2 3
1.3 Wiring
It is strongly recommended that the system is completely powered down
(mains and battery) before wiring a keypad. Connect the keypad to the
control panel using 4-core cable as follows:
Keypad Control Panel
+ Data Bus +
- Data Bus -
T Data Bus T
R Data Bus R
Up to six keypads may be connected in parallel (‘star’) or series
(‘daisy-chain’) or any combination.
When using long cable runs or connecting keypads in series
(‘daisy-chain’) ensure that the voltage at the keypad is no less than
10.0V.
When using 6-core or 8-core cable always use the spare cores to
‘double-up’ on 0V. This will allow longer cable runs particularly when
connecting keypads in series (‘daisy-chain’). As a rule ‘trebling-up’ on
0V will be more beneficial than ‘doubling-up’ on 12V and 0V.
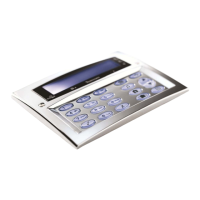
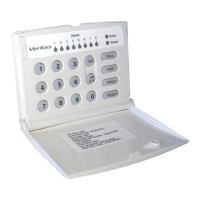
The Premier RKP8/16 Plus has two fully programmable zone inputs (Z1 COM
Z2). For information on wiring configuration options please refer to the
Premier 412/816 Installation Manual.
1.4 Programming
When the system is powered up it automatically checks and configures all
connected keypads.
In order to use the keypad zones, you must first enable the zones using
Menu 43 Option 1 (refer to the Premier 412/816 Installation Manual). When a
keypad has its zones enabled they are mapped onto the system as shown:
Keypad Address RKP Z1 RKP Z2
1 Zone 9 Zone 10
2 Zone 11 Zone 12
3 Zone 13 Zone 14
4 Zone 15 Zone 16
5 Not Available Not Available
6 Not Available Not Available