2322
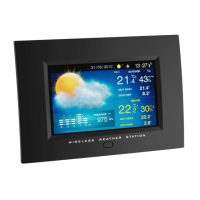
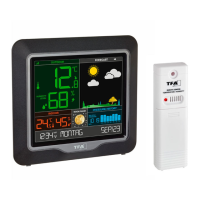
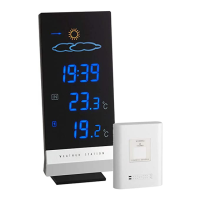
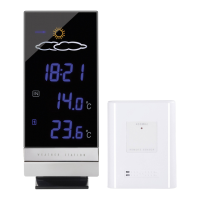
Wireless weather station with photo viewer
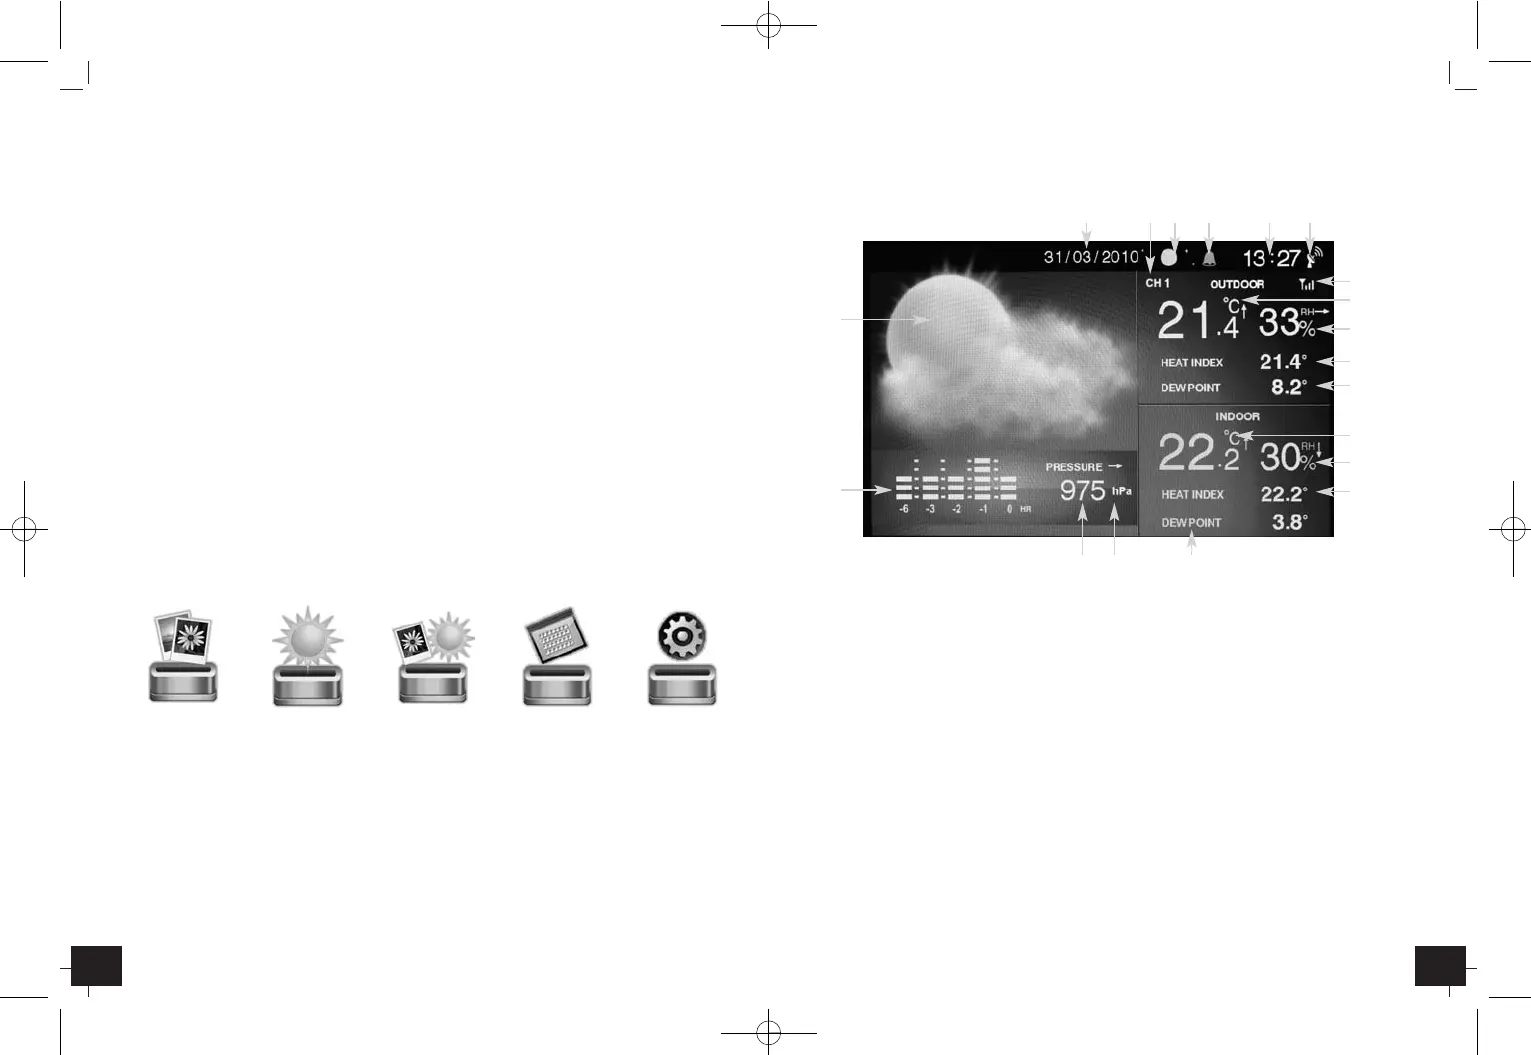
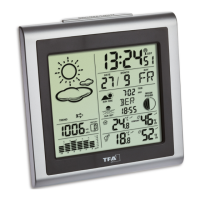
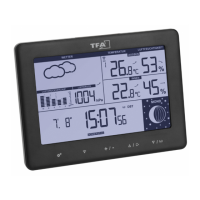
3.1.2 Weather
• On the display appear the actual weather, the moon phase, date and time.
• Please set the setting options in the Setup menu.
Q
Weather forecast with weather symbols
W
Bar graph indication of the last 6 hours
E
Absolute atmospheric pressure (in hPa, mb, InHg, mmHg)
R
Tendency of atmospheric pressure
T
Indication of the dew point for indoor (in °C/°F)
Y
Indication of the heat index for indoor (in °C/°F)
U
Indication of indoor temperature (in °C/°F) with trend pointer
I
Indication of the indoor humidity with trend pointer
O
Indication of the dew point for outdoor (in °C/°F)
P
Indication of the heat index for outdoor (in °C/°F)
{
Indication of the outdoor humidity with trend pointer
}
Indication of outdoor temperature (in °C/°F) with trend pointer
q
Outdoor transmitter reception icon
w
DCF symbol
e
Radio controlled clock (24/12 hour mode)
r
“Alarm on” icon
t
Indication of moon phase
y
Date (day, month or month, day)
u
Channel number of the remote sensor 1, 2 or 3
Wireless weather station with photo viewer
Please take note of the following:
• Recommended distance to any interfering sources like computer monitors or TV sets is
a minimum of 1.5 - 2 metres.
• Within ferro-concrete rooms (basements, superstructures), the received signal is natu-
rally weakened. In extreme cases, please place the unit close to a window and/or point
its front or back towards the Frankfurt transmitter.
• During night-time, the atmospheric disturbances are usually less severe and reception
is possible in most cases. A single daily reception is adequate to keep the accuracy
deviation below 1 second.
2.2.3 Setting the weather symbols
• For a correct weather forecast, the actual weather condition has to be set in the Setup
menu when getting started the instrument.
• Press EXIT button.
• Choose “Setup” with button.
• Choose “Weather Forecast” with or button.
• Choose “Partly Cloudy / Cloudy / Rainy / Stormy / Sunny” with or button.
• Confirm with ENTER button.
• If you prefer, you can do further settings (see 3.1.5)
• Press EXIT button.
3. Operation
3.1 Menu selection
• If EXIT or MENU button will be pressed, the menu selection appears:
Photo Weather Weather & Photos Calendar Setup
• Choose with or button, which menu should be processed.
• Confirm with ENTER button.
3.1.1 Photos
• Plug a USB stick or memory card (SD, MMC) in the space provided.
• With the navigation buttons you can view the single pictures or you can access the
pictures as a slideshow. Choose the settings in the Setup menu.
• Buttons on the IR remote control:
Slideshow – Start/Stop (II) the slideshow
Zoom – Enlarge image (x2, x4, x8, x16)
Rotate – Rotate image (90°, 180°, 270°)
W
E R T
y u t r e w
Q
q
Y
O
P
{
}
I
U
TFA_No. 35.1104 Anleitung 12.05.2010 14:35 Uhr Seite 12