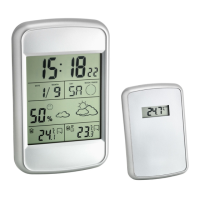
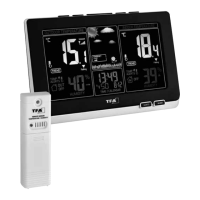
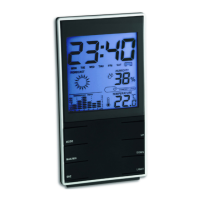
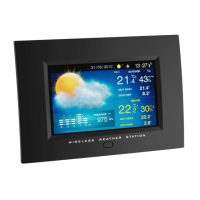
LOOK – Wireless Weather Station
1716
LOOK – Wireless Weather Station
•
Confirm with TIME button.
•
Day-of-week language: German (GE), English (EN), Italian (IT), French (FR), Dutch (NE),
Spanish (SP) and Danish (DA).
•
Holding UP or DOWN button, you will enter fast mode.
•
The instrument will quit automatically the setting mode, if there is no button used within
8 seconds.
7.2 12 and 24 hours system indication
•
Press UP button in normal mode to choose 12 HR or 24 HR system.
•
In 12 HR system PM appears on the display after 12 h.
7.3 Alarm setting
•
Press and hold ALARM button.
•
“AL” appears on the display.
•
The hour digit is flashing. Press UP or DOWN button to adjust hours.
•
Press ALARM button again and you can adjust the minutes with the UP or DOWN button.
•
Holding UP or DOWN button, you will enter fast mode.
•
Confirm with ALARM button and the display shows the current time.
•
Press ALARM button again and the alarm function is activated.
•
appears on the display.
•
Once the alarm starts to ring, flashes.
•
Press any button to stop the alarm.
•
You can activate the snooze function by pressing the SNZ button.
•
and are flashing and the alarm will be interrupted for 5 minutes.
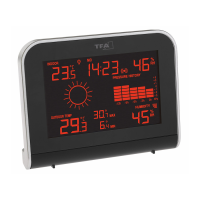
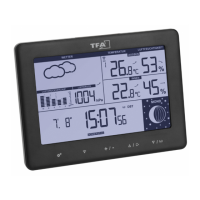
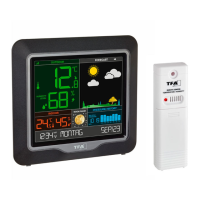
8. Thermometer and hygrometer
8.1 Display change °C/°F
•
Press DOWN button to change between °C (Celsius) or °F (Fahrenheit) as temperature
unit.
8.2 Trend pointer
•
The trend pointer displayed on the LCD indicates if the temperature is increasing, steady
or decreasing.
8.3 Comfort level
•
On the display appears a smiling, normal or sad face icon to indicate the comfort level of
indoor climate.
8.4 Weather forecast symbols
•
There are 4 different weather symbols (sunny, slightly cloudy, cloudy, rainy).
•
The weather symbol is based on the changes of humidity values.
8.5 Maximum/minimum function
•
Press MAX/MIN button to show the maximum (MAX) values of indoor temperature and
humidity and outdoor temperature. Press MAX/MIN button again to show minimum
(MIN) values.
•
Hold MAX/MIN button for 3 seconds to clear the recorded maximum and minimum read-
ing.
8.6 Outdoor temperature alarm (channel 1-3)
•
Press the ALERT button for 3 seconds.
•
and 70 °C (default) or the last adjusted upper temperature limit appear on the display.
•
Press the UP or DOWN button to adjust the desired upper temperature limit.
•
Confirm with the ALERT button.
•
and -50 °C (default) or the last adjusted lower temperature limit appear on the dis-
play.
•
Press UP or DOWN button to adjust the desired lower temperature limit.
•
Confirm with the ALERT button.
•
The alarm is activated. appears on the display.
•
Press the ALERT button again to deactivate the alarm function. disappears.
8.6.1 Case of alarm
•
In the case of an alarm the corresponding symbol flashes and an alarm sound is
activated. You can stop the alarm by pressing any button.
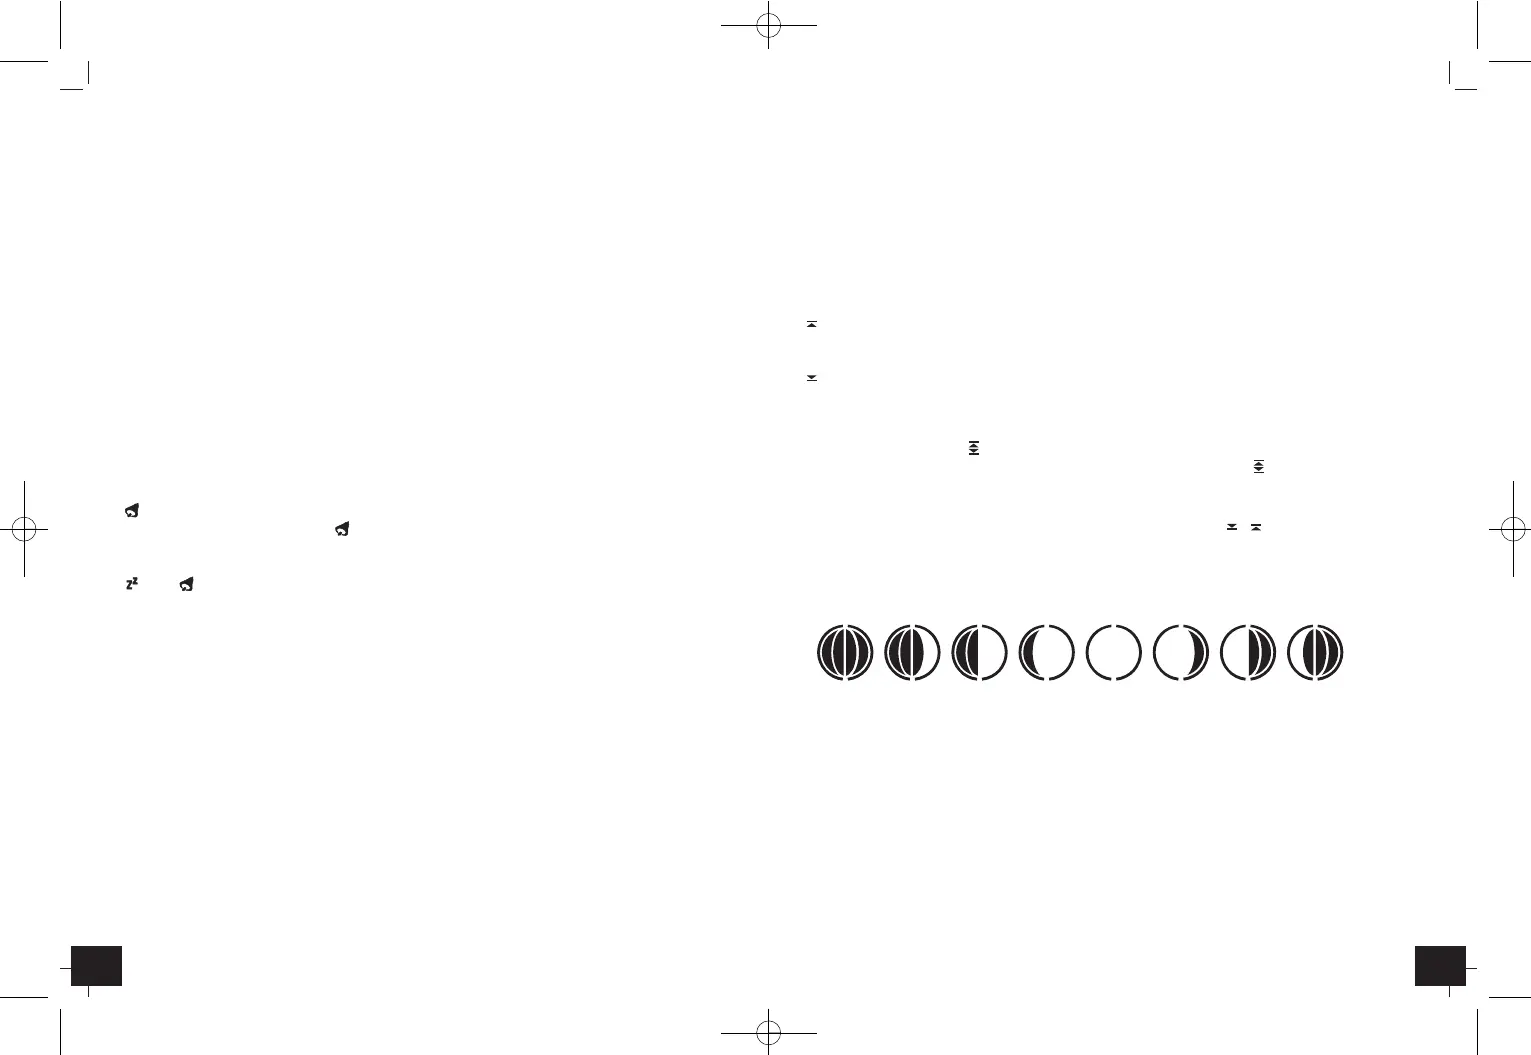
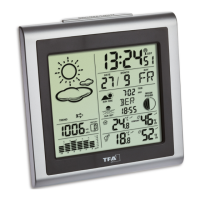
8.7 Moon phase display
•
The moon phase of each day is shown on the LCD.
A: New Moon B: Waxing Crescent
C: First Quarter D: Waxing Gibbous
E: Full Moon F: Waning Gibbous
G: Last Quarter H: Waning Crescent
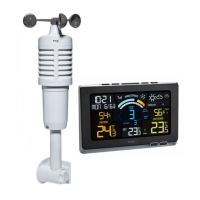
9. Transmitter
•
The sensor will automatically transmit the outdoor values to the weather station after
batteries are inserted.
•
Press °C/°F button on the transmitter to change the temperature unit on the sensor dis-
play from °C to °F.
•
After successful installation close the battery compartment of the transmitter carefully.
ABCDEFGH
TFA_No. 35.1123_Anleit_09_13 01.10.2013 09:34 Uhr Seite 9