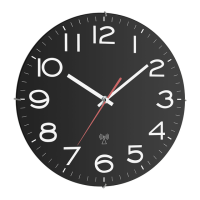
Radio-controlled clock with temperature
Radio-controlled clock with temperature
10 11
Thank you for choosing this instrument from TFA.
1. Before you use this product
• Please make sure you read the instruction manual carefully.
This information will help you to familiarise yourself with your new device, to learn all of its functions and parts, to
find out important details about its first use and how to operate it, and to get advice in the event of faults.
• Following and respecting the instructions in your manual will prevent damage to your instrument and loss of your
statutory rights arising from defects due to incorrect use.
• We shall not be liable for any damage occurring as a result of non-following of these instructions. Likewise, we
take no responsibility for any incorrect readings or for any consequences resulting from them.
• Please pay particular attention to the safety notices!
• Please keep this instruction manual safe for future reference.
2. Delivery contents
• Radio-controlled clock
• Instruction manual
3. Field of operation and all of the benefits of your new instrument at a glance
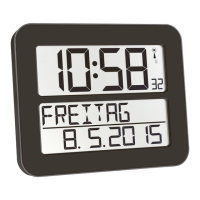
• Very clearly laid out with week days written in full letters (in 7 languages) and the entire date
• For an easier temporal orientation, ideal for seniors
• Highest precision radio-controlled clock and manual setting option
• Calendar week, dual time, two alarm times, snooze function, indoor temperature
• Ideal for home, office, waiting room, lobby or entrance hall and as a gift
• For wall mounting or table standing
4. For your safety
• This product is exclusively intended for the field of application described above. It should only be used as described
within these instructions.
• Unauthorized repairs, modifications or changes to the product are prohibited.
Caution!
Risk of injury:
• Keep this device and the batteries out of reach of children.
• Small parts can be swallowed by children (under three years old).
• Batteries contain harmful acids and may be hazardous if swallowed. If a battery is swallowed, this can lead to serious
internal burns and death within two hours. If you suspect a battery could have been swallowed or otherwise caught in
the body, seek medical help immediately.
• Batteries must not be thrown into a fire, short-circuited, taken apart or recharged. Risk of explosion!
• Low batteries should be changed as soon as possible to prevent damage caused by leaking.
• Never use a combination of old and new batteries together, nor batteries of different types.
• Avoid contact with skin, eyes and mucous membranes when handling leaking batteries. In case of contact, immediate-
ly rinse the affected areas with water and consult a doctor.
Important information on product safety!
• Do not expose the device to extreme temperatures, vibrations or shocks.
• Protect it from moisture.
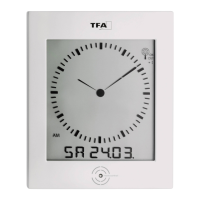
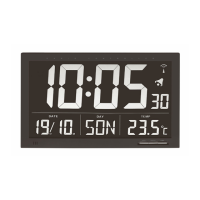
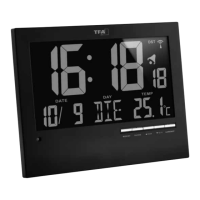
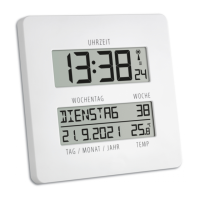
5. Elements and buttons
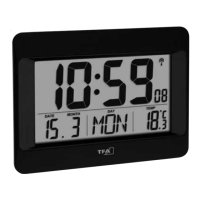
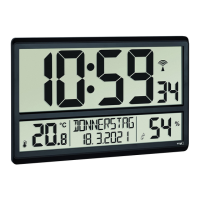
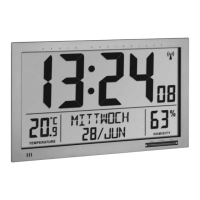
LCD display
A1: Time, seconds and symbols A2: Day of the week and calendar week
A3: Date and indoor temperature
Buttons backside
B1: SET button B2: ALARM button
B3: UP button B4: DOWN button
B5: WAVE button B6: SNOOZE button
Housing
C1: Wall mount hole C2: Battery compartment
C3: Stand (fold out)
6. Getting started
• Pull the protective foil off the display.
• Open the battery compartment and insert two new batteries 1,5 V AAA.
• Make sure that the polarity is correct.
• Close the battery compartment again.
• The device will alert you with a beep and all LCD segments will be displayed for a short moment.
• The clock will now scan the DCF frequency signal and the DCF symbol will be flashing on the LCD. When the time code
is received successfully after 3-10 minutes, the radio-controlled time is displayed and the date and the DCF symbol is
displayed steadily in the LCD.
• The DCF reception always takes place at 1:00, 2:00 and 3:00 o’clock in the morning. If the reception is not successful-
ly received at 3:00 o’clock, it shall be held further attempts until 5:00 o’clock.
• If there is no reception possible, manual initialization can be helpful.
• Press and hold WAVE button for 3 seconds.
• The DCF symbol will be flashing.
• To deactivate the DCF reception, press and hold WAVE button for three seconds. The DCF symbol disappears.
• There are 3 different reception icons:
flashing - reception is activ
stays - reception is very good
no symbol - reception is deactivated
• If the clock cannot detect the DCF-signal (for example due to disturbances, transmitting distance, etc.), the time can
be set manually. The DCF symbol disappears and the clock will then work as a normal quartz clock. (see: Manual set-
ting of the clock and calendar).
TFA_No. 60.4509_Anleit_02_23 10.02.2023 17:52 Uhr Seite 6
 Loading...