2726
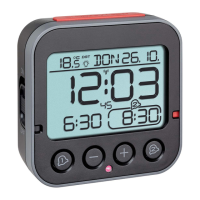
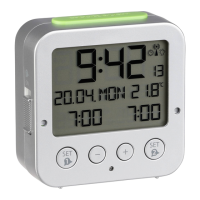
BINGO – Radio-controlled alarm clock
• If the DCF reception is enabled (ON), you can set the time zone after
confirmation with the SET button (TZ appears on the display and 0
default will be flashing).
• Press the – or + button to adjust the time zone (-9/+9).
• The time zone setting is needed for countries where the DCF signal can
be received but the time zone is different from the DCF time (e.g. +1=one
hour later).
• Confirm the setting with the SET button.
• Press the SET button to make the settings in the following sequence: the
hours, the minutes, the year, the month, the day, the temperature unit
(default °C), the day-of-week language (default German), and the button
tone (default OFF). Press the – or + button to adjust it.
• Confirm the setting with the SET button.
• By a successful reception of the DCF reception signal and if the DCF
reception is activated (ON), the manually set time will be overwritten.
7.1.1 Setting of the temperature unit
• Press the – or + button to toggle between Celsius (°C) or Fahrenheit (°F)
as temperature unit select.
• Confirm the setting with the SET button.
7.1.2 Setting of the day-of-week language
• Adjust the desired day-of-week language with the – or + button: German
(D), English (EN), French (FR), Spanish (ES), Italian (IT) or Dutch (NL).
• Confirm the setting with the SET button.
BINGO – Radio-controlled alarm clock
7.1.3 Setting of the button tone
• Normally the button tone (beep) is disabled (OFF).
• Press the – or + button to activate the button tone (ON).
• Confirm the setting with the SET button.
8. Alarm
• The alarm clock has two alarms with different alarm tones.
8.1 Setting of the first alarm time
• Press the SET 1 button in normal mode.
• 7:00 (default) or the last adjusted alarm time appears on the display.
• The hour digits flash.
• Press the – or + button to adjust the hours.
• Confirm the setting with the SET 1 button.
• The minute digit will be flashing. Press the – or + button to adjust the
minutes.
• Confirm the setting with the button SET 1.
• The adjusted alarm time appears on the display.
• To activate the alarm function, move the switch AL 1 ON/OFF upwards
(ON). At the same time, the point is highlighted in color and around the
alarm time a frame appears with the alarm symbol:
TFA_No. 60.2531_Anl_12_21 19.12.2021 11:16 Uhr Seite 14


 To Next Page