2928
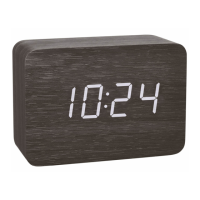
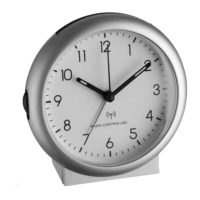
CLOCCO – Wood style radio-controlled alarm clock with large LED digits
CLOCCO – Wood style radio-controlled alarm clock with large LED digits
7.1.2 Alarm time setting
• Press the SET button in normal mode to enter the setting mode.
• 6:00 (default) or the last adjusted alarm time appear on the display.
• The hour digits flash.
• Press the UP or DOWN button to adjust the hours.
• Confirm with the SET button.
• Set the minutes in the same way.
• Confirm with the SET button.
• To activate the alarm function slide the ALARM switch to ON.
• The alarm symbol appears on the display.
• When the adjusted alarm time is reached, the alarm rings.
• Press any button to stop the alarm.
• If the alarm is not stopped manually, the ascending alarm tone automatically turns off after 3 minutes and it will be reactivated at the same set time on
the following day.
• The alarm symbol remains on the display.
• To deactivate the alarm function slide the ALARM switch to OFF. The alarm symbol disappears.
7.1.1.1 Display mode
• Each press on the UP button in normal mode will change the display between: Time, date or indoor temperature.
• d-1: In this mode the last selected display is permanently active.
• d-2: After 10 seconds, the display automatically reverts to the clock mode.
• d-3: Time, date and indoor temperature in sequence
7.1.1.2 Automatic dimming function
• By default, the automatic dimming function is disabled (A-of).
• If the automatic dimming function is activated (A-on), the weak backlight (brightness level L3) turns on automatically between 19:00 and 6:59 am
(see ”Display light”).
7.1.1.3 DCF reception
• By default, the DCF reception is activated (dCF 1) and after successful reception of the DCF signal no manual adjustment is necessary.
• Press the UP or DOWN button if you want to deactivate the DCF reception (dCF 0).
• Once the DCF time reception is deactivated the clock and date must be manually set.
TFA_No. 60.2549_Anleitung_07_20 08.07.2020 9:45 Uhr Seite 15