Note:
Should after checking the above list and the outdoor temperature is still not received, then reset the
units (see Resetting the Remote Thermo below).
RESETTING THE REMOTE THERMO:
1. Remove the batteries from the Remote Thermo and the transmitter(s)
2. Wait at least 30 seconds and repeat the procedures specified in Setting up above.
Note:
Remember when resetting, all units have to be reset and to always insert the batteries into the
Remote Thremo first and then followed by the transmitter(s).
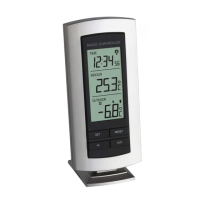
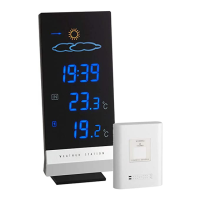
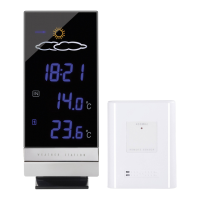
POSITIONING
Remote Thermo:
The Remote Thermo comes complete with a detachable stand that gives the option of table
standing or wall mounting.
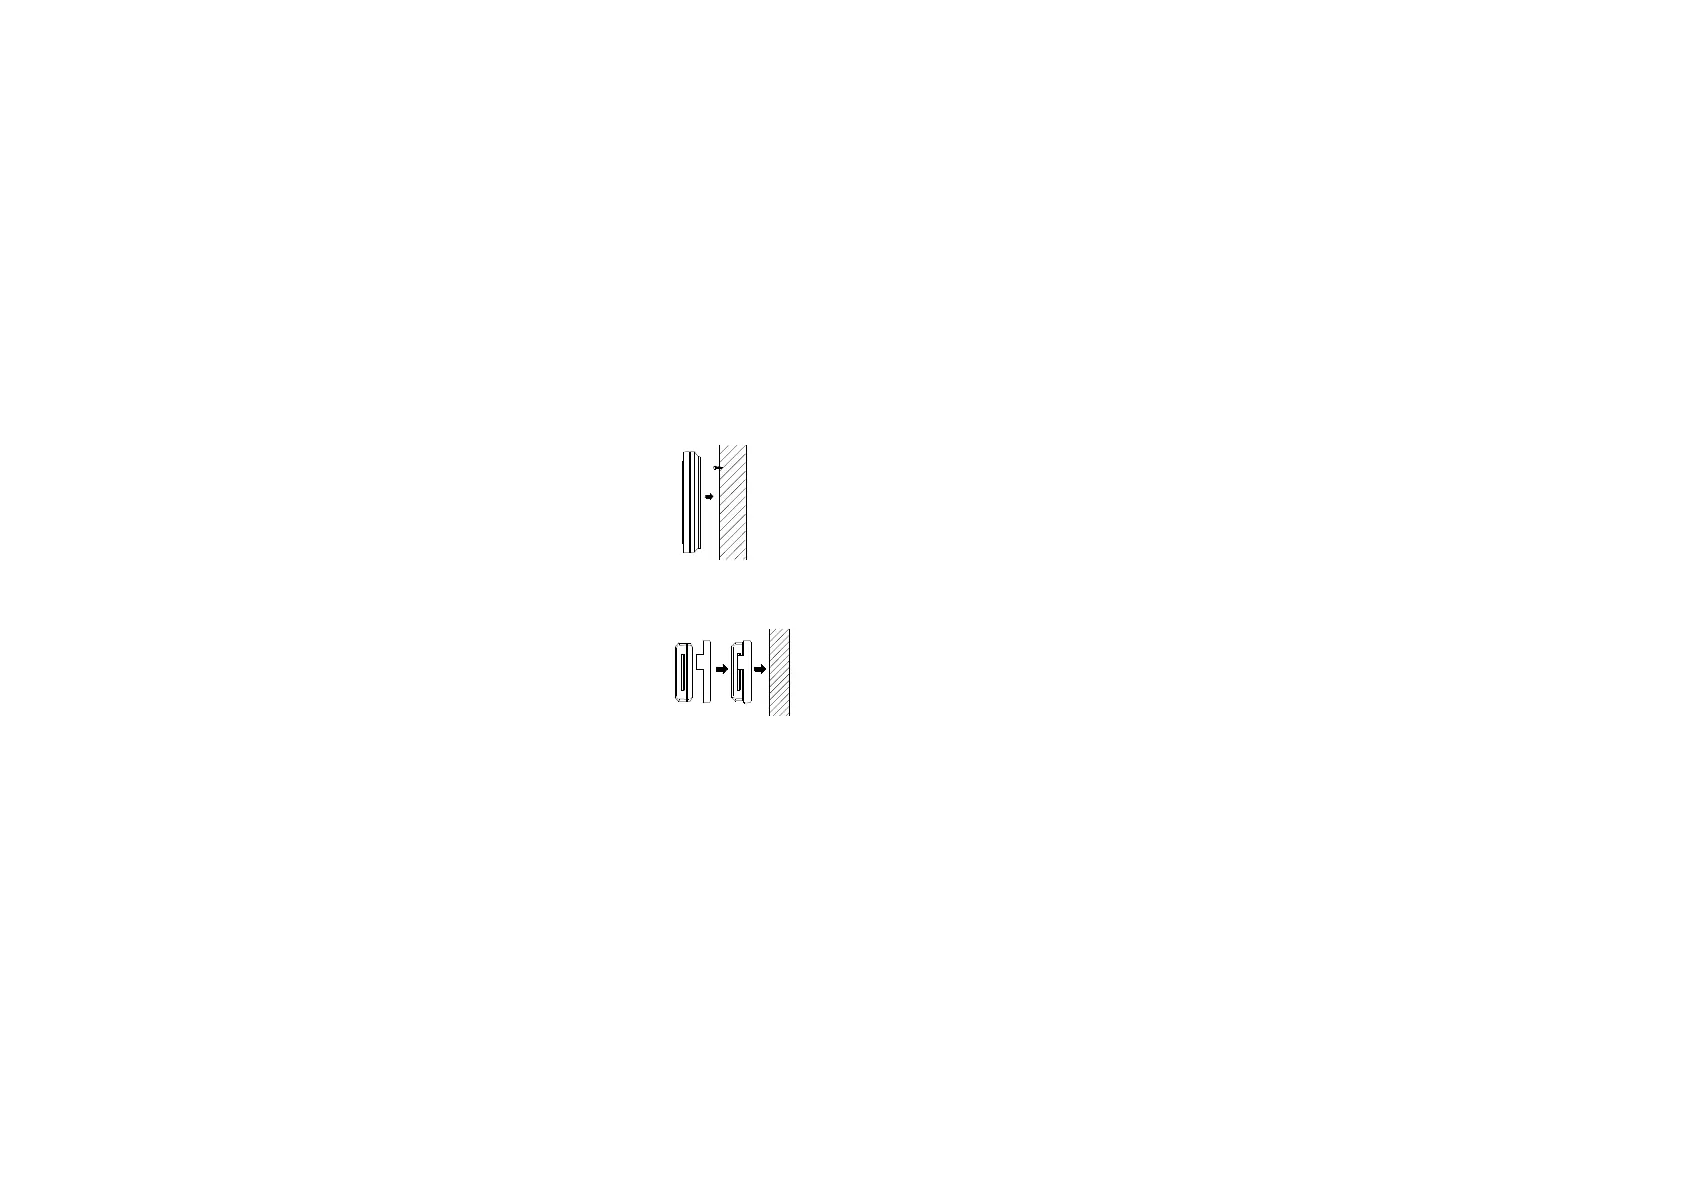
To wall mount:
1. Fix a screw into the desired wall, leaving the head extended out the by
about 5mm.
2. Using the Remote Thermo’s hanging hole, carefully hang it onto the
screw.
Note: Always ensures that the unit locks onto the screw head before releasing.
Outdoor transmitter:
The Outdoor Transmitter is supplied with a holder that may be attached to a wall with the three
screws or double-sided tape supplied.
To attach to the wall using screws, please follow the steps below:
1. Mark the wall using a pen through the holes in the holder to obtain
the exact drilling position.
2. Drill holes in the wall at the points marked.
3. Screw holder onto wall.