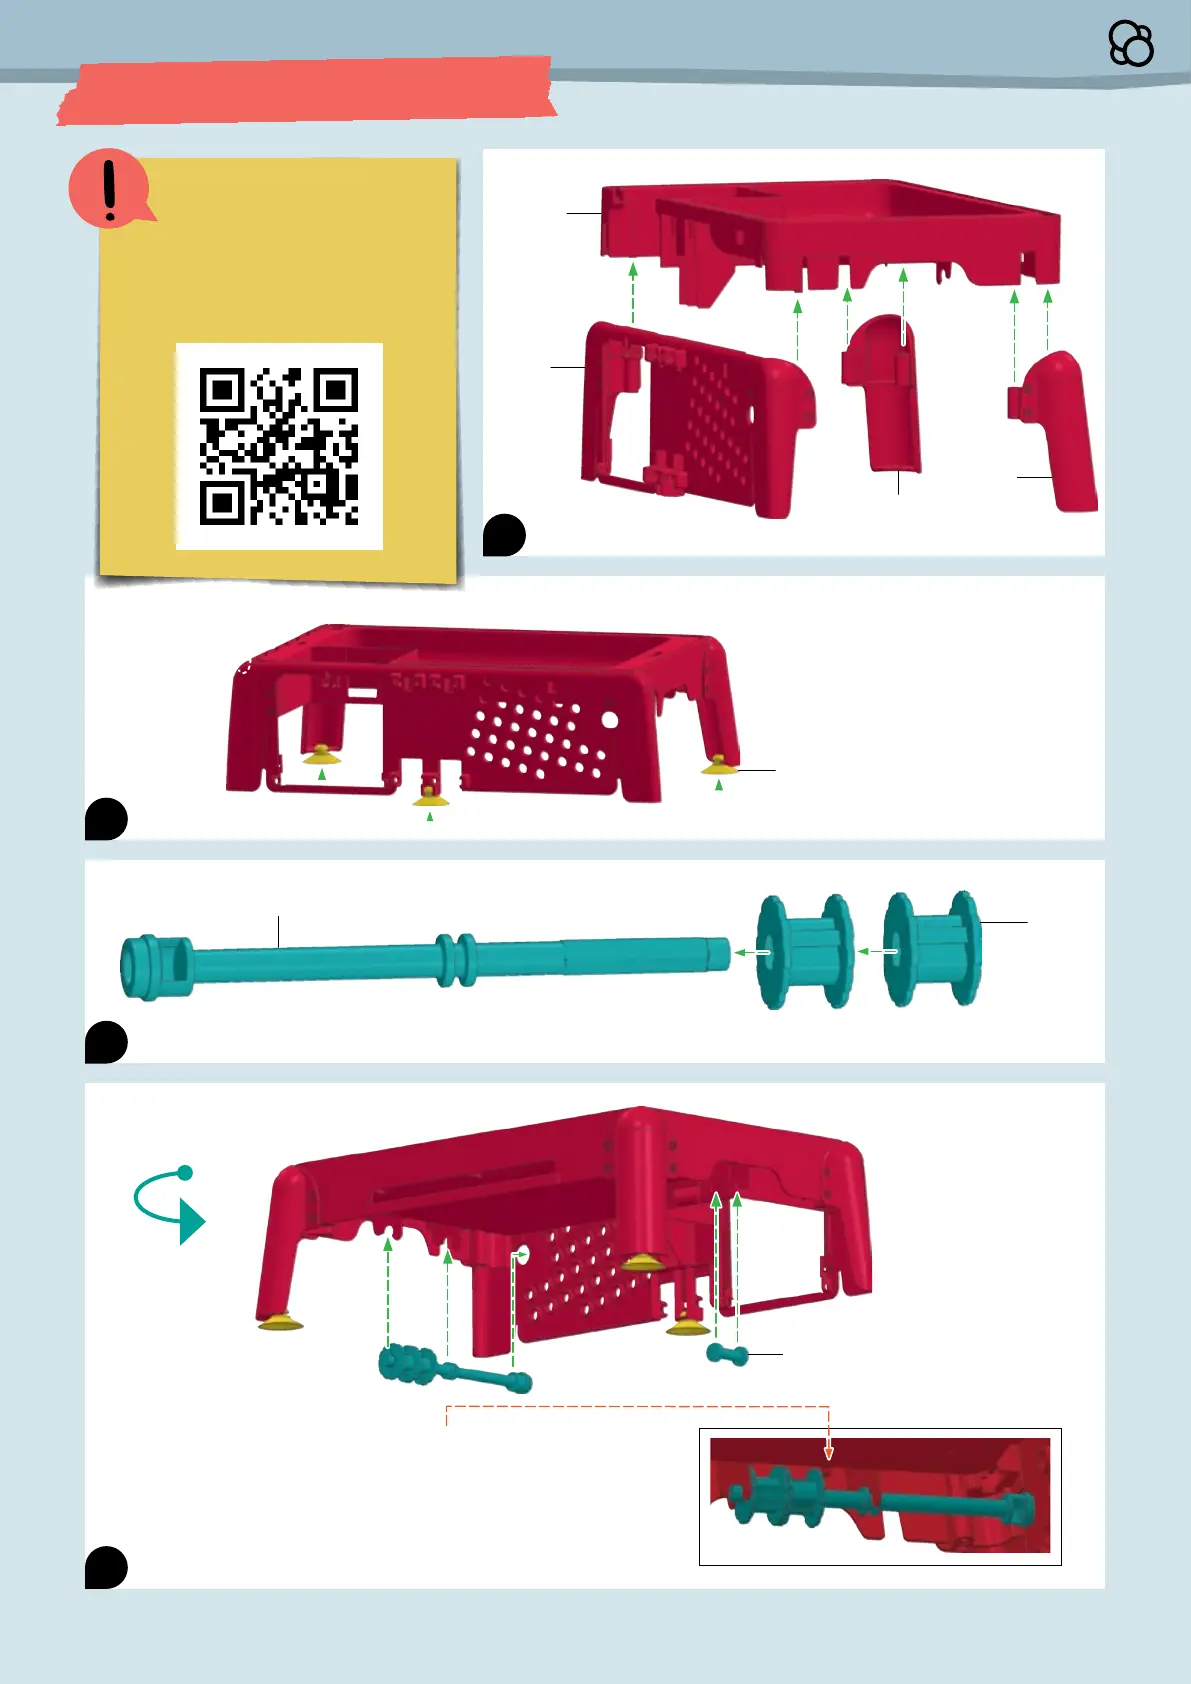
P14 x3
A9 x2
A8
P1
P2
P3
A1
P3
Note: If the suction cups get
stuck to your work surface
during assembly, you can
remove them from the model
until the end.
Back side
Note: There is a small tab on the bottom of P1. When
the spools (A9) are on the left side of the tab, they can
not rotate relative to the driveshaft (A1).
Later, when installing the ribbon (step 43), the spool
on the inside moves to the other side of the tab so that
it can spin freely without rotating the drive shaft.
33
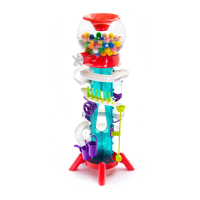
Assembling the Candy Claw Machine
CANDY CLAW MACHINE ASSEMBLY
I
Scan ths QR code to vew a
step-by-step assembly vdeo
and for more tps on buldng and
usng your andy law Machne

 Loading...