Let’s take a simple example:
It could be written as follows:
Or — even worse — as follows:
if (digitalRead(button1) == LOW) {
red = 255;
} else {
r
ed = 0;
}
if (digitalRead(button1) == LOW) {
red = 255;
} else {
red = 0;
}
if (digitalRead(button1) == LOW) {red = 255;} else
{red = 0;}
Indented
You may have wondered why a lot of the lines found in
the programming text are indented, or moved a little to
the right compared to the others. The reason for it is
simple: It makes the programming text easier to read.
All these versions mean the same thing, it’s just the
formatting that changes. And yet, in the first example
you can see the structure of the program at a glance. It
is easier to read the code.
That is why it makes sense to indent the program code
whenever it begins a new block. Also, as a rule, each
individual instruction should get its own line.
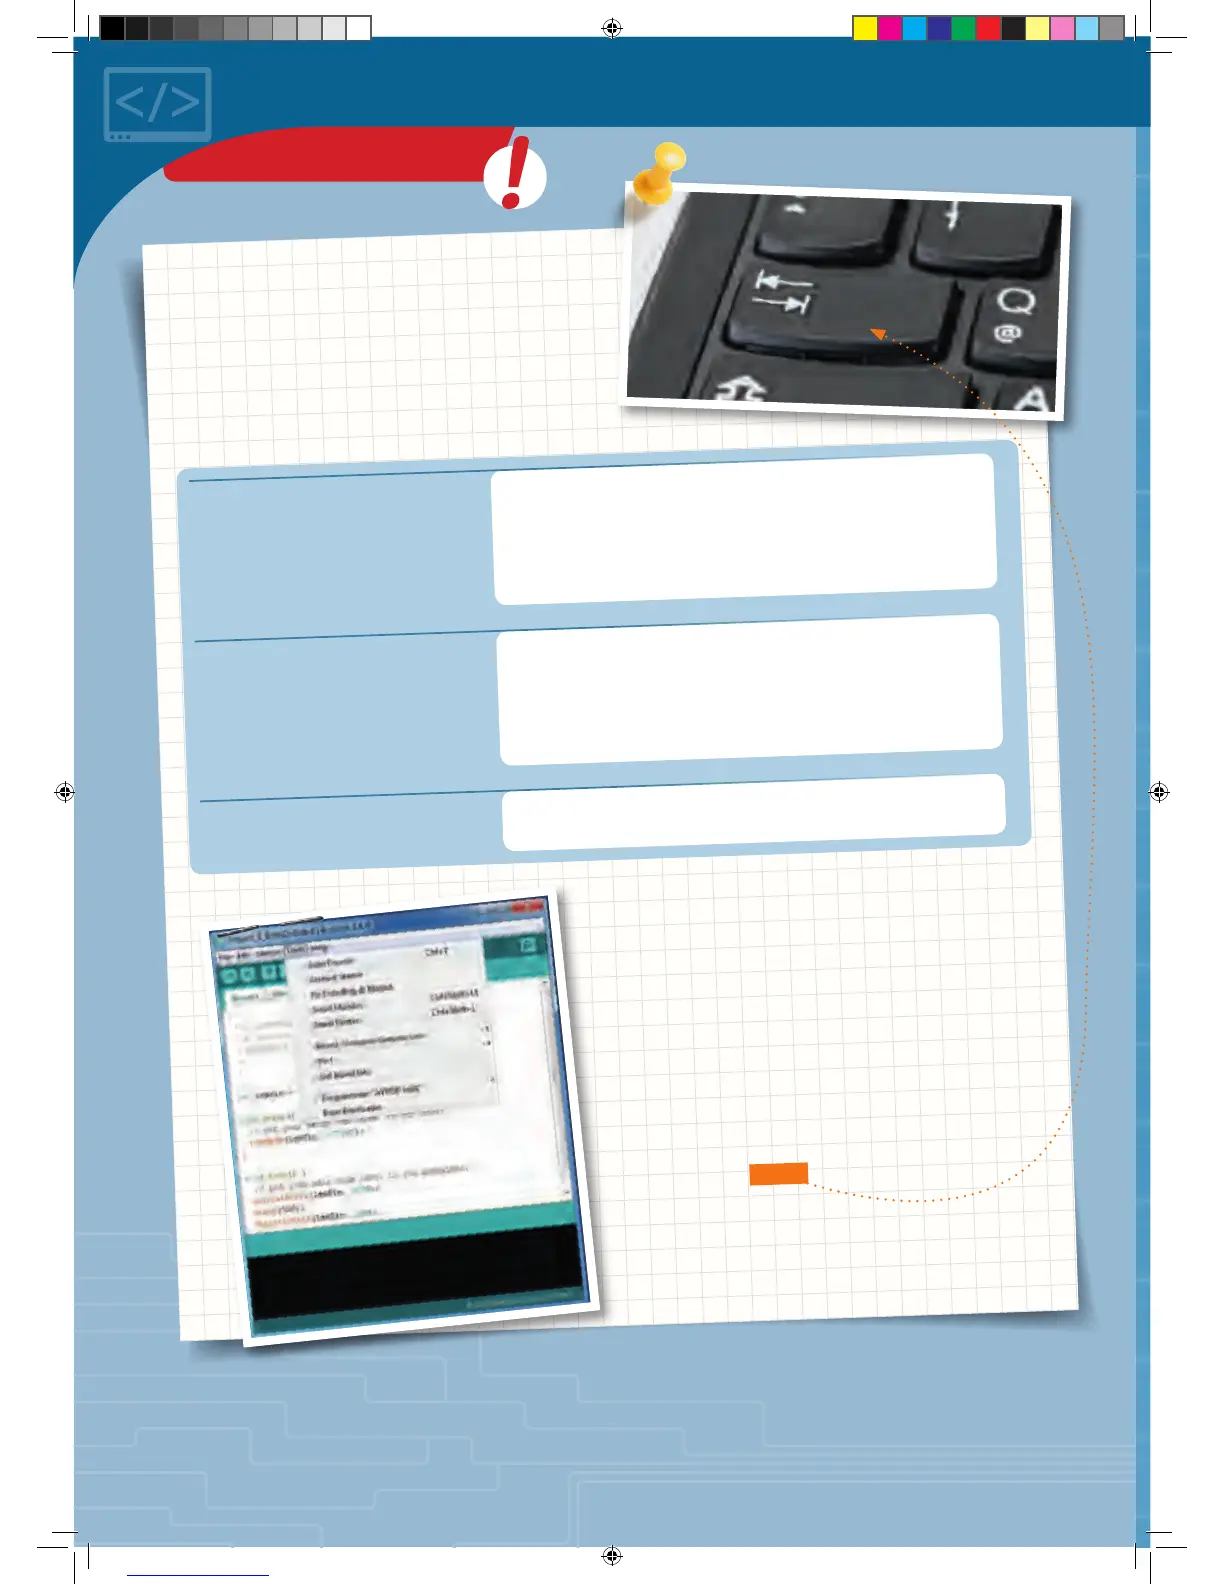
The Arduino environment will help you with this, and
usually moves new blocks to the right all by itself. If
you ever want to indent portions of text by hand,
though, use the tab key rather than the space key.
◀
Automatic formatting
KNOWLEDGE BASE
CodeGamer manual inside english.indd 58 7/19/16 12:33 PM