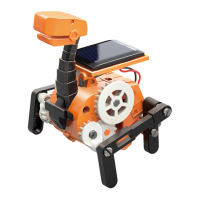
› › › TIPS FOR ASSEMBLY AND USAGE
Please read through the tips below before
starting and follow them during assembly
and usage.
• The same solar panel and motor are used
in each model. These are part of a module
called the solar gearbox. First, assemble
the solar gearbox following the steps on
pages 6–8, and then use it to assemble
each model, one at a time.
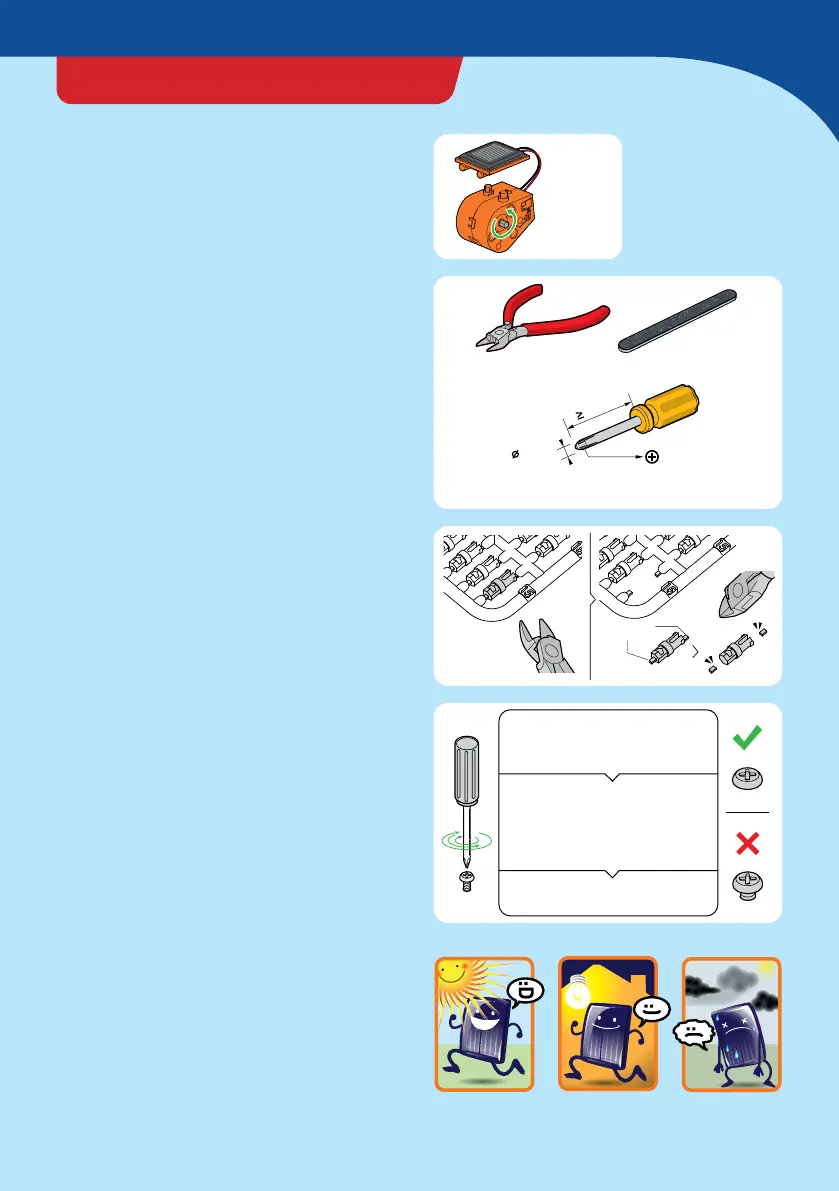
• You will need the tools shown to the right.
• Cut the plastic parts from their frames only
when they are required. Do not cut them in
advance.
• Use diagonal cutters or scissors to cut the
plastic parts from the frames.
• Remove excess material and burrs using a
cutter and a nail file before assembly. Look
closely at the illustrations of the parts in
this manual and be careful not to remove
any portion of the actual parts themselves.
• Use a screwdriver of the correct size.
Follow the steps to the right to fasten the
screw perfectly.
• Tighten the screw all the way in. If it is not
fastened tightly enough, the models may
not function properly, may wear more
quickly, and may fall apart.
• To power your model, put it in direct
sunlight. You can also power it indoors
using a lamp with a high-wattage (at least
50 watts) incandescent or halogen light
bulb, held a few inches above the solar
panel. Since there is no battery, energy is
not stored in the device. It operates as long
as it is exposed to a powerful enough light
source.
SolarBots
3
Diagonal cutters Nail file
Precision screwdriver
(recommended size: PH1)
50 mm
4~5 mm
PH1
Incorrect
Correct
Insert the tip of the screwdriver
into the top of the screw, aligning
it with the shaft of the screw.
(1) Turn the screwdriver to screw
in the screw.
(2) Feel the tension increasing.
(3) Keep screwing until the screw
is screwed all the way in.
Repeat until all the screws are
tightly fastened.
Solar
gearbox
50+
Watts
 Loading...