25
Basic Lighting Procedures
Familiarize yourself with the safety guidelines at
the front of this manual. Do not smoke while
lighting grill or checking gas supply connections.
Be sure the LP gas tank is filled or the Natural
Gas Line is attached to the gas source.
Check that the end of each Burner Tube is properly
located over each Valve Orifice.
Make sure all gas connections are securely
tightened.
Open the Grill Lid during lighting.
1.
2.
3.
4.
5.
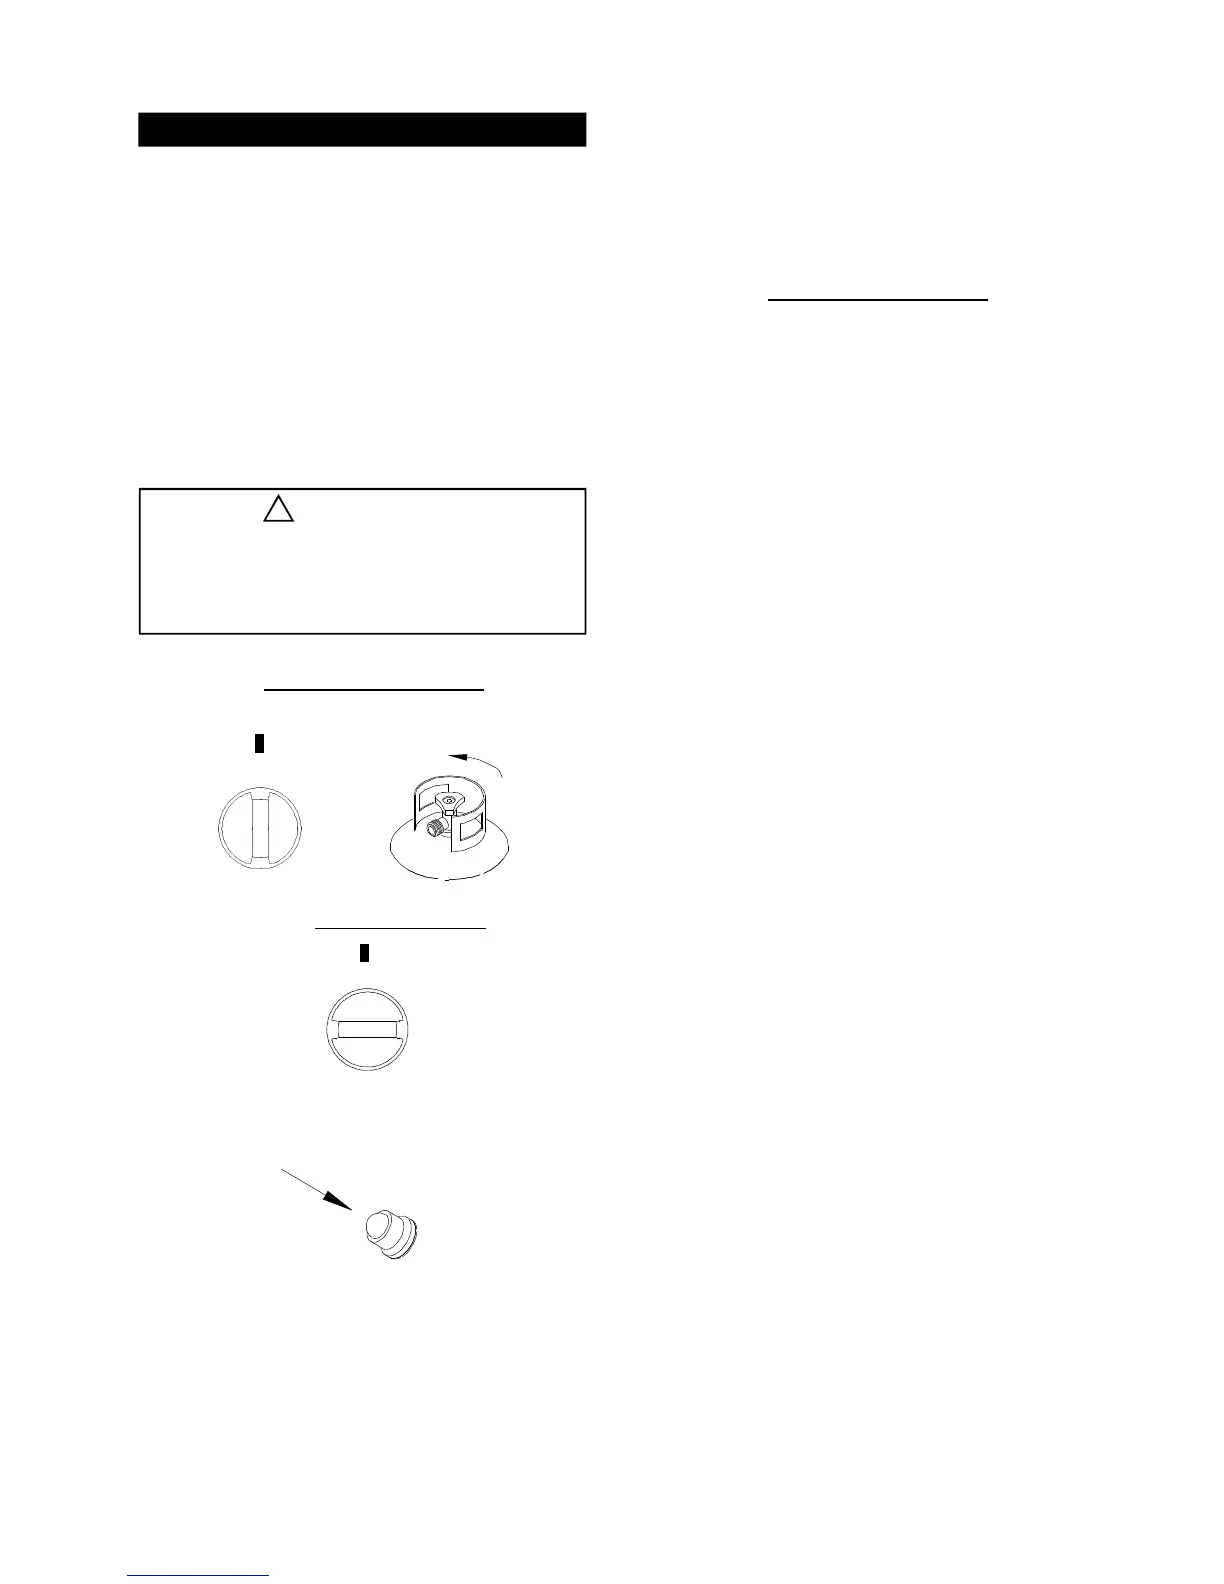
Set Control Knobs to OFF and open the LP gas
tank valve slowly until 1/4 to 1/2 open.
Push and turn the RIGHT Control Knob to HIGH.
Immediately press the Electric Ignitor for 3-4
seconds to light the Burner.
If ignition does not occur in 5 seconds, turn the
burner control(s) off, wait 5 minutes, and repeat the
lighting procedure.
Once the left grill burner is ignited, the adjacent
burner can be lit by simply turning its Control Knob
to HIGH.
Adjust Control Knobs to your desired cooking
temperature.
6.
7.
8.
9.
10.
11.
Open LP
gas tank
PRESS
Grill Lighting Instructions
OFF
HIGH
OFF
Failure to open Grill Lid during the
lighting procedures could result in a fire
or explosion that could cause serious
bodily injury, death, or property damage.
!
WARNING
Follow steps 1 through 4 of the Gas Lighting
Instructions.
Open Side Burner Lid.
Set Control Knobs to OFF and open the LP gas
tank valve slowly until 1/4 to 1/2 open.
Push and turn the Control Knob to HIGH. The built-
in spark ignitor will light the burner automatically.
You may have to push and turn the Control Knob up
to 3 or 4 times to light.
If burner does not light, turn gas off and wait 5 min-
utes before retrial or lighting by match.
1.
2.
3.
4.
5.
6.
Side Burner Lighting Instructions