Sound velocity
Note: The surface of the probe is made of propylene resin and is very sensitive to
heavy scratches on rough surfaces, so in application, push the probe gently on the
surface.
Automatic turn off
If within two minutes no operation performed, the unit turned off automatically.
4.2 The adjustment of sound velocity
if the screen currently displayed the thickness value, then push the VEL-key to enter
into sound velocity state. The screen will display the content of the current memory
unit of sound velocity. Each time the VEL-key is pushed the sound velocity memory
unit will change. Five different sound velocity values will be displayed in turn.
If the current displayed sound velocity is desired to be changed, the keys ▲-▼ can
be used to adjust the to the desired value. This value will be stored automatically as
one out of fives stored velocities.
4.3 Calibration
Each time the probe or battery is changed, calibration should be performed. This
step is rather critical to secure the measuring accuracy. If necessary, calibration can
be repeated several times. Take following steps:
Put a little coupling agent on the steel master testing block on the unit, which has
a thickness of 4.0mm.
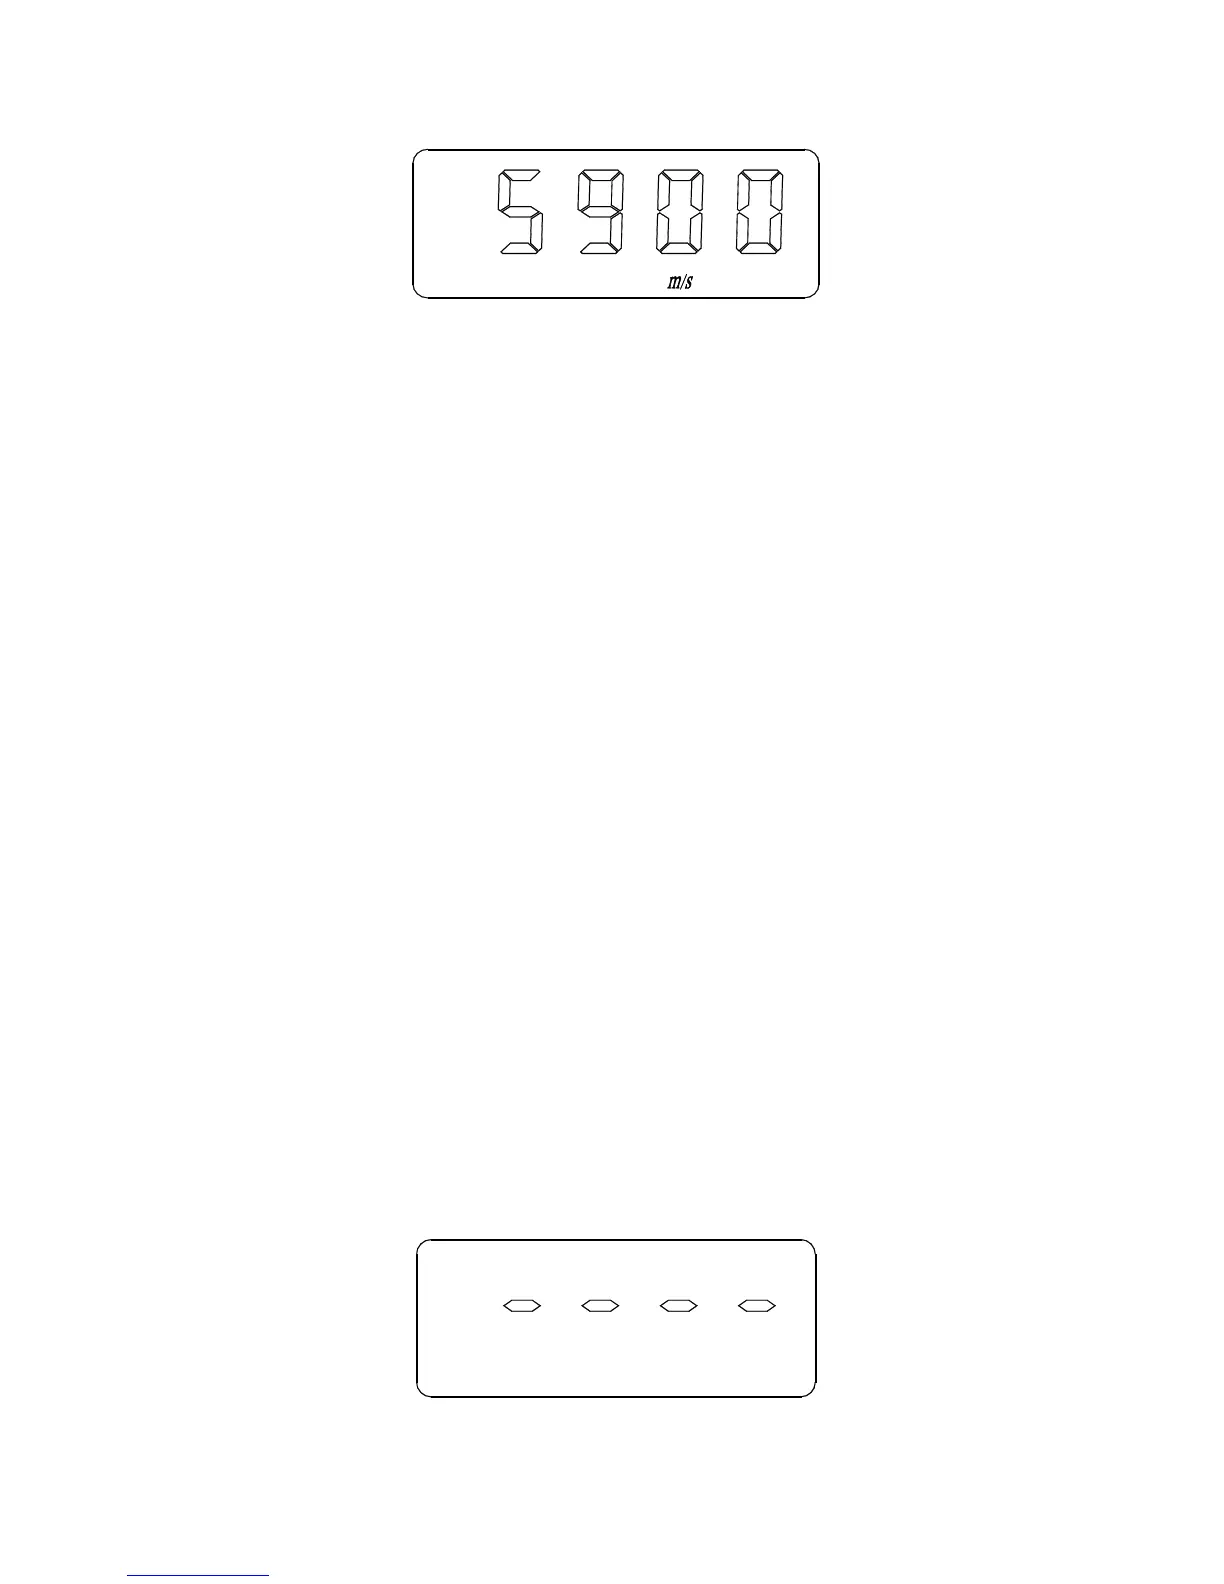
Adjust the sound velocity to 5900 m/s (steel) using the VEL-key and the keys ▲
-▼
Push the ZERO-key and enter into the state of calibration and then the screen
display:
5