Main functions
1) Automatic probe zero adjustment: automatically correct the system errors
2) Automatic non-linear compensation: within the full range, computer software is
used to correct the non-linear errors of the probe for the purpose of improving
the accuracy
3) Keys ▲-▼ are used for fast adjustment of sound velocity and thickness as well
as fast checking the thickness memory unit
4) Calibration to known sound velocity
5) Calibration to a known thickness (the sound velocity can be directly determined
according to a known thickness, avoiding the trouble of looking into table.)
6) Ten different thickness values can be stored and held after switch-off
7) Coupling indication: the stability can tell if the coupling is normal
8) Sound velocity of five different materials can be stored
9) Indication at low voltage
10) Automatic switch off
11) Oil proof keyboard with longer service life
3
4
Measuring steps
4.1 Preparations for measurement
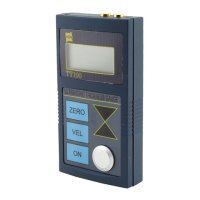
Connect the probe sockets to the connectors on top of the unit. Connect the
transmitting socket at the connector positioned at right, and the receiving socket to
the connection position left, holding the tester display in front.
Push On-key to turn on the unit.
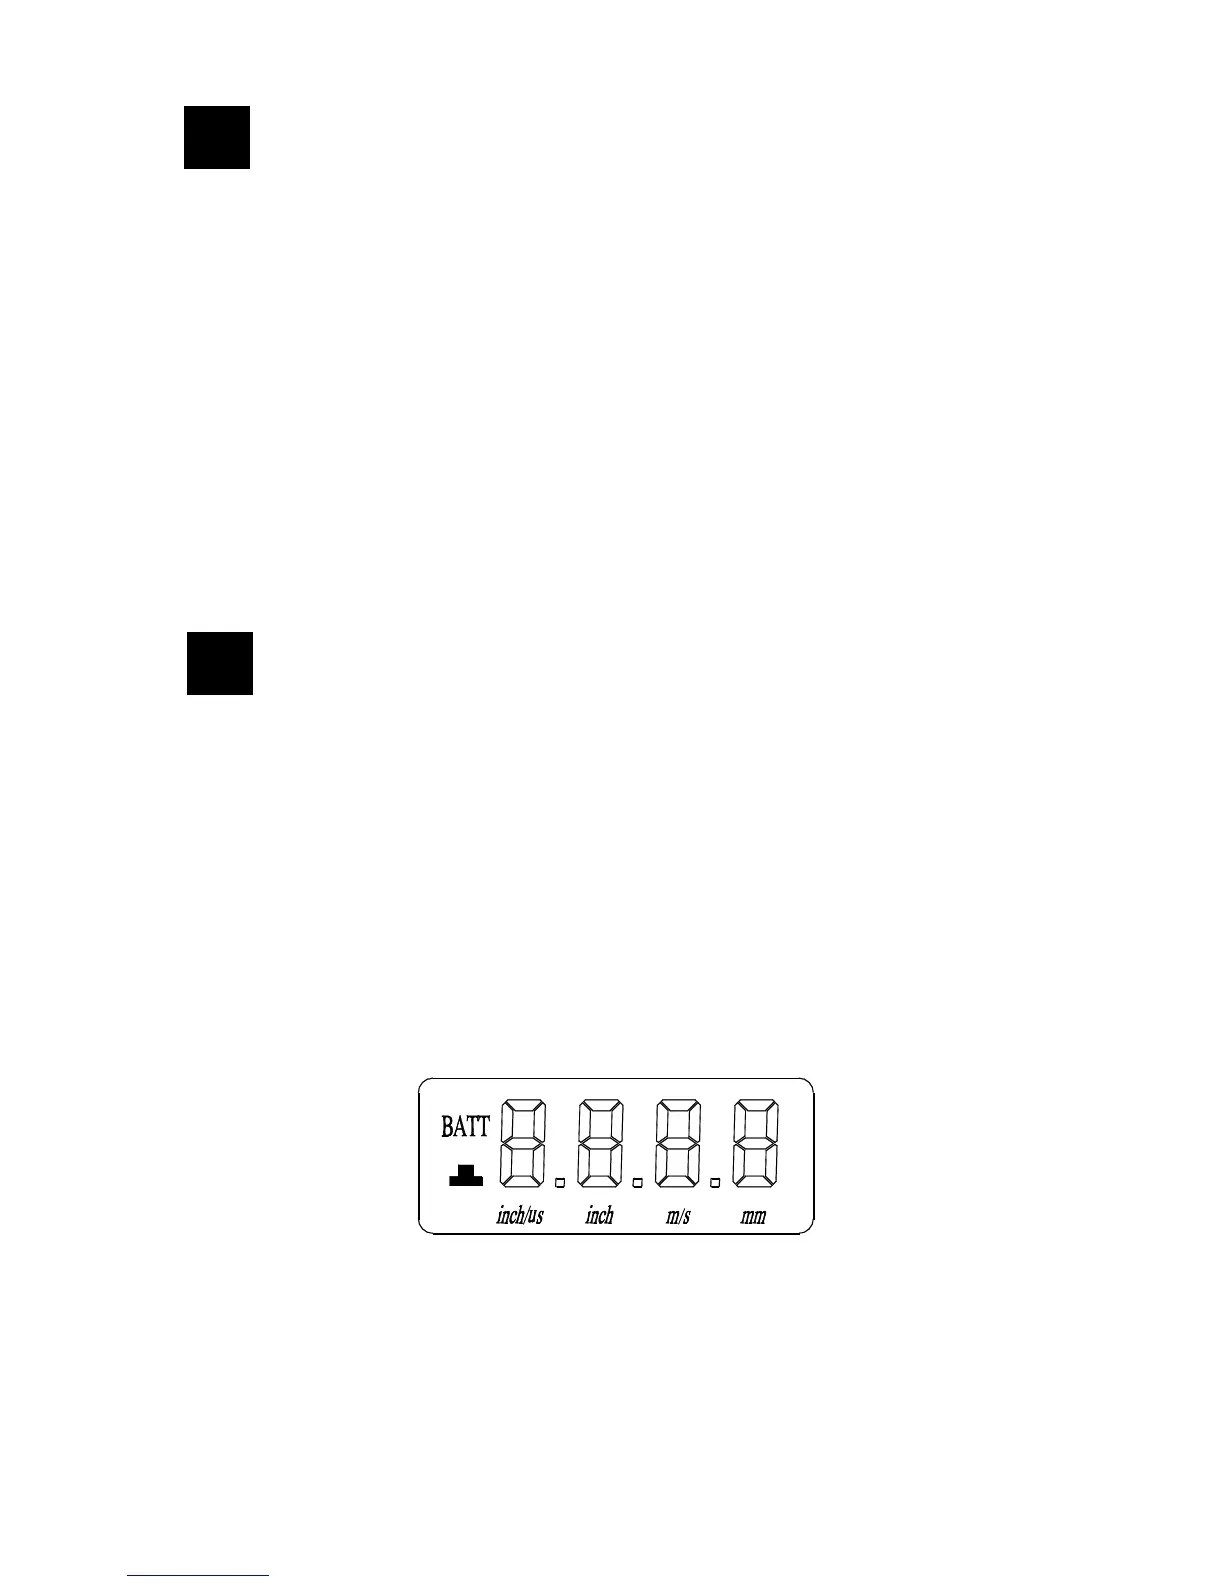
As it is shown in the figures below, after the full screen display for a few seconds, the
screen will display the sound velocity used last time. The measurement can start
now, but read other paragraphs first.
Full screen display
4