EN
12
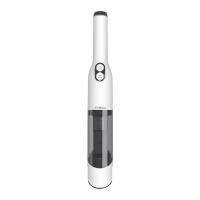
Charging Time
• A full charge takes approximately 4-5 hours for
one battery.
• Estimated data was obtained by a Tineco
Laboratory using ambient temperatures
between 39.2°F (4°C) to 104°F (40°C).
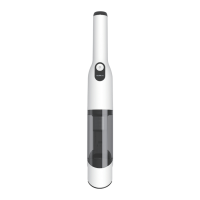
Indicator
When in Use
Solid blue light.
Blinking red light: out of power,
appliance blocked.
During Charging
Blinking blue light: charging.
Blinking red light: fault, check
troubleshooting.
Fully Charged
In 3 minutes: solid blue light.
After 3 minutes: light off.
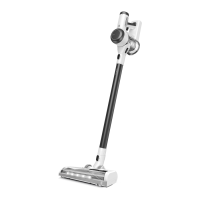
MAINTENANCE
Note:
• Clean the dustbin and lters after each use.
• Use the cleaning tool to thoroughly clean the
pre-lter when red light blinking. To maintain
high performance, wash and dry the pre-lter
monthly, replacing it every 6 months. Wash and
dry the HEPA lter every 3 months, replacing it
every 12 months.
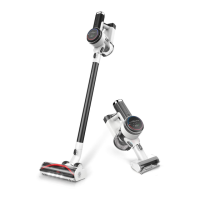
Dustbin and Mesh Filter
1.Press the dustbin release button to remove the
dustbin.
Fig.E-1
2.Clean with a damp cloth, taking care to prevent
water entering the appliance main body and
battery.
Fig.E-2
3.Turn counter-clockwise to remove the lters.
Fig.E-3
4.Clean the dustbin and mesh lter under cold,
running water. Air dry completely before
reinstalling.
Fig.E-4
5.After cleaning, insert the clean pre-lter into
the mesh lter properly and it clicks into place.
Install the clean lter and dustbin back into the
main body, then close the dustbin ap.
Fig.E-5
Pre-lter
1.Ensure the appliance is switched off before
cleaning, and remove the dirty pre-lter from
the mesh lter-holder.
Fig.E-6
2.Do not turn the appliance upside down when
removing or installing the lter to prevent dust
from entering the motor.
Fig.E-7
3.Replace a clean lter to the main body. Put
the dirty pre-lter into the cleaning tool and
connect the cleaning tool to the main body.
Fig.E-8
4.Run the appliance in MAX mode, and rotate
the side cover to clean the dirty pre-lter.
Fig.E-9
HEPA Filter
1.Press the HEPA release button and gently
remove for cleaning. Do not use the appliance
without rst installing the HEPA lter.
Fig.E-10
2.Do not place the appliance in the direction as
above when removing or installing the HEPA
lter, to prevent dust from entering the motor.
Fig.E-11
 Loading...