PARTS REQUIRED FOR INSTALLATION (NOT SUPPLIED)
1. Additional connection fittings (depending on individual installation requirements). If connecting to
a garden or washing machine tap a threaded tap connector must be purchased.
2. Additional ¼” RO flexible tubing (depending on individual installation requirements).
3. In areas of low mains water pressure (below 50 psi/3.5 bar approx) or in low ambient
temperature conditions (below 25°C) a booster pump may be required to achieve optimum
RO water production capacity.
4. Container or similar vessel for collection of pure water.
5. Suitable means for disposing of reject water.
6. Scissors or knife to cut the RO flexible tubing to the required length.
7. A spanner or similar tool for securing the “C” clamp water connection fitting to your mains
water supply pipe and the drain saddle clamp (if used).
8. Under optimum working conditions the RO membrane will remove approx. 93-98% of
contaminants from mains water. However, in areas where there are higher levels of total
dissolved solids (TDS) contaminants the percentage removal rate may be lower. Under such
conditions we would recommend the installation of additional components such as the
V
2
Pure De-Ionising Pod (order code 5861) which will further enhance and improve the TDS
contaminant removal efficiency of the RO system.
RO SYSTEM ASSEMBLY
Please Note: if installed, remove the dust prevention plugs (28) from the inlets and outlets.
The V
2
Pure RO System is supplied almost fully assembled. After unpacking and before
installation you must:-
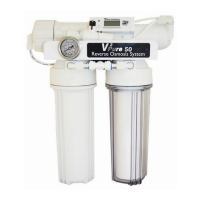
1. Use the filter housing tool (26) to ensure that both the 10” 5
micron sediment filter housing (transparent housing) (3) and
the 10” active carbon block filter housing (white housing) (7)
are fully tightened and secure (see photo 1).
Please Note: Failure to do so could result in operating
problems and/or leaks. DO NOT over-tighten.
2. Carefully unscrew the hosetail locking nut on the RO membrane
water inlet 90° hosetail (11) and remove the RO tubing.
3. Unscrew and remove the RO membrane housing end cap (12).
4. Carefully unpack the RO membrane (18) from its sealed
packaging.
5. Slide the RO membrane (18) into the RO membrane housing (14) ensuring that the end
with the two black sealing rings is inserted into the membrane housing (14) first.
6. Ensure that the tip/end of the RO membrane (18) is correctly located in the recess in the
end of the RO membrane housing.
7. Ensuring that the RO membrane housing end cap ‘O’ ring (13) and the RO membrane
housing ‘O’ ring (15) have not moved and are located correctly, replace the RO membrane
housing end cap (12) and fully secure.
Please Note: Failure to do so could result in
operating problems and/or leaks.
8. Carefully insert the RO tubing into the RO membrane
water inlet 90° hosetail (11) and tighten and secure the
hosetail locking nut. Please Note: Failure to do so
could result in operating problems and/or leaks.
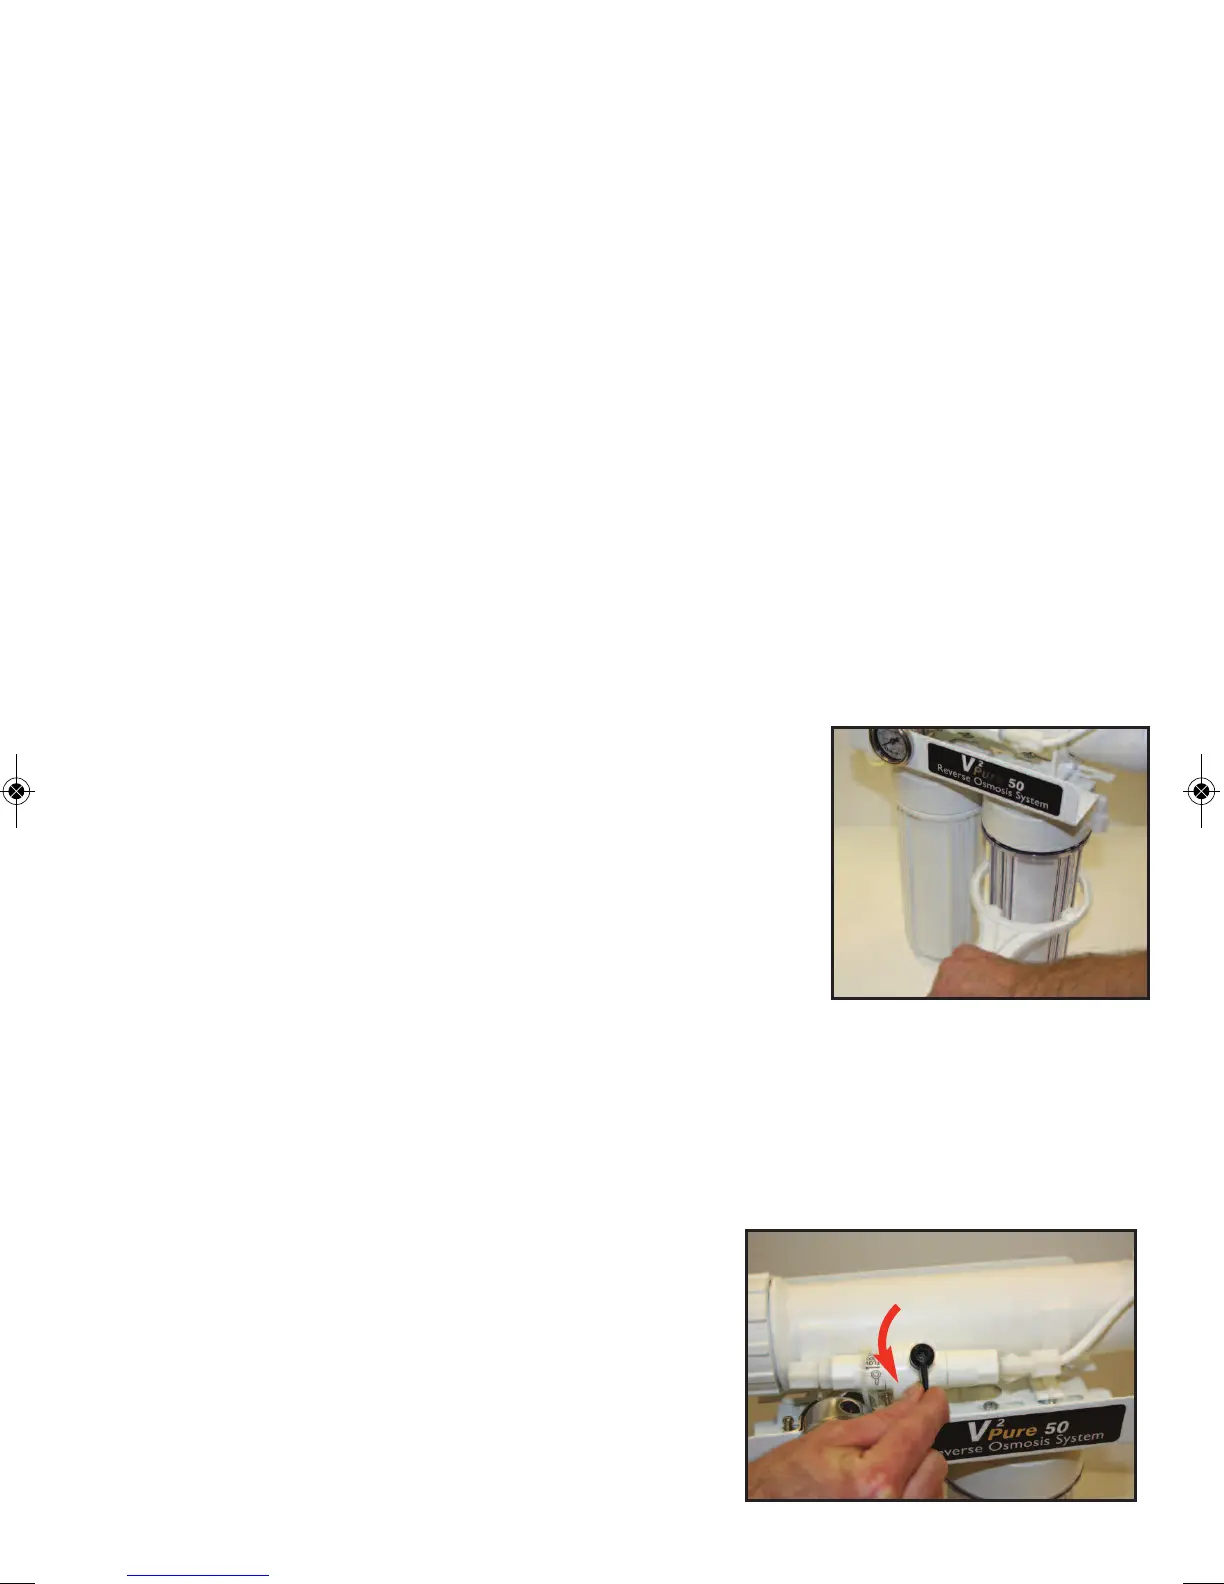
9. Ensure the flow restrictor/manual flush valve (19) is in
the fully closed position (please see photo 2). Please
Note: Failure to do so could result in operating
problems and/or leaks.
2
1
CLOSED
4
 Loading...