4
5. INSTALLATION
5.1. Satellite Speaker
Notes
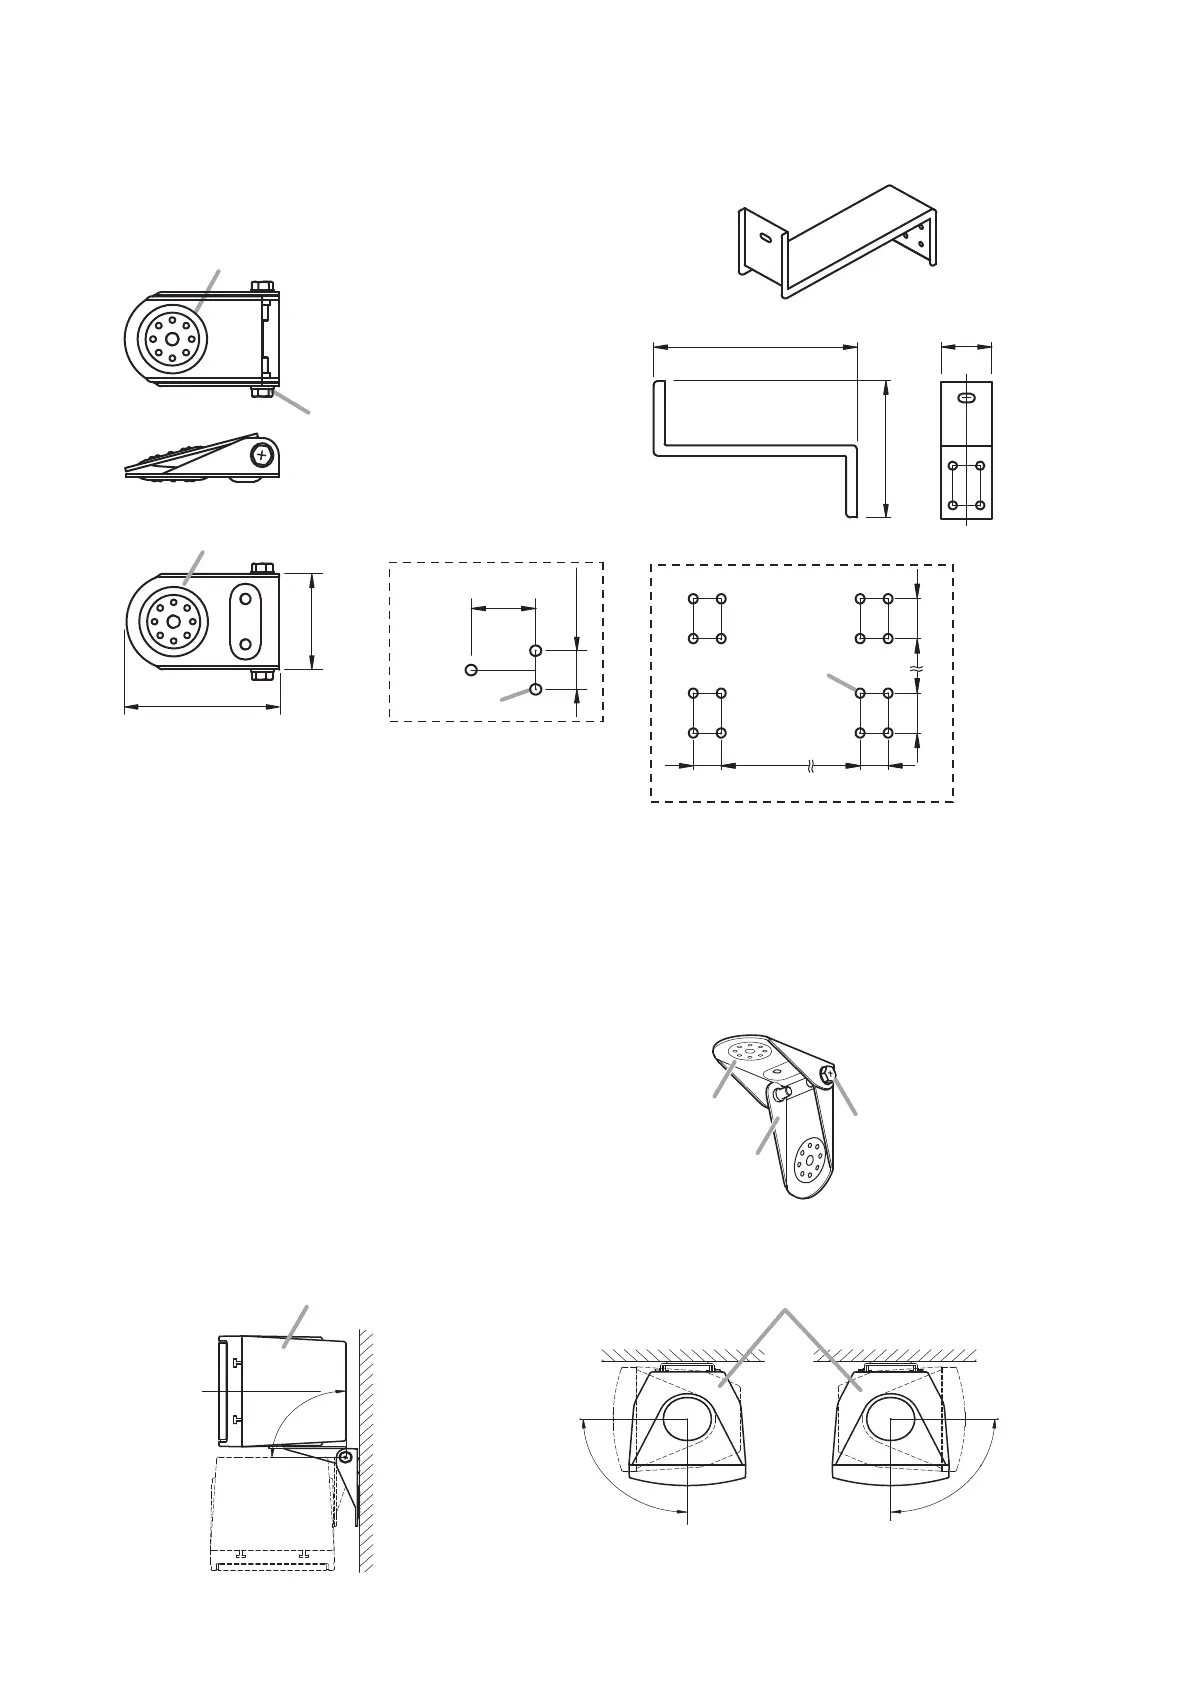
• When mounting the satellite speaker mounting
bracket to a wall or ceiling, secure the Bracket A at 3
points to the wall or ceiling.
Use the Bracket B only to support the speaker.
• Screws for mounting the bracket to the wall or ceiling
are not supplied. Use screws that are appropriate for
the ceiling's or wall's structure and composition.
4.3. Mounting Brackets
4.3.1. Satellite speaker mounting bracket 4.3.2. Subwoofer mounting bracket
Loosen the tightening screws (right and left) to install
the bracket to the speaker unit.
to open or close the bracket.