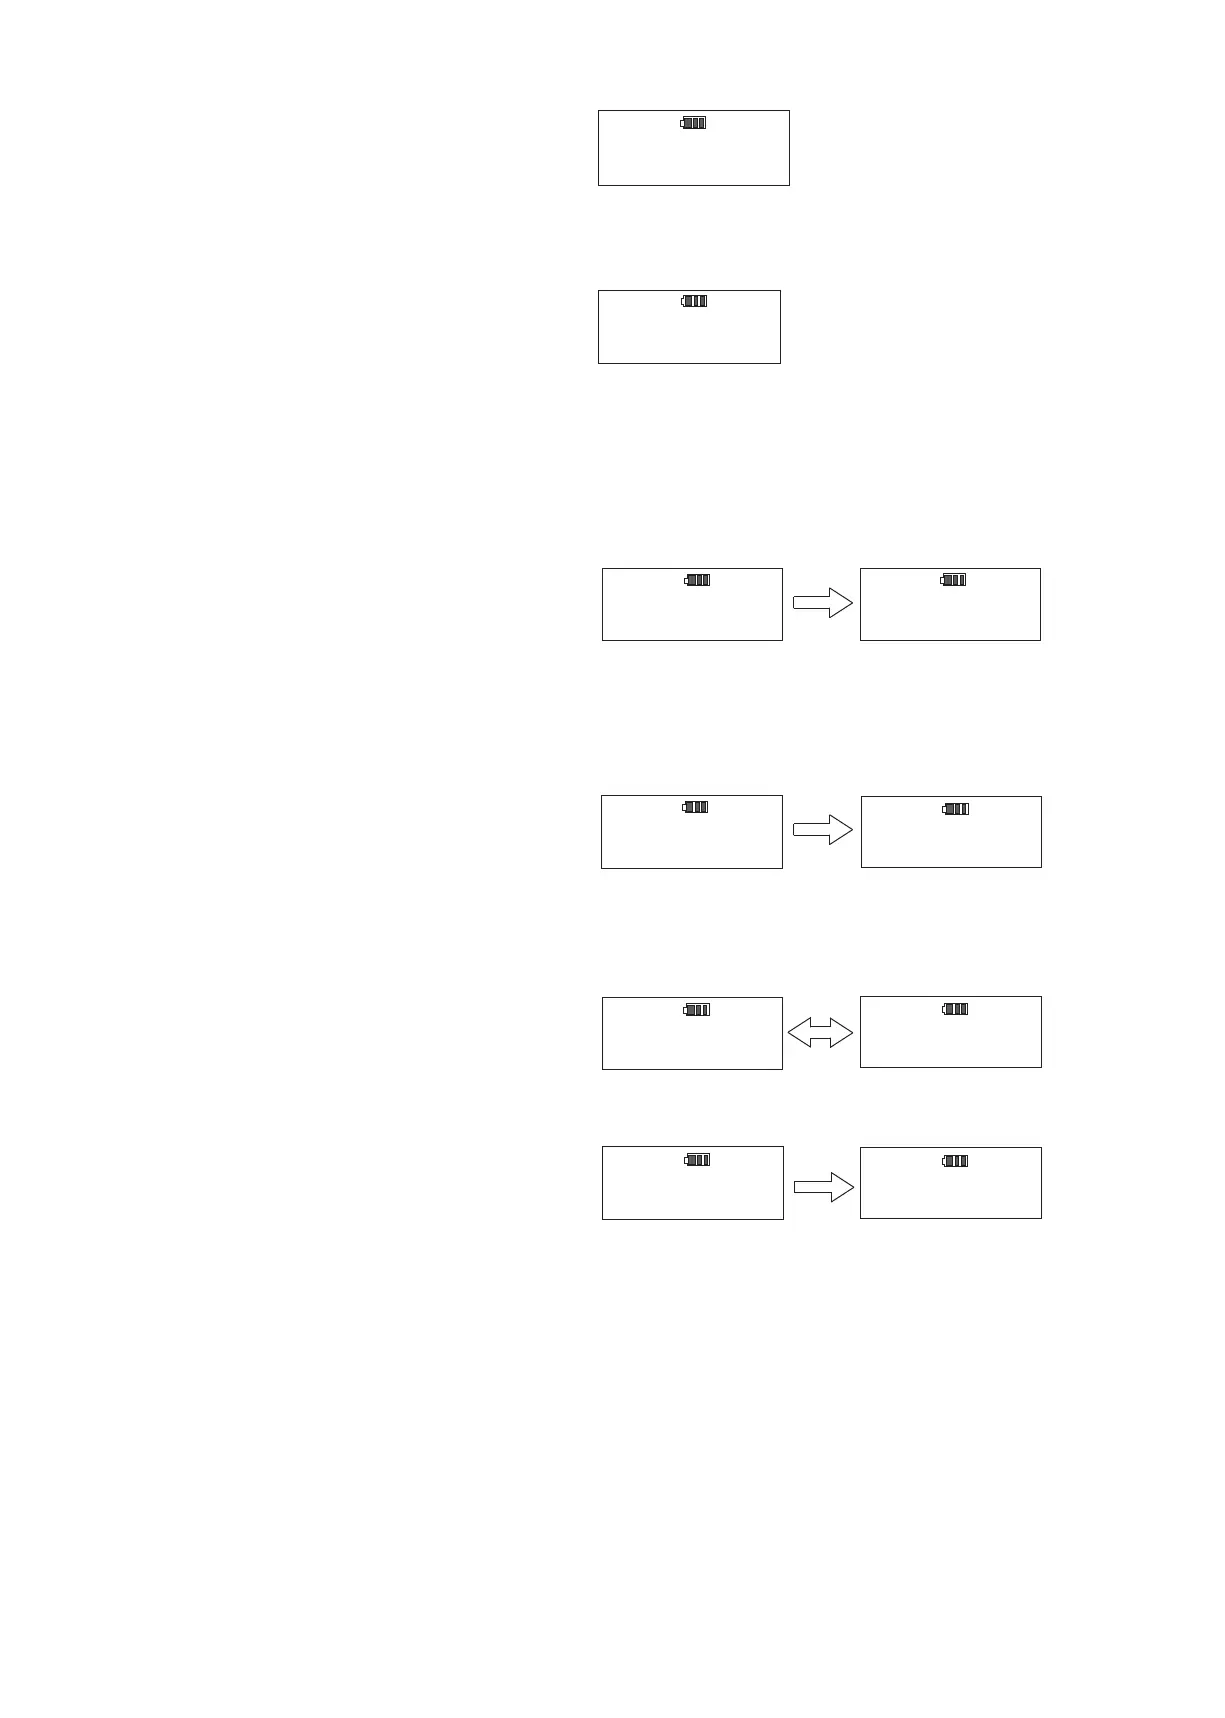
●Data Clearance Conrmation
Press MEM key to save the tightening mode and
proceeds to the next.
(Press C key to return to Tightening mode setting.)
Data clearance conrmation (below) will be skipped if
the tightening mode is not changed.
Go to next Step.(Lower limit setting)
※ If you change the tightening mode, tightening data will be
cleared. Record the data in advance, if necessary.
●Lower limit value setting (Default setting: 0)
Set the lower limit torque of the rst setting torque.
10 different torque set can be registered and each will be
expressed on display as A through J.
Use ▲ key to select digit and ▼ key to select number.
Press MEM key to save and proceed to the next (Press
MD key to proceed without saving. Press C key to
return to RUN measuring mode.)
●Upper limit value setting (Default setting: 0)
Set the upper limit of the rst target torque.
Use ▲ key to select digit and ▼ key to select number.
Press MEM key to save and proceed to the next. (Press C
key to return to RUN measuring mode.)
●Setting tightening direction (Default setting: 0)
Set tightening direction of the rst setting torque.
Use ▲▼ key to select CW (clockwise) or CCW
(counter-clockwise) and press MEM key to save and
proceed to the next. (Press C key to return to RUN
measuring mode.)
In the same way as the rst torque setting, set
the second "B", and all the way to the 10th "J".
After completing 10th "J" setting, it returns to RUN
measuring mode.
If you do not need to set the next torque, press C key
to return to RUN measuring mode.
Data clearance
17
Select
Before Setting
After Setting
Before Setting
After Setting
Before Setting
After Setting
 Loading...