EasyManua.ls Logo

Tommy Bahama TB344AP00 - User Manual

Tommy Bahama TB344AP00
16 pages
Print Icon
To Next Page IconTo Next Page
Loading...
xxxxxxxxxxxxxxxxxxxxxxxxxxxxxxxxxxxxxxxxxxxxxxxxxxxxxxxxxxxxx
Part No. F40BP72890001 Form No. BP7289-1
READ AND SAVE THESE INSTRUCTIONS
xxxxxxxxxxxxxxxxxxxxxxxxxxxxxxxxxxxxxxxxxxxxxxxxxxx
xxxxxxxxxxxxxxxxxxxxxxxxxxxxxxxxxxxxxxxxxxxxxxxxxxxxxxxxxxxxx
xxxxxxxxxxxxxxxxxxxxxxxxxxxxxxxxxxxxxxxxxxxxxxxxxxx
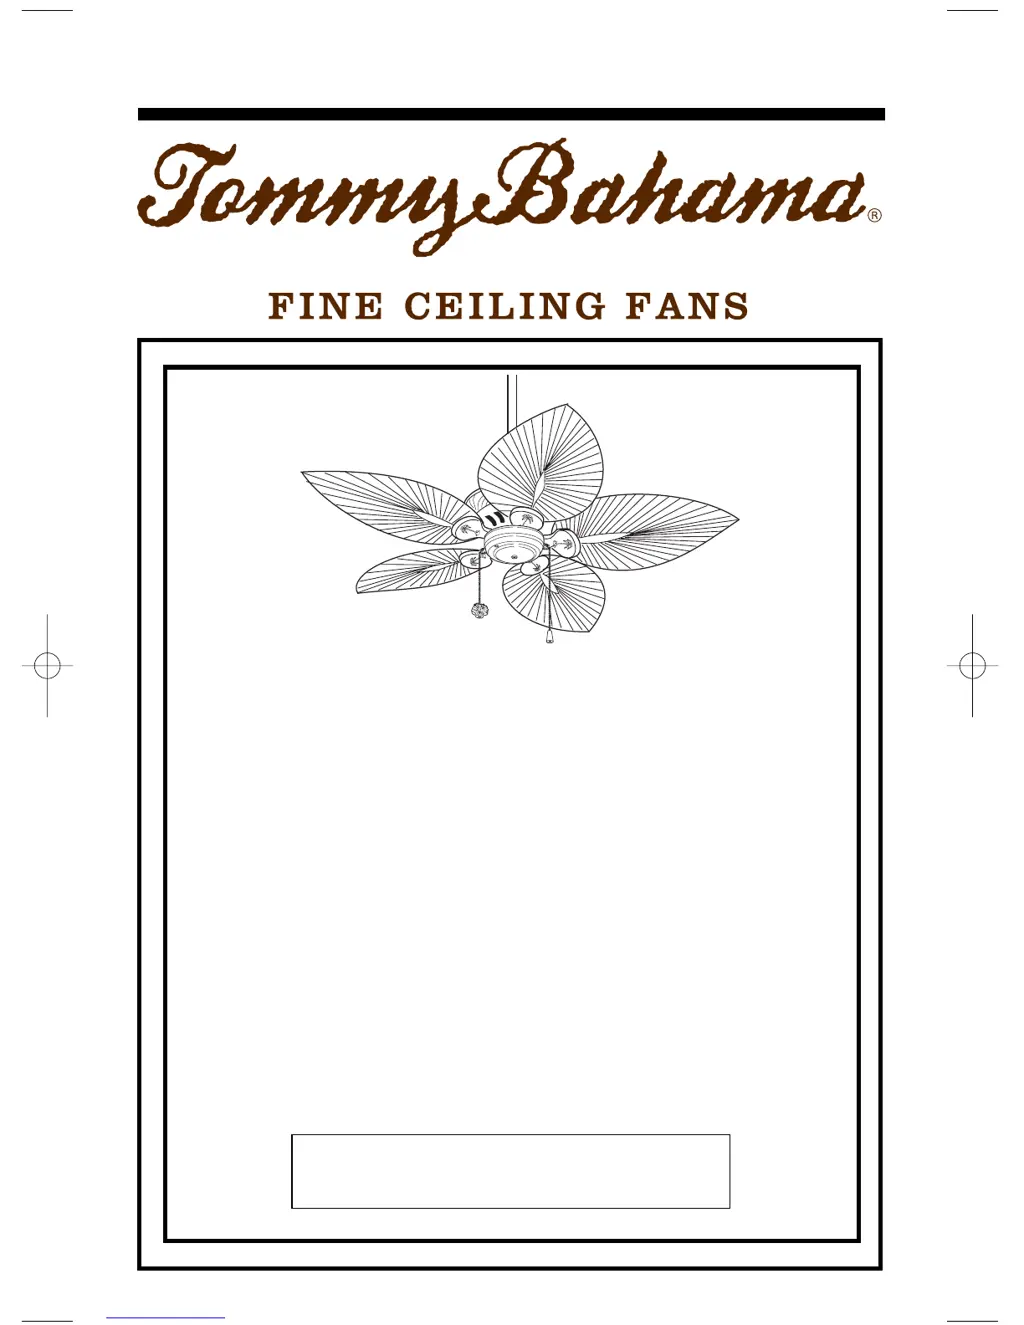
BAHAMA BREEZES
Damp Location
Ceiling Fan Owner's Manual
Net Weight:
19.0 Lbs.
TB344AP00
Antique Pewter
Housing
TB344DBZ00
Distressed Bronze
Housing
Model Numbers
BP7289-1 Tommy Bahama TB344 6/17/13 10:33 PM Page 1

Questions and Answers

  • T
    Tracy LivingstonAug 2, 2025
    What to do if my Tommy Bahama Fan will not start?
    • A
      Austin GonzalezAug 2, 2025
      If your Tommy Bahama Fan won't start, begin by checking the main and branch circuit fuses or circuit breakers. Also, inspect the line power connections to the fan and switch wire connections in the switch housing, making sure the main power is turned off.
  • S
    sharon98Aug 11, 2025
    Why does my Tommy Bahama Fan wobble excessively?
    • R
      Richard MartinezAug 11, 2025
      Excessive wobbling in your Tommy Bahama Fan can stem from several sources. First, ensure the setscrew in the motor coupling is securely tightened by raising the coupling cover and tightening the setscrew. Next, check the setscrew in the hanger ball/downrod assembly. Also, confirm that the screws securing the fan blade flanges to the motor are tight. If the flanges are not seated properly, loosen the flange screws and retighten them. Ensure the hanger bracket and/or ceiling outlet box is securely fastened. Finally, try interchanging an adjacent blade pair or use the supplied balancing kit to balance the blades.
  • W
    william95Aug 21, 2025
    How to fix a noisy Tommy Bahama TB344AP00?
    • J
      Jonathan MartinAug 21, 2025
      A noisy Tommy Bahama Fan could be due to several factors. Ensure the blades are properly attached to the fan. Check and tighten any loose screws securing the fan blade flanges to the motor. Also, inspect the wire connectors inside the switch housing to ensure they are not rattling against each other or the housing's interior wall, remembering to turn off the main power first. Tighten any loose screws holding the blades to the flanges and check all screws in the motor housing, making sure they are snug but not over-tight.

Summary

General Safety Precautions

Safe Operation and Servicing Guidelines

General advice for operating, cleaning, and servicing the fan safely.

Installation Safety Requirements

Critical safety steps for electrical connections, mounting, and clearance during installation.

Initial Setup and Unpacking

Tools and Materials List

Lists necessary tools and materials required for fan assembly and installation.

Unpacking and Part Verification

Instructions for carefully unpacking and verifying all fan components.

Electrical Requirements and Installation

Power and Circuit Specifications

Specifies voltage, frequency, and circuit amperage needed for the fan.

Outlet Box and Mounting Criteria

Details requirements for secure outlet box mounting and fan support.

Ceiling Fan Assembly - Downrod

Downrod and Hanger Ball Preparation

Steps for detaching and preparing the hanger ball and downrod assembly.

Attaching Downrod to Motor Housing

Securing the downrod to the motor coupling with clevis pin and setscrew.

Ceiling Fan Assembly - Motor and Blades

Motor Cover and Hanger Ball Reassembly

Installing motor cover, threaded studs, lockwashers, and reattaching hanger ball.

Fan Blade Attachment Preparation

Preparing fan leads and attaching blades to the motor hub.

Ceiling Fan Assembly - Final Connections

Securing Fan Blades to Motor Hub

Securing fan blade assemblies to the motor hub using screws.

Pull Chain and Pendant Installation

Attaching pendants to the speed control and reversing switch pull chains.

Ceiling Fan Hanging and Housing

Switch Housing Cover Installation

Attaching the switch housing cover to the fan assembly.

Hanger Bracket and Ball Mounting

Securely attaching the hanger bracket and seating the hanger ball.

Ceiling Fan Wiring - Control Options

Remote Control Wiring Setup

Instructions for wiring if using a Tommy Bahama remote control system.

Two-Switch Wiring Configuration

Connecting fan wires to supply wires for separate fan and light control.

Ceiling Fan Wiring - Connections

Single-Switch Wiring Configuration

Connecting fan wires to supply wires for simultaneous fan and light operation.

Final Wiring Connections and Checks

Completing wire connections, pushing them into the box, and verifying tightness.

Using Your Ceiling Fan

Restoring Power and Speed Control

Turning power back on and testing fan speed control via pull chain.

Changing Airflow Direction

Instructions for using the reversing switch pull chain to change blade direction.

Optional Accessories and Maintenance

Optional Light Kit Attachment

Steps for removing switch housing cover and installing an optional light kit.

Fan Care and Cleaning

Guidelines for periodic cleaning using soft materials to avoid damage.

Ceiling Fan Troubleshooting

Fan Fails to Start

Diagnosing and resolving issues when the fan fails to power on.

Noisy Fan Operation

Identifying causes and solutions for unusual noises during fan operation.

Excessive Fan Wobble

Troubleshooting steps for excessive fan wobble and ensuring stability.

Repair Parts Diagram

Exploded View Component Diagram

Illustrated diagram showing all components of the ceiling fan.

Repair Parts List

Component Part Numbers

Detailed list of fan parts with corresponding part numbers for each model.

Limited Warranty Details

Warranty Coverage and Service

Details what the warranty covers, for how long, and how to obtain service.

Tommy Bahama TB344AP00 Specifications

General IconGeneral
BrandTommy Bahama
ModelTB344AP00
CategoryFan
LanguageEnglish

Related product manuals