Adjusting the Belt Guides
1. Park the machine on a level surface, move the
speed-control lever to the N EUTRAL position,
disengage the PT O, and engage the parking
brake.
2. Shut of f the engine, remove the key , and wait
for all moving parts to stop before leaving the
operating position.
3. With the engine of f, engage the PT O lever .
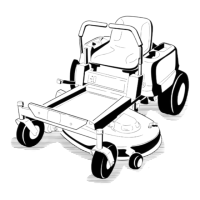
4. Adjust the belt guides as shown in Figure 59 .
g006839
Figure 59
1. 3 mm (1/8 inch) 4. Rotate the wireform guide
to center the belts in the
guide.
2. 1 1 mm (7/16 inch) 5. 6 mm (1/4 inch)
3. 3 mm (1/8 inch) clearance 6. 8 mm (5/16 inch)
Controls System
Maintenance
Aligning the PT O-Drive
Pulley
Align the PT O-drive pulley for any of the following
conditions:
• The blower has been removed or replaced.
• The engine mounting bolts have been loosened or
the engine has been moved or replaced.
• The jackshaft mounting bolts have been loosened
or the jackshaft has been moved or replaced.
1. Park the machine on a level surface, move the
speed-control lever to the N EUTRAL position,
disengage the blade-control switch (PT O), and
engage the parking brake.
2. Shut of f the engine, remove the key , and wait
for all moving parts to stop before leaving the
operating position.
3. Remove the fuel-tank mounting nuts and swing
out the fuel tank.
4. V erify that the blower is installed and tightly
secured.
5. Loosen the 4 engine mounting bolts.
6. Unhook the pump-belt tension spring.
7. Loosen the 4 jackshaft mounting bolts.
8. Measuring from the blower pulley as a baseline,
move the engine and jackshaft until the rear
surface of all 3 pulleys are aligned within 0.8 to
1.6 mm (1/32 inch to 1/16 inch) ( Figure 60 ).
Note: Use a straight edge to align all 3 surfaces.
52

 Loading...