
M
miafieldsAug 3, 2025
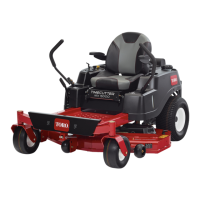
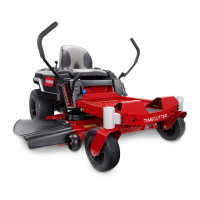
Why does my Toro Lawn-Boy TimeCutter Z Lawn Mower have no power?
- KkellisAug 3, 2025
If your Toro Lawn Mower has no or low power, it could be due to several reasons. The engine speed might be too low, so adjust it to the correct setting. A bent or misaligned control linkage, a slipping drive belt, or a damaged pulley can also cause this issue; in these cases, repair or replace the linkage, drive belt, or pulley. Additionally, check the oil level and ensure it is at the proper level and not contaminated; change the oil if necessary. Excessive loading can also reduce power, so reduce the vehicle loading. Finally, a sticking bypass assembly or air trapped in the hydraulic system can be the cause; repair or replace the bypass or purge the hydraulic system.