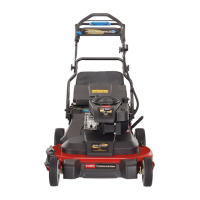
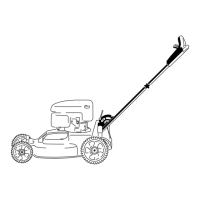
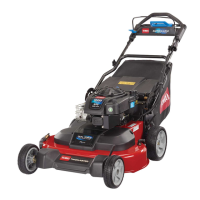
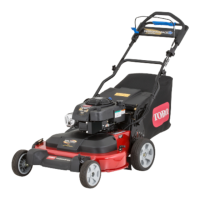
g017523
Figure34
1.Reardeectorandhandle-lock-leverassembly
8.Removethecoverfromthebattery.
9.Disconnecttheleadsfromthebattery.
10.Removethebatteryandrecycleit.
Note:Recyclethebatteryaccordingtoyour
stateandlocalregulations.
InstallingtheNewBattery
1.Cleanthebattery-holdingareaonthemachine
housing.
2.Setthenewbatteryinplaceonthemachine
housing.
3.Connecttheleadstothenewbattery.
Note:Ensurethatyouconnecttheblack
(negative)wiretothenegative(-)terminaland
thered(positive)wiretothepositive(+)terminal.
4.Installthecoverontothebattery.
Note:Ensurethatthecovertsproperlyover
thewireharness.
5.Installthereardeectorandhandle-lock-lever
assemblyontothemachine.
6.Raisethehandletotheverticalposition.
7.Securetheshroudwiththe4smallboltsthatyou
removedinstep5ofRemovingtheOldBattery
(page25).
8.Installtherear-dischargeplug.
9.Returnthehandletotheoperatingposition.
AdjustingtheSelf-Propel
Drive
ForSelf-Propel-DriveModelsOnly
Wheneveryouinstallanewself-propelcableorif
theself-propeldriveisoutofadjustment,adjustthe
self-propeldrive.
1.Turntheadjustmentnutcounterclockwiseto
loosenthecableadjustment(Figure35).
g269307
Figure35
1.Handle(leftside)
4.Turnthenutclockwiseto
tightentheadjustment.
2.Adjustmentnut5.Turnthenut
counterclockwiseto
loosentheadjustment.
3.Self-propel-drivecable
2.Adjustthetensiononthecable(Figure35)by
pullingitbackorpushingitforwardandholding
thatposition.
Note:Pushthecabletowardtheengineto
increasethetraction;pullthecableawayfrom
theenginetodecreasethetraction.
3.Turntheadjustmentnutclockwisetotightenthe
cableadjustment.
Note:Tightenthenutrmlywithasocketor
wrench.
26
 Loading...


