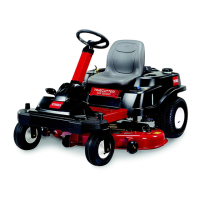
MOWER
A6-14 XL Lawn Tractor Service Manual
9. Slide the end of the long rod through the hole in the
mower mount (Fig. A6 028).
10. Install the thin washer and hairpin cotter to secure
the rod in place (Fig. A6 028).
11. Mount the slotted mower leveling bracket onto the
pinon on the mower mount (Fig. A6 028).
12. Install the thick washer and hairpin cotter to secure
the mower (Fig. A6 028).
13. Repeat steps 9 through 12 on the opposite side of
the mower.
15. Move the height-of-cut lever into the D notch to
make it easier to install the height-of-cut lift assist
spring.
Fig A6 029 fi g. 38 71429
Fig A6 028 fi g. 48 1805
14. Hook the spring from the idler pulley arm to the
bracket on the mower (Fig. A6 029 viewed from the
left side).
8. Ensure that both rods extend 5/8” (16mm) beyond
the adjustment block (Fig. A6 028).
A. Adjusting block C. Hairpin cotter and
B. Adjusting rod washer
D. Mower mount
A
B
C
D
A. Bracket C. Idler pulley arm
B. Spring
A
B
C

 Loading...


