4
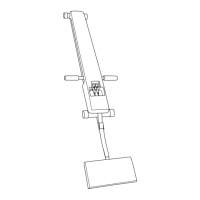
Handle bars with
foam handle covers
Carriage cover
Tension cords (2)
Adjustment Buckle
Kneel pad
LENGTH: 47-1/2”
WIDTH: 20”
HEIGHT: 5”
WEIGHT: 12 lbs.
MAX. USER WEIGHT: 300 lbs.
PRODUCT SPECIFICATIONS
5
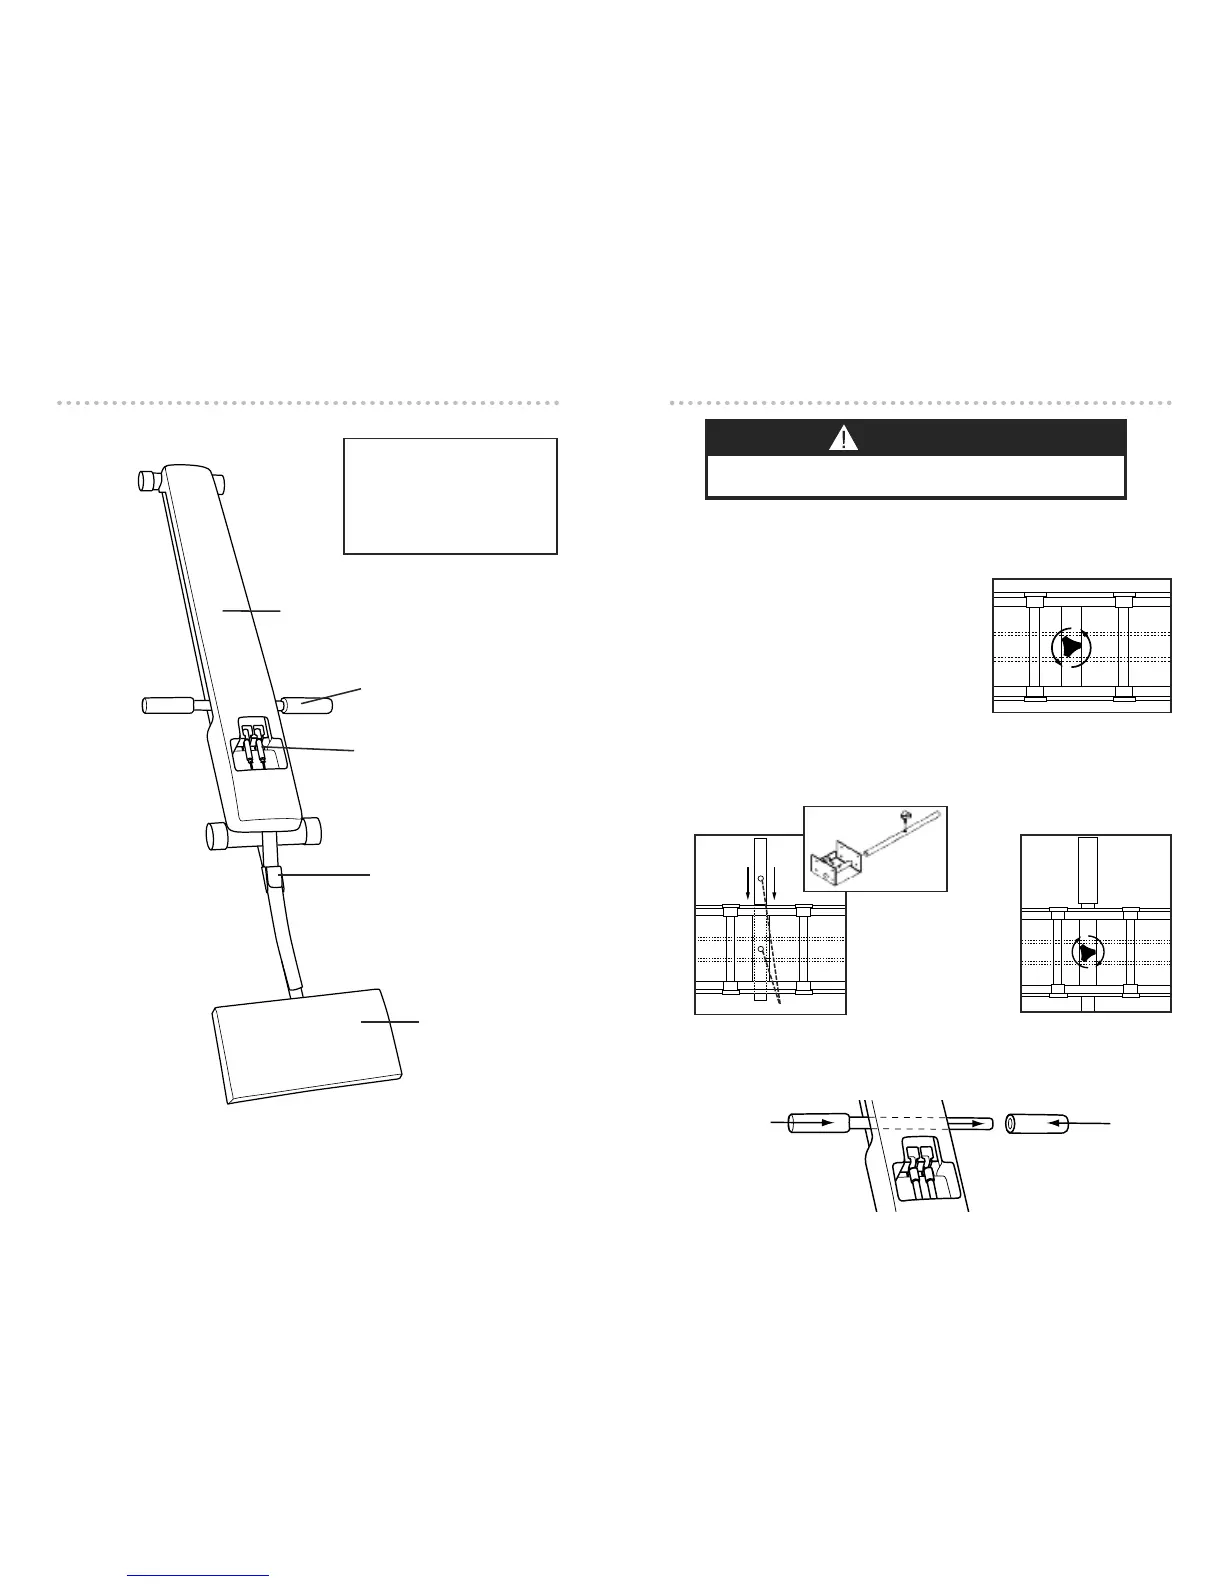
Installing the Handle Bar is easy. Simply follow the instructions below.
1. Pull the product out of the shipping box. Remove all packaging materials.
2. Lay the Torso Track 2 flat on the floor. Make
sure you have plenty of space on both ends
of the product.
3. Turn the unit over so that it rests on the car-
riage cover. Remove the thumbwheel screw
located in the handlebar tube by turning it
counter-clockwise with your thumb and
index finger.
4. (a) Place Handle Bar through the tube, aligning the hole on the bar, with the
hole on the tube. (b) Insert the screw through the holes and turn clockwise to
securely fasten the Handle Bar into place.
5. Turn the unit back over so that it sits firmly on the floor, resting on the feet.
Slide foam grip(s) onto the Handle Bar as shown. Moistening the bar with a lit-
tle water will help the foam grip(s) to slide on easier.
Align holes
4(a)
4(b)
IMPORTANT: THUMB-
WHEEL SCREW MUST FIT
THROUGH THE HOLE IN
THE HANDLE BAR AND BE
SCREWED IN COM-
PLETELY SO IT DOES NOT
INTERFERE WITH TENSION
CORDS.
SET UP
3D VIEW
WARNING
KEEP HAIR, FINGERS, LOOSE CLOTHING, CHILDREN AND PETS AWAY
FROM HINGES AND OTHER MOVING PARTS TO AVOID SERIOUS INJURY.