32
EN
You can select either “Main” or “Sub” audio to record a
bilingual broadcast in video mode or +VR mode.
This setting is only for recording analogue channel.
1 In stop mode, press [SETUP]. Select “General
Setting” using [K \ L], then press [ENTER\OK].
2 Select “Recording” using [K \ L], then press
[ENTER\OK].
3 Select “Bilingual Recording Audio” using
[K \ L], then press [ENTER\OK].
4 Select “Main” or “Sub” using [K \ L], then
press [ENTER\OK].
5 Press [SETUP] to exit.
Note
• If you want to record onto a VR mode disc, both “Main” and
“Sub” will be recorded regardless of your setting here. And
when you play back, you can choose either audio format or a
combination of both as your playback audio.
You can enjoy high quality sound recording. This function
works only when the recording mode is set at XP.
1 In stop mode, press [SETUP]. Select “General
Setting” using [K \ L], then press [ENTER\OK].
2 Select “Recording” using [K \ L], then press
[ENTER\OK].
3 Select “Recording Audio Select (XP)” using
[K \ L], then press [ENTER\OK].
4 Select “PCM” or “Dolby Digital” using [K \ L],
then press [ENTER\OK].
5 Press [SETUP] to exit.
Note
• “PCM” stands for Pulse Code Modulation. It changes
analogue sound to digital sound without compressing audio
data.
• When the recording mode is set at other than XP, the unit
records “Dolby Digital” audio automatically even if you
selected “PCM”.
Basic Recording and One-touch Timer
Recording (OTR)
Follow the steps below to record a TV programme.
(See page 70 for VHS recording.)
1 Press [B ON\STANDBY] to turn on the unit.
Turn on the TV and be sure to select the input to which the
unit is connected.
2 Press [DVD].
3 Press [OPEN\CLOSE A] to open the disc tray.
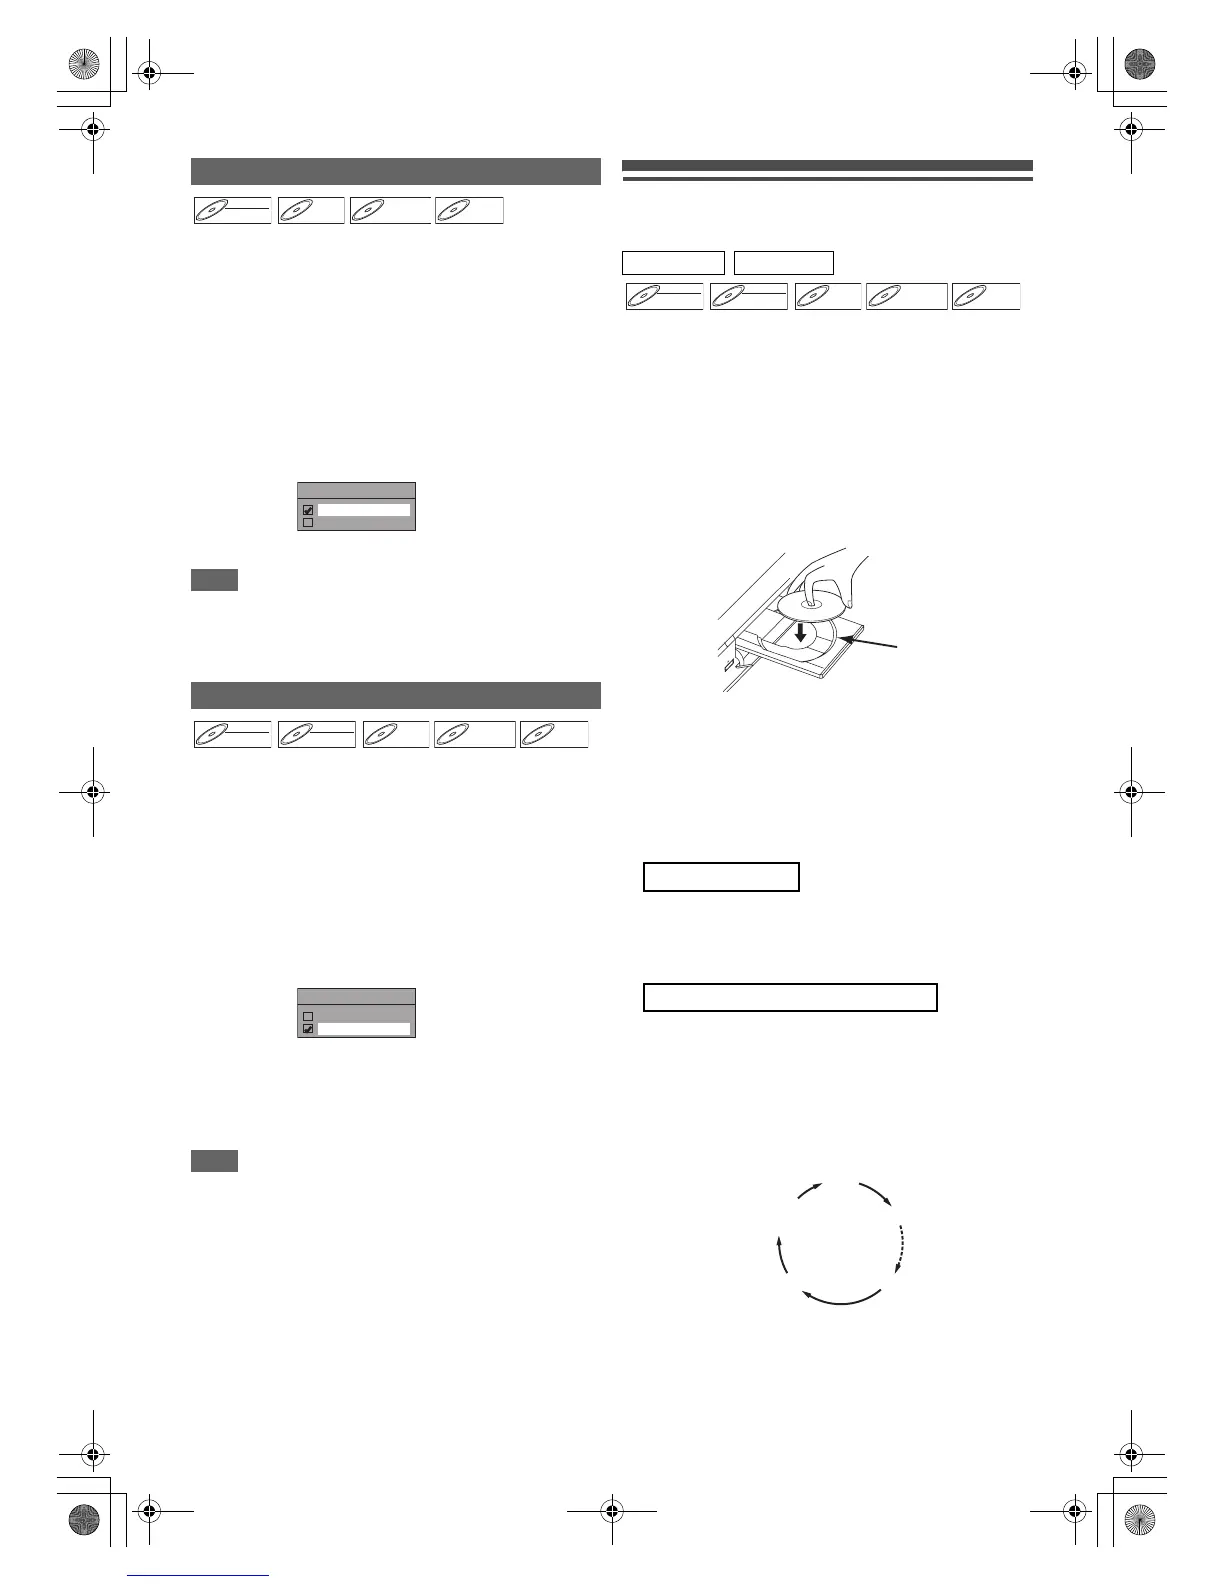
4 Place the disc on the disc tray with its label
facing up. Be sure to align the disc with the disc
tray guide.
5 Press [OPEN\CLOSE A] to close the disc tray.
6 Select the recording mode using [REC MODE].
(See page 28.)
7 Press [INPUT SELECT F] to select DVB,
analogue or external input mode, then select
the desired channel to record using
[PROG. G\H] or [the Number buttons].
Press [REC I] to start recording.
The “I” mark will be displayed on the TV screen briefly.
To pause the recording, press [PAUSE F]. Press
[PAUSE F] or [REC I] again to restart the recording.
This is a simple way to set the recording time in blocks of
30 minutes. Check that the disc you are recording onto
has enough space remaining for the time you set. (See
page 71 for VHS recording.)
Press [REC I] repeatedly until the desired
recording time (30 minutes to 8 hours) appears
on the TV screen.
One-touch Timer Recording will start.
Setting Bilingual Recording Audio
Recording Audio Select (XP)
PCM: Records PCM audio for the best quality
sound.
Dolby Digital: Records Dolby Digital audio for good
quality sound.
DVD-RW

 Loading...