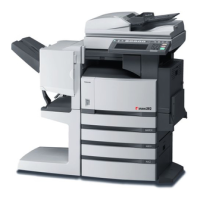
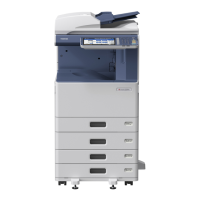
Printer
and
scanner
functions
are
available.
Troubleshooting Component Description
Basic OperationsBefore Use
2
1
1
2
5
3
4
1
2
3
4
100%
AUTO EXPOSURE
1
A4
Bypass tray
To set paper size of Drawer
When you load paper in the drawer, a pop-up window appears.
Follow the instructions and set the paper size. (When the "POP
UP" function is set to “ENABLE”.)
Drawer
Loading paper
User's Guide: Chapter 1
Installing the driver requires the administrator authority.
For Windows 7, Windows 8.1, Windows Server 2008 R2,
Windows Server 2012 , or Windows Server 2016, use the
installer.
Note when installing from installer
• Close all running applications.
• If the installer does not automatically start, double-
click “Setup.exe” in the DVD.
Using installer
1. Close all running applications.
2. Make sure that the equipment is turned on.
3. Insert the DVD into the computer.
4. Double-click “Setup.exe”.
5. Follow the on-screen instructions.
Using Plug and Play
1. Turn on the equipment.
2. Follow the on-screen instructions.
Connecting computer
Before installing the drivers, connect the equipment and
the computer with a USB cable or Network interface cable*.
* Only for e-STUDIO2303AM/2803AM
Driver installation
Software Installation Guide: Chapter 2
Scan to USB Memory
1. Place the original(s).
2. Press [SCAN].
3. Connect the USB storage device to the equipment and
wait a few seconds.
4. Press
or to select “USB”, and then press [OK].
5. Press
to make the scan settings as required.
6. Press [START] to scan your documents.
2
1
1. Select [Print] from the application's [File] menu.
2. Select your printer
, and
then click [Preferences]
.
3. Make print option settings, and then click [OK].
4. Click [Print] ([OK]).
3. Enter the number of copies
with the digital keys
, and
then press [START]
to copy.
To stop copying
Press [CLEAR/STOP]
Shortcut keys
Press : “ORIGINAL MODE”
Press : Europe and the Americas “EXPOSURE”,
Except Europe and the Americas “ID
CARD”
To reset settings and LCD screen after copying
Press [FUNCTION CLEAR]
2. Press [COPY] and make the
copy settings.
RADF
1. Place the original(s). Original glass
Copier
User's Guide: Chapter 2
Printer
User's Guide: Chapter 3
Scanner
User's Guide: Chapter 4
TWAIN Scan
1. Place the original(s).
2. Launch a TWAIN-compliant application.
3. Select the device from the application’s [File] menu.
4. Select the menu to scan from the application’s [File]
menu.
5. Make the scan settings, and then click [Scan].
Registering a template
1. Press [COPY] or [SCAN].
2. Make settings for the functions to register as a
template.
3. Press [TEMPLATE].
4. Press
or
to select “REGISTRATION”, and then press
.
5. Press
or to select a template, and then press [OK].
Templates
User's Guide: Chapter 2, 4
Recalling a template
1. Press [COPY] or [SCAN].
2. Press [TEMPLATE].
3. Press
or to select “RECALL”, and then press .
4. Press
or to select the template, and then press
[OK].

 Loading...