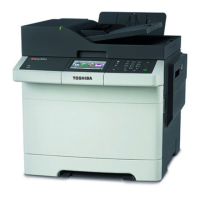
INSTALLING PRINTER DRIVERS FOR MAC OS
Installing the Printer on Mac OS 87
0.Installing the Printer on Mac OS
Install and configure the printer by the following pages:
P.87 “Installing the Mac OS PPD file”
P.90 “Configuring the printer”
Installing the Mac OS PPD file
1
Insert the Install Disc into the disc drive and open “MacPPD/OSX10_6-” folder.
2
Open “2-sided_default” or “normal” folder.
* The PPD file included in the “2-sided_default” folder enables to set 2-sided printing by default.
* The PPD file included in the “normal” folder enables to set 1-sided printing by default.
When this equipment is used in Europe or North America, install the PPD file enabling 2-sided printing by default.
3
Copy the GZIP file “TOSHIBA_xxxxxMFP.dmg.gz” to the desktop.
* If "Color" is applied to the portion marked with "xxxxx" of the file name, the file is intended for the color MFPs. If "Mono" is applied to there, the file
is intended for the black and white MFPs. Choose either "Color" or "Mono" depending on the model to be used.
4
Double-click the GZIP file on the desktop.
The Disk Image file is extracted on the desktop.
5
Double-click the Disk Image file.
6
Double-click the icon in the installer window.
When you start up the installer, be sure that Mac OS Printer Setup Utility is not operating. If a PPD file is installed
while the Mac OS Printer Setup Utility is operating, the printer may not be normally recognized.
7
Click [Continue].
 Loading...