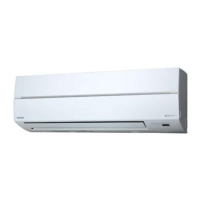
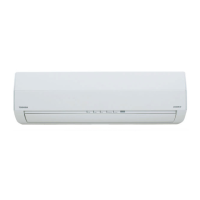
Do you have a question about the Toshiba RAS-16SKVR-E and is the answer not in the manual?
| Brand | Toshiba |
|---|---|
| Model | RAS-16SKVR-E |
| Category | Air Conditioner |
| Language | English |
Detailed technical specifications for cooling, heating, power, noise, dimensions, and piping.
Crucial safety precautions and procedures for handling R410A refrigerant during installation and servicing.
Guidelines for selecting and installing copper pipes, joints, and processing materials for R410A systems.
Lists and describes the specific tools required for R410A installation and servicing, noting interchangeability.
Step-by-step instructions for correctly recharging refrigerant into the air conditioner system.
Details on brazing materials, flux usage, and the brazing method for preventing oxidation.
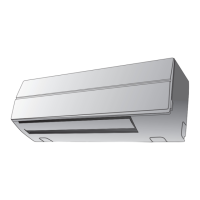
Exploded view and dimensional details of the indoor unit, including components and mounting points.
Electrical wiring diagram for specific indoor and outdoor unit models, showing component connections.
Electrical wiring diagram for specific indoor and outdoor unit models, illustrating component connections.
List and specifications of electrical components used in the indoor unit.
List and specifications of electrical components used in the outdoor unit.
Schematic diagram illustrating the flow of refrigerant through the indoor and outdoor units.
Table showing operating data (pressure, temperature, fan speed) for cooling and heating modes.
Block diagram showing the control logic and signal flow for the indoor unit's MCU and remote controller.
Block diagram detailing the microcomputer control functions and components of the outdoor unit's inverter assembly.
Overview of the air conditioner's control system, roles of indoor/outdoor units, and compressor control.
Detailed explanation of various operation modes including basic, cooling/heating, auto, and dry operations.
Explanation of the auto restart feature, including how to set and cancel it.
Detailed description of remote controller functions, operation, and display indicators.
General safety warnings and precautions to be observed before and during the installation process.
Lists optional parts, accessories, and tools required for installation, along with their specifications.
Procedures for installing the indoor unit, including placement, drilling, wiring, and piping.
Procedures for installing the outdoor unit, including placement, draining, and refrigerant piping connection.
Procedures for conducting test operations, including gas leak tests and system checks.
Initial checks for power supply, voltage, and basic operation status to identify potential issues.
Methods for initial troubleshooting, including LED indicators and remote controller diagnostics.
Interpreting flashing LED codes on the indoor unit to identify specific error conditions and their causes.
Using the remote controller in service mode to retrieve check codes for detailed self-diagnosis.
Troubleshooting guide based on observed symptoms, covering power, fan, and wiring issues.
Diagnosing issues related to wiring failures in interconnecting and serial signal wires.
Troubleshooting specific check codes 1C and 1E related to miswiring and sensor issues.
General troubleshooting guide, including checks for air purifier and minus ion generator functions.
Procedures for diagnosing problems specifically within the outdoor unit's inverter assembly.
Methods for checking the functionality of main components like the P.C. board and sensors.
Layout diagram of the P.C. board, showing component placement and key connections.
Checking procedures for various parts of the indoor unit, including sensors and remote controller.
Checking procedures for outdoor unit components like compressor, fan motor, and valves.
Detailed checking methods for specific parts like electrolytic capacitors and diode blocks.
Guide to diagnose the condition of the outdoor fan motor based on symptoms and resistance checks.
Step-by-step instructions for replacing main parts of the indoor unit, such as the front panel.
Procedure for replacing the microcomputer unit, including P.C. board layout diagrams.
Procedures for detaching and attaching main parts of the outdoor unit, including cabinets and assemblies.
Exploded view and parts list for the indoor unit, detailing component locations and part numbers.
Exploded view and parts list for the outdoor unit, showing component locations and part numbers.
Layout diagram of the P.C. board, showing component identification and sensor connections.