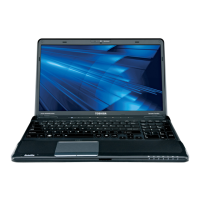
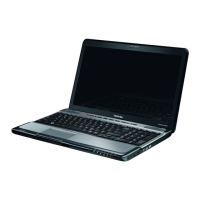
4 Replacement Procedures
Satellite A660/ProA660 Series Maintenance Manual 4-26
4.8 Logic Upper Assembly
Removing the Logic Upper Assembly
Remove the logic upper assembly according to the following procedures and Figures 4.18, 4.19
and 4.20.
1. Close the laptop and turn it over. Remove the thirteen M2.5x8 screws securing the logic
upper assembly as shown in Figure 4.18.
Figure 4.18 Removing thirteen screws from the bottom of the laptop
2. Turn the laptop over and open it. Remove the two M2.5x8 screws securing the logic
upper assembly.
3. Disconnect the four connectors: one Control Panel FCC, one Fingerprint Scanner FCC,
one speaker cable and one Touch pad cable as shown in Figure 4.19. Models featuring the
optional FeliCa card will have a fifth connector. Disconnect the FeliCa card connector as
shown in Figure 4.19 (where applicable).
M2.5x8*13

 Loading...