
J
James NobleSep 12, 2025
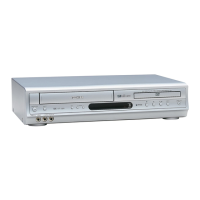
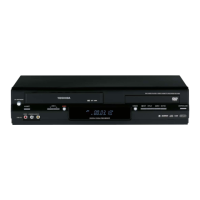
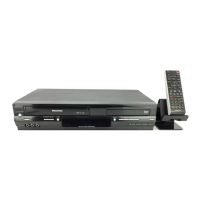
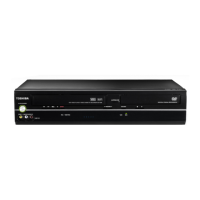
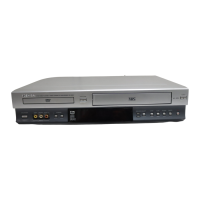
Why does TIMER indicator appear after Toshiba SD-V290-S-TU is turned off?
- JJennifer BurtonSep 12, 2025
The TIMER indicator appearing after your Toshiba DVD VCR Combo is turned off is normal. It indicates that the unit is in Timer Recording mode.