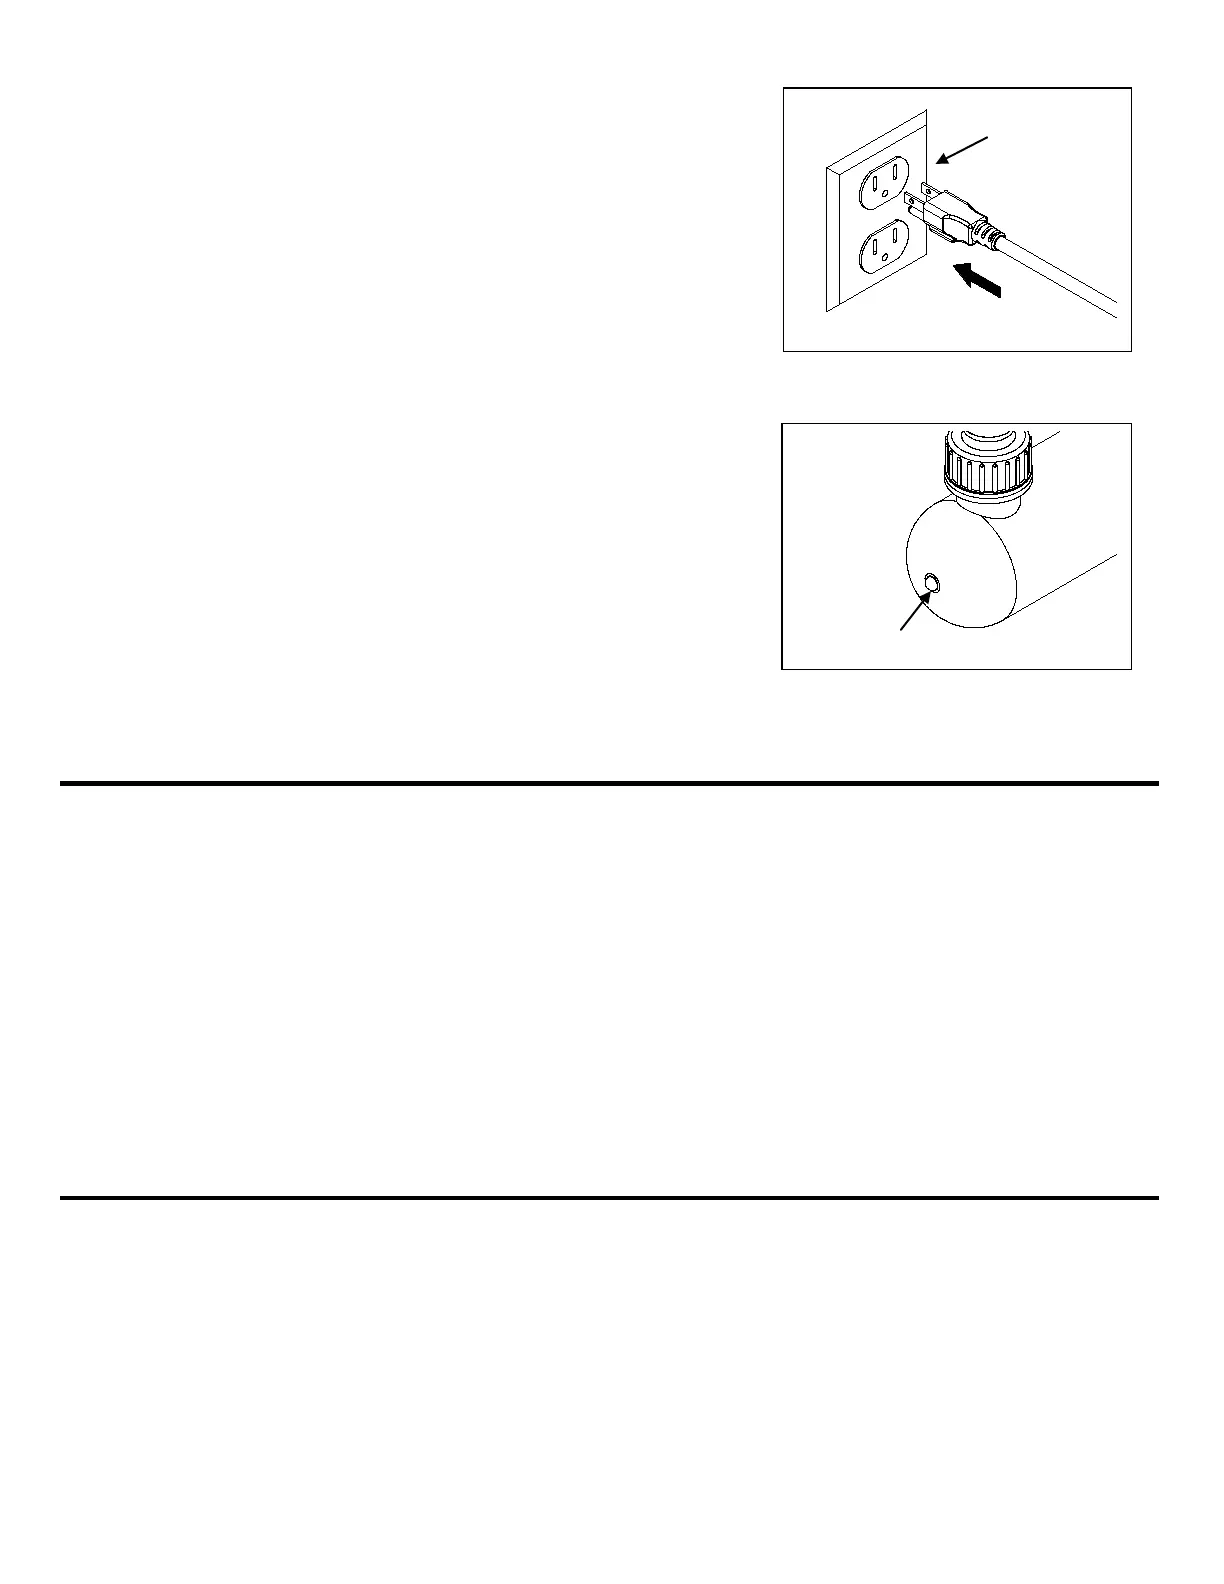
5. Connect the PCUV9 plug into a properly grounded electrical
outlet. Fig. 11
Fig. 11
6. Wait several seconds for the light to turn on then check the
indicator light to verify if the light is functioning correctly.
Fig. 12
NOTE: This clarifier has a safety feature that only allows the
UV light to turn on if the lamp holder is fully seated
into the lamp housing.
Fig. 12
To maximize the performance of the UVC9, periodically disassemble the unit to clean dirt and debris from
the exterior of the glass tube.
IMPORTANT NOTE:
Be sure that the entire unit is completely dry and gaskets are properly seated when reassembling
the UVC9.
Failure to do so will result in water leakage, which can cause damage to the light unit.
1. Disconnect the UV light from the outlet. Be sure to allow sufficient time for the light to cool before
disassembling the light.
2. Unscrew the locking ring, and pull out the light unit.
3. Carefully pull out the glass tube holder by twisting and then pull out.
4. Use warm, soapy water to clean the glass tube. Be sure to use biodegrable soap.
5. Reassemble the UVC9, and be sure that all gaskets and o-rings are seated properly.
If the light fails to operate:
• Check to make sure the power cord is plugged in and the light is getting power.
• Check to make sure that the lamp holder is screwed completely into the body. (This product will not
operate unless it is fully assembled with the lamp holder screwed completely into the body.)
• Check bulb to make sure that it has not burned out. Replace the bulb as necessary or after every
season. Bulbs are available by calling the customer service department or TotalPond item #UVRB.
5