Before beginning assembly of product, make sure all parts are present. Compare parts with package
contents list and diagram above. If any part is missing or damaged, do not attempt to assemble, install or
operate the product. Contact customer service for replacement parts.
• Estimated Assembly Time: 30 minutes
• No Tools Required for Assembly
• This product will not operate unless it is fully assembled with the lamp base screwed completely into
the housing.
• UV rays are harmful to your eyes and skin. The indicator portal will remove the harmful effects of the
UV light but still allow you to see the bulb operating.
• Do not attempt to operate this product unless the lamp is completely assembled within the light
housing.
• This product conforms to the Code of Federal Regulations (CFR) requirements including, Title 21,
Chapter 1, Subchapter J, Radiological Health.
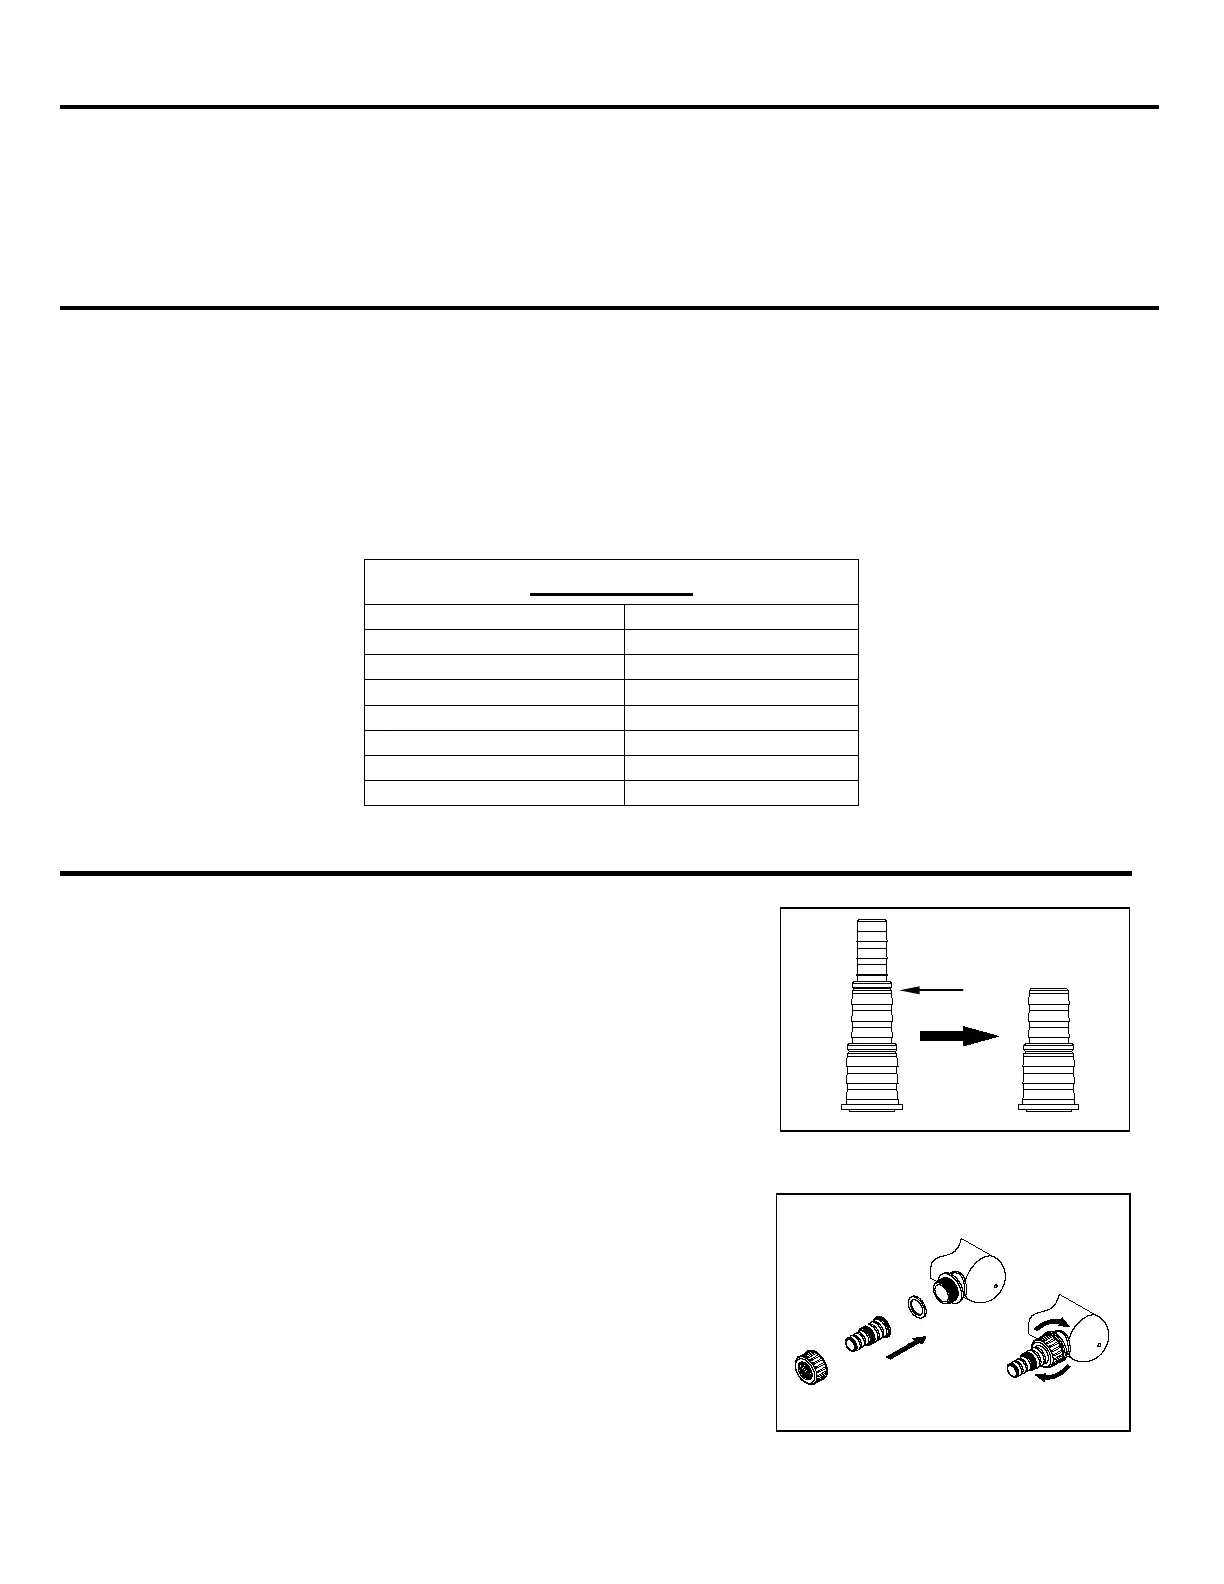
1. The adapters included can connect to 1/2-in., 3/4-in. or 1-in.
tubing. Note that 3/4-in. tubing is recommended for optimum
performance. If using 1/2 in. ID tubing, proceed to step 2. If
using 3/4 in. ID tubing, cut the adapter as shown using a
hacksaw. Fig. 1
Fig. 1
2. Install the adapter gasket, adapter, and adapter locking nut
onto the inlet and outlet of the lamp housing. Fig.2
NOTE: For a proper seal, the parts must be installed in this
specific order.
Fig. 2
Specifications
2