Do you have a question about the Toto DUOFIT WT173MA and is the answer not in the manual?
Details on drilling hole positions in the wall based on the specific WASHLET model being installed.
Expresses gratitude to the customer for choosing TOTO products.
Lists essential tools required for the installation process.
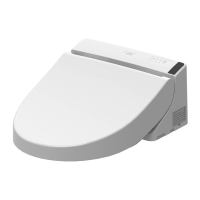
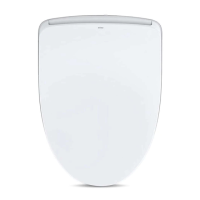
Visual inventory of all parts included in the product package.
Requirements for framing support, bracing, and wall preparation for carrier installation, including dimensions.
Explanation of visual and operational symbols used throughout the installation process.
Instructions for drilling the subfloor hole and installing the discharge pipe.
Procedure for adjusting tank legs to the correct height relative to the finished floor.
Guidance on clipping the upper bracket to the frame for drain installation.
Steps for marking and drilling pilot holes for securing the carrier to the wood frame or concrete.
Instructions for using the lower bracket to secure the carrier and flush it with the stud frame.
Guidance on connecting the water supply line and performing leak checks.
Procedure to confirm water supply by opening and shutting off the valve.
Instructions for attaching mud guard, push plate rough-in, and mounting studs.
Notes on how WASHLET model variations affect wall hole positions and power plug types.
Detailed dimensions for cutting wall openings for drains, water inlet, and push plate.
Additional details on wall opening dimensions and reference to the installation template.
Instructions to install the specialized shutoff valve for the WASHLET, following its specific guide.
Lubricating and inserting inlet/flange pipes into drain outlets and marking locations.
Connecting the inlet pipe with gasket to the back of the toilet bowl and marking.
Measuring distances on pipes to determine cutting lines and remove excess material.
Instructions for beveling the cut edges of the pipes for proper fitment.
Final insertion of the prepared inlet and flange pipes into the designated drain holes.
Step-by-step guide for servicing or replacing the flush valve and auto flush unit.
Procedure for adjusting the water level in the tank, including target level.
Instructions for cleaning the filter of the fill valve.
Details of the one-year limited warranty for materials and workmanship.
List of conditions and damages not covered by the warranty.
Procedure for contacting TOTO for warranty repair service and required documentation.
| Brand | Toto |
|---|---|
| Model | DUOFIT WT173MA |
| Category | Bathroom Fixtures |
| Language | English |