INTRODUCTION
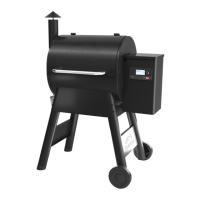
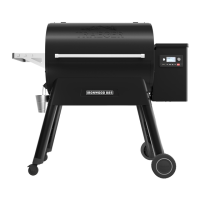
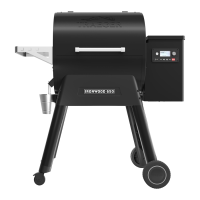
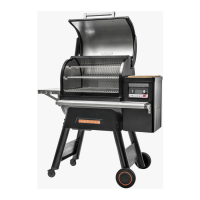
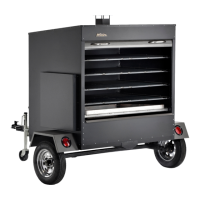
Congratulations on your purchase of this Traeger Wood Pellet Grill, Model COM200.
With proper set-up, operation and maintenance, the Grill will provide you with delicious
food and years of cooking enjoyment.
READ THESE INSTRUCTIONS CAREFULLY BEFORE ATTEMPTING TO
ASSEMBLE THIS UNIT. SPEND A FEW MINUTES FAMILIARIZING YOURSELF
WITH THE PARTS AND DIAGRAMS.
NOTE: NUMBERS FOLLOWING PART NAMES THROUGHOUT THIS MANUAL
REFER TO THE COMPONENT DIAGRAM, THREE-BURNER SYSTEM AND AXLE
MOUNTING DOCUMENTS.
After removing the box, remove all parts from inside the Grill. Remove any remaining
packaging material from inside the Grill as well. Remove the straps securing the Axle
(38) and the Trailer Tongue (21) to the pallet. Set those parts safely aside until you are
ready for assembly. Make sure you have, and can identify all of the following parts:
(1) COM200 Grill Body (32)
(1) Axle (38)
(1) Trailer Tongue (21)
(2) Wheels (31)
(2) Fenders (18)
(1) Grease Drain Pan (11)
(2) Grease Buckets (26)
(4) Porcelain Grills (2)
(1) Heat Baffle (10)
(1) Box of Bolts, Washers and Nuts
NOTE: THE ASSEMBLY OF THE COM200 IS A TWO-PERSON OPERATION!
You will need to complete the assembly process, which includes:
1) Installing the Axle (38)
2) Mounting the Wheels (31)
3) Installing the Trailer Tongue (21)
4) Attaching the Fenders (18)
5) Removing the COM200 from the pallet
6) Installing the Heat Baffle (10
7) Positioning the Grease Drain Pan (11)
8) Installing the Porcelain Grills (2)
9) Hanging the Grease Buckets (26)
Tools required for assembly:
(2) 3/4” wrenches or a 3/4” ratchet set
(1) 7/16” socket / driver or wrench
(1) Tire iron or lug wrench
(1) 1/4” socket / driver or wrench
Follow these step by step instructions and you will be cookin in no time.