www
.
T
r
a
il
F
X
.
c
om
Page 5 of 8 Rev 051918
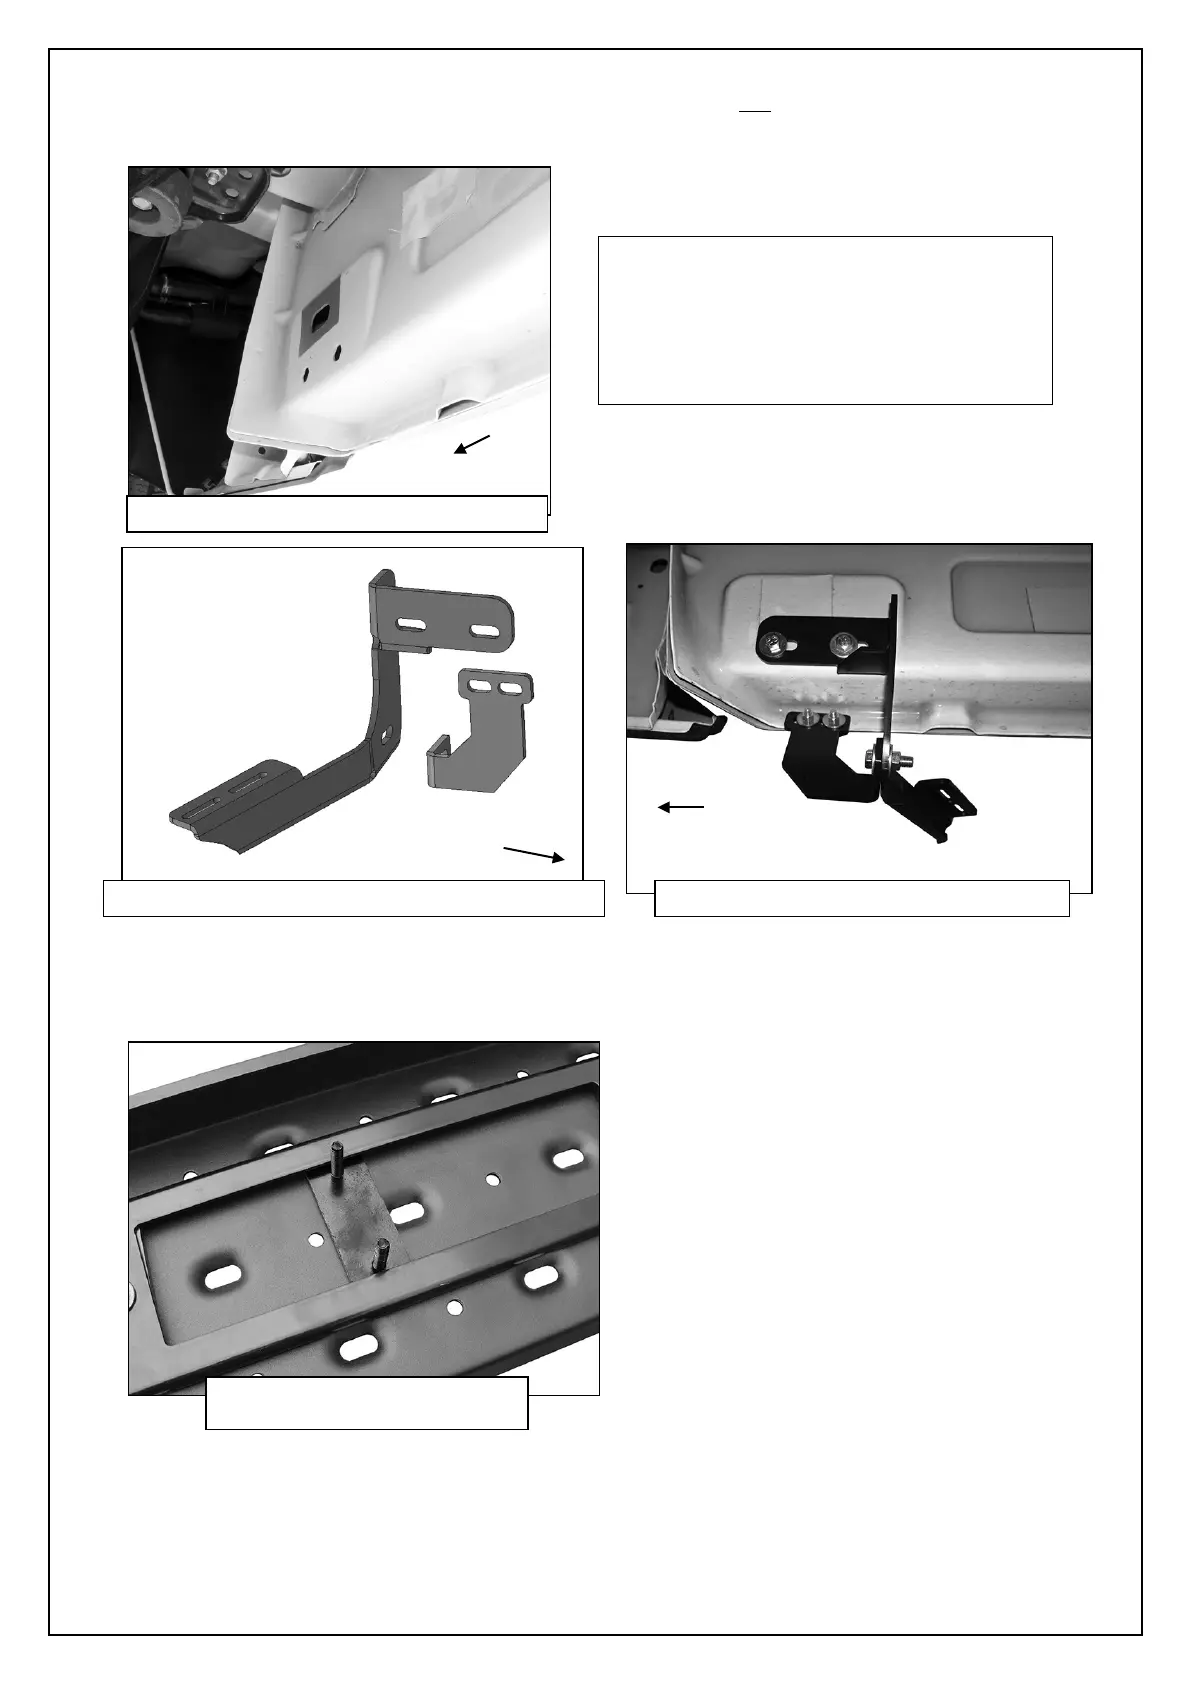
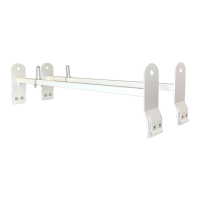
6. Move to the rear location, (Figure 15). Repeat Step 3 to install the rear Mounting Bracket, (Figure 16). Select the driver side
rear Support Bracket. Repeat Step 4 to attach the Support Bracket to the rear
of the rear Bracket and factory holes (if
equipped) in the pinch weld, (Figure 17). IMPORTANT: The angled rear bracket is different from the front/center Brackets, (see
illustration above-note angle and direction of mounting plate).
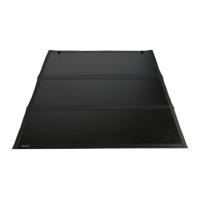
7. Once all (3) Brackets have been installed, select (1) Running Board. Place the Running Board on top of the Brackets. Locate
the channels in the bottom of the Running Board. Select (3) 6mm Double Bolt Plates. Insert the Bolt Plates into the channels in
the bottom of the Running Board closest to the Brackets, (Figure 18). Lift the Running Board up and guide the studs through
the Brackets.
IMPORTANT: 2009-2012 models without holes
in pinch weld will require drilling 1/4” holes
through pinch weld to attach Support
Brackets. Do complete installation of Running
Boards first and level Running Boards before
drilling holes for Support Brackets.
(Fig 15) Driver/Left rear mounting location
(Fig 16) Driver/Left angled rear Mounting Brackets
(Fig 17 Driver/Left rear Brackets installed
(Fig 18) Slide the 6mm Double
Bolt Plate into channels